**What's Under That Grabow Contest** - Photo and Vote thread
- Thread starter uperepik
- Start date
You are using an out of date browser. It may not display this or other websites correctly.
You should upgrade or use an alternative browser.
You should upgrade or use an alternative browser.
SmokingPipes.com Updates
Watch for Updates Twice a Week
- Status
- Not open for further replies.
Very cool Monk. Don’t leave us hanging. What’d you do? It’s a bandless Ladel-warden now, as Troy would say...
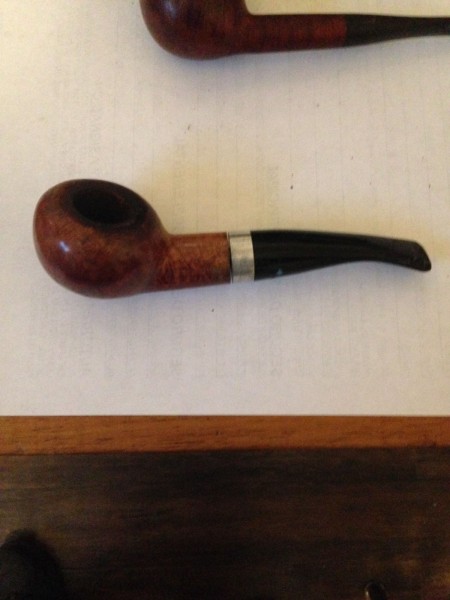
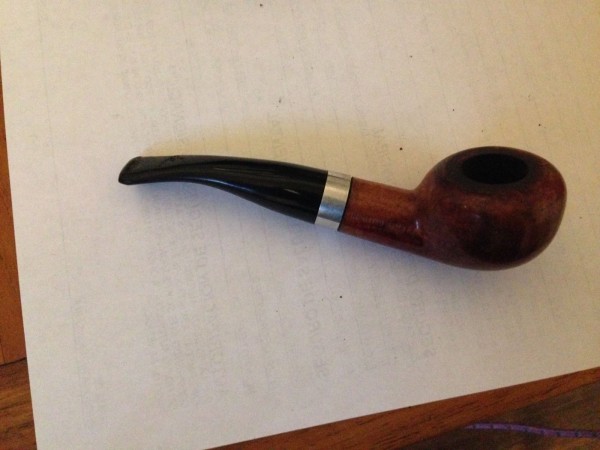
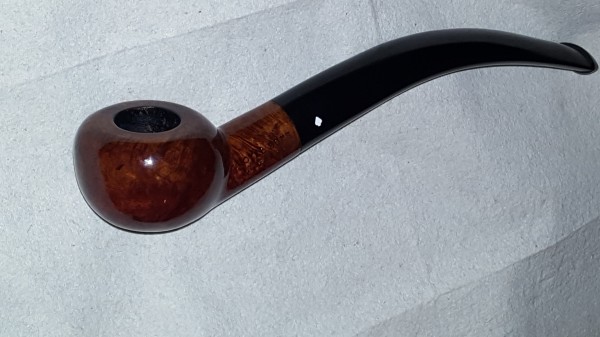
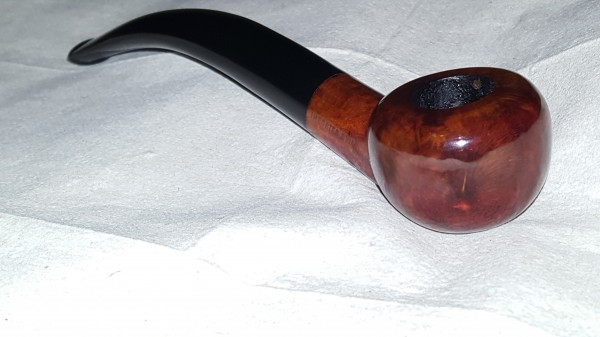
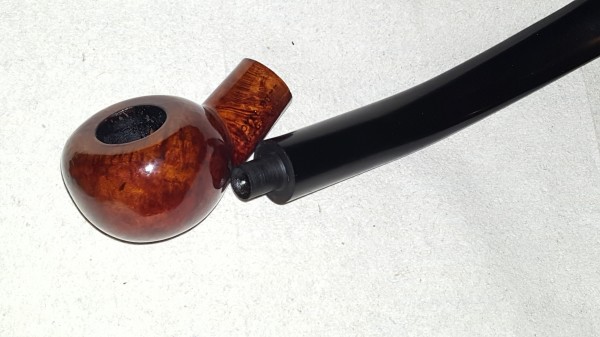
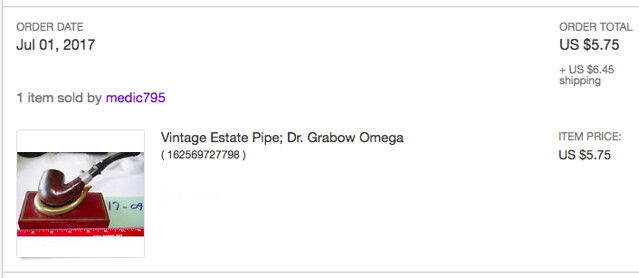
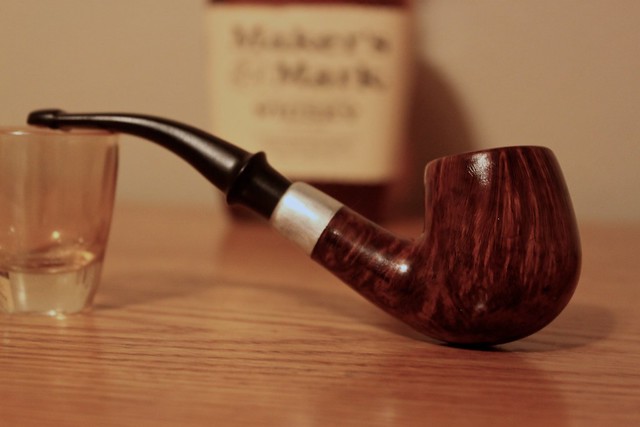
Unfortunately I didn't take any before pics of this pipe. All I have is the eBay listing photo. I just redid this one over the past few days while sitting at home recovering from back surgery. It was in pretty decent shape other than a dent in the bowl rim and never being cleaned. It was the second nastiest pipe I ever dealt with.
https://farm5.staticflickr.com/4501/37634383806_d333b1a352_z.jpg[/img
[img]https://farm5.staticflickr.com/4488/37634377866_96ebea3f2a_z.jpg
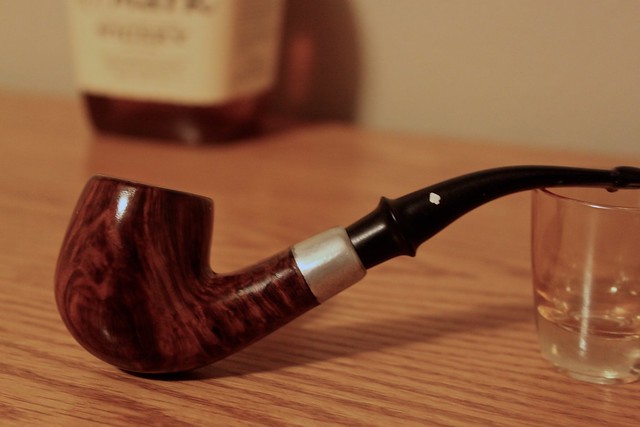
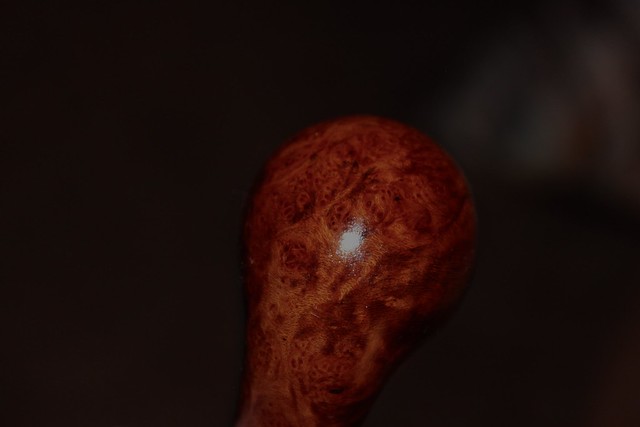


https://farm5.staticflickr.com/4501/37634383806_d333b1a352_z.jpg[/img
[img]https://farm5.staticflickr.com/4488/37634377866_96ebea3f2a_z.jpg


This is NOT easy. I just went through the entries THREE times again. Sigh...
Joeman
Joe, please show us how to repair the beadlines like you did.
Everyone else's entries are outstanding, this was a fun challenge. Let's do more of these. The low 'entry fee' made it even more fun for me.
Joeman
Joe, please show us how to repair the beadlines like you did.
Everyone else's entries are outstanding, this was a fun challenge. Let's do more of these. The low 'entry fee' made it even more fun for me.
I liked seeing all the entries. The beater resto challenge was fun. We should do it again with another twist.
My vote is for JoeMan.
Joe’s restorations are top tier. His fine detail work is second to none. (Ok, maybe tied with Piffyr)
My vote is for JoeMan.
Joe’s restorations are top tier. His fine detail work is second to none. (Ok, maybe tied with Piffyr)
@ nevada
Here’s some old posts on bead-lines.
http://pipesmagazine.com/forums/topic/tiny-rhodesian-beforeafter-pic-heavy
http://pipesmagazine.com/forums/topic/bulldog-bead-line-and-rim-repair
Here’s some old posts on bead-lines.
http://pipesmagazine.com/forums/topic/tiny-rhodesian-beforeafter-pic-heavy
http://pipesmagazine.com/forums/topic/bulldog-bead-line-and-rim-repair
@ Nevadablue "Joe, please show us how to repair the beadlines like you did."
Dave G's examples are excellent. The only details I'll add are these:
I make the form from plastic bottles (bleach, fabric softener, etc.)...whichever will render the same thickness as the slot on the pipe being repaired. I don't have an image handy, so I drew what the form looks like:

You need to be sure that the curve of the form is exactly the same as the curve of the bead you're repairing. I slip the form in the slot just as Dave shows. if it's the bead itself being repaired/replaced, you'll need TWO of these forms, since you'll be packing dust between the two forms to re-create the bead. It's a bit of careful work, but ask Dave or Anthony...it's also fun to do.
I do use medium CA and briar dust (dripping in the glue first) for some repairs, but more often by preference, I slip in the form, then pack in the dust first, and then carefully drip in 'thin' CA glue. The thin glue instantly soaks through all of the briar dust and bonds it to the broken bead. The thin glue dries faster and is ready for needle-filing within a minute. Either method works equally well...just wanted to share the variation.
I've used many different products, but for glue quality and price, you cannot beat these guys:
Artistic & Custom Woodturning - 800-894-8123 - you'll talk with Ed, or his wife...extremely helpful folks. The price that I pay for a 2 oz bottle of CA (that's a LOT of glue) with Ed is the same that you'll pay for a fraction of the amount of lower quality CA / super glue at hardware stores. I get no discounts for it...but tell them Joe Mansueto sent you, because they love referral business!
If you need any further help with that particular repair, we're happy to provide more detailed direction.
Dave G's examples are excellent. The only details I'll add are these:
I make the form from plastic bottles (bleach, fabric softener, etc.)...whichever will render the same thickness as the slot on the pipe being repaired. I don't have an image handy, so I drew what the form looks like:

You need to be sure that the curve of the form is exactly the same as the curve of the bead you're repairing. I slip the form in the slot just as Dave shows. if it's the bead itself being repaired/replaced, you'll need TWO of these forms, since you'll be packing dust between the two forms to re-create the bead. It's a bit of careful work, but ask Dave or Anthony...it's also fun to do.
I do use medium CA and briar dust (dripping in the glue first) for some repairs, but more often by preference, I slip in the form, then pack in the dust first, and then carefully drip in 'thin' CA glue. The thin glue instantly soaks through all of the briar dust and bonds it to the broken bead. The thin glue dries faster and is ready for needle-filing within a minute. Either method works equally well...just wanted to share the variation.
I've used many different products, but for glue quality and price, you cannot beat these guys:
Artistic & Custom Woodturning - 800-894-8123 - you'll talk with Ed, or his wife...extremely helpful folks. The price that I pay for a 2 oz bottle of CA (that's a LOT of glue) with Ed is the same that you'll pay for a fraction of the amount of lower quality CA / super glue at hardware stores. I get no discounts for it...but tell them Joe Mansueto sent you, because they love referral business!
If you need any further help with that particular repair, we're happy to provide more detailed direction.
[/quote]Hmmm... I'm kinda surprised this thread didn't attract more people voting.
Not too many Grabow fans on PipesMag. Most people think they’re cheap pipes because they’re inexpensive. As pure smoking qualities are concerned, they smoke just as well as anything else.
Not too many Grabow fans on PipesMag. Most people think they’re cheap pipes because they’re inexpensive. As pure smoking qualities are concerned, they smoke just as well as anything else.
Joe won, right? Dave, that Ladle was fit with a massive spare stem laying around, spade put in for effect. And you're right about Grabow, they're made from Briar and have holes properly arranged for smoking but they are inexpensive, some people won't/can't/don't need/care to get over that.
@monk
Made of briar with holes. That’s too much. :rofl:
I love an underdog. That’s why I love my Grabow’s. Especially when a $10 estate turns out better looking and smoking than a high end pipe.
Occasionally I’ll fire up a Dunny or fam era Sasieni, look down my nose at my Grabow’s while quoting Hawthorne.
- Status
- Not open for further replies.


