


I am learning as I go and am investing in proper tooling (just got a lathe recently). I thank everyone for the support thus far. I still have a very long way to go, but thought this may be a worthwhile thread to start to show the progress of pipemaking as I go. It is quite a bit extra work as I don't have an easy smartphone to simply click and upload with. My hopes is that at least a few of you enjoy it. This is my method, other maker's methods may differ. I am self-taught up to this point via researching on the internet and input from various people/sources.
With that, lets begin. Not shown are block selection, shape drawing and line drawing on the block, and cutting the lined shape on the bandsaw. Lets bring on the pics so far!
For ease of picture following, We'll call the first picture Step 1 and go onward from there.
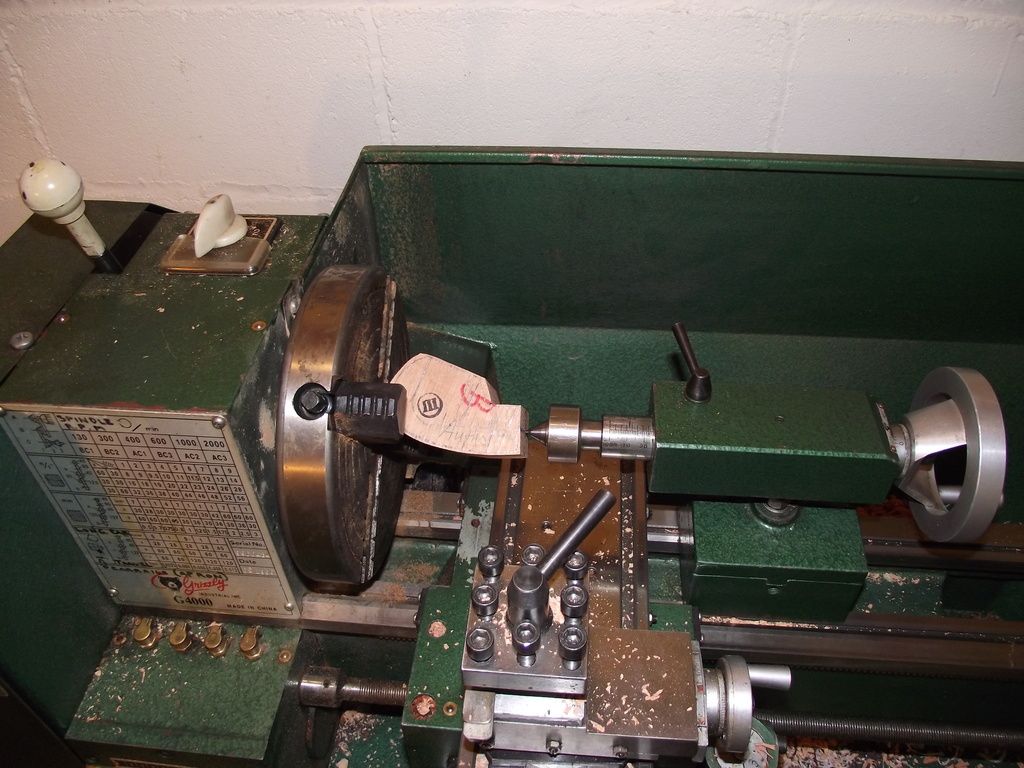
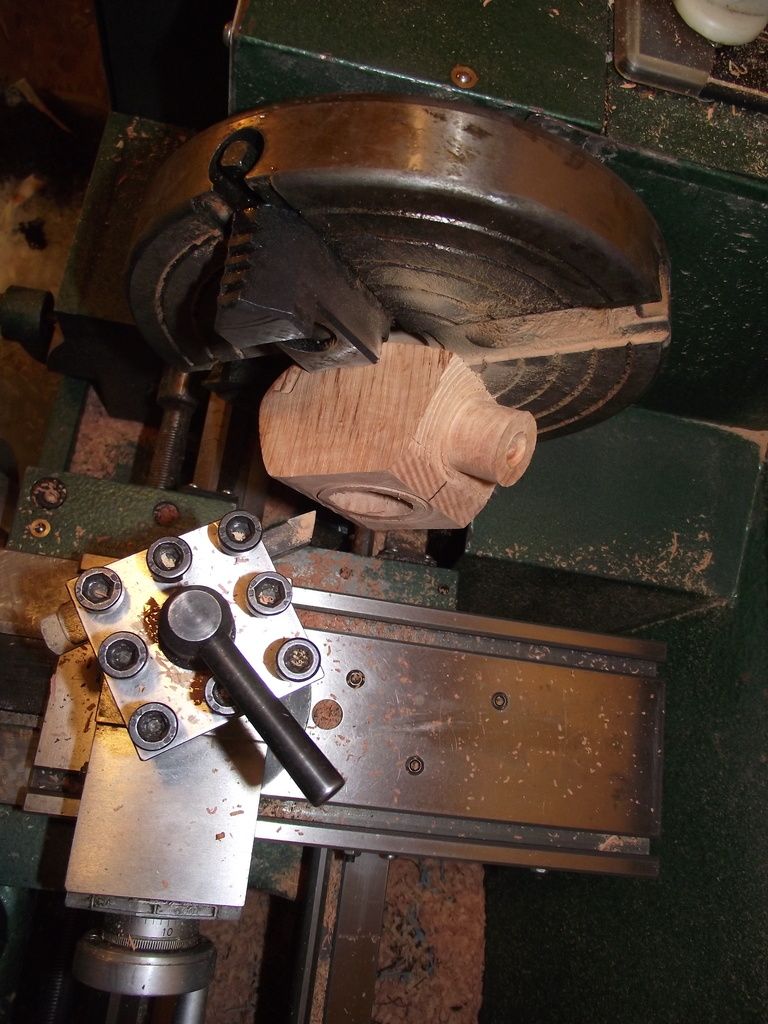
Step 1: The Stummel needs to be mounted in the chuck according to the center lines that have been drawn on the block. I use a live center on the lathe (the pointy round thing) to help line it up.
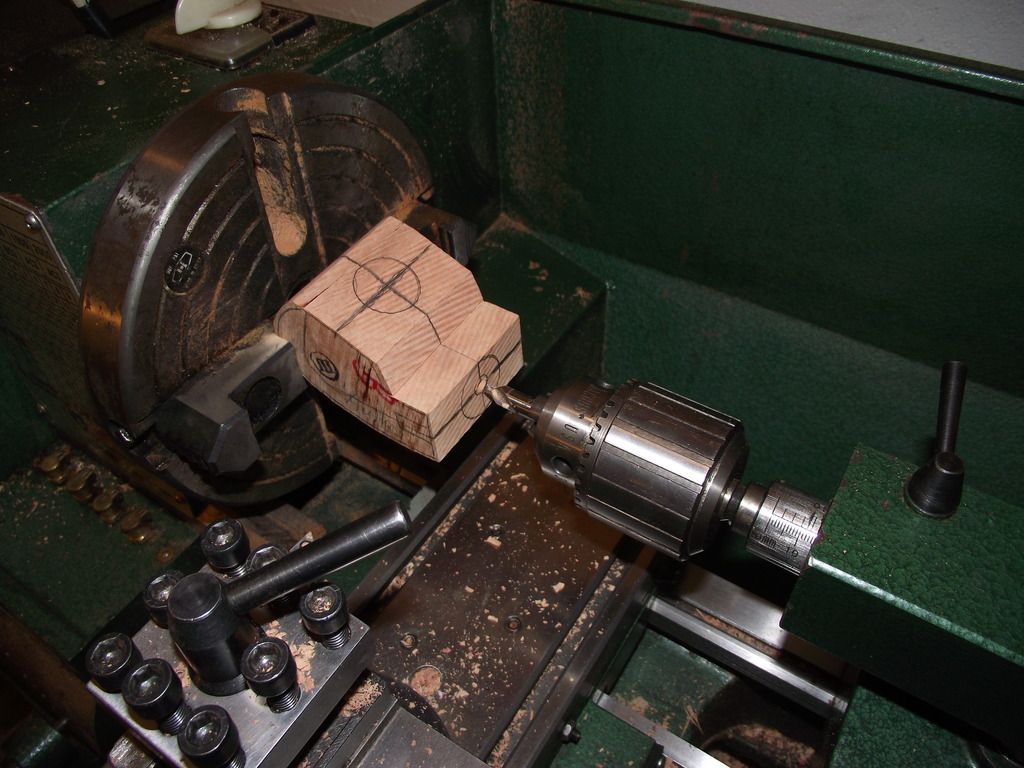
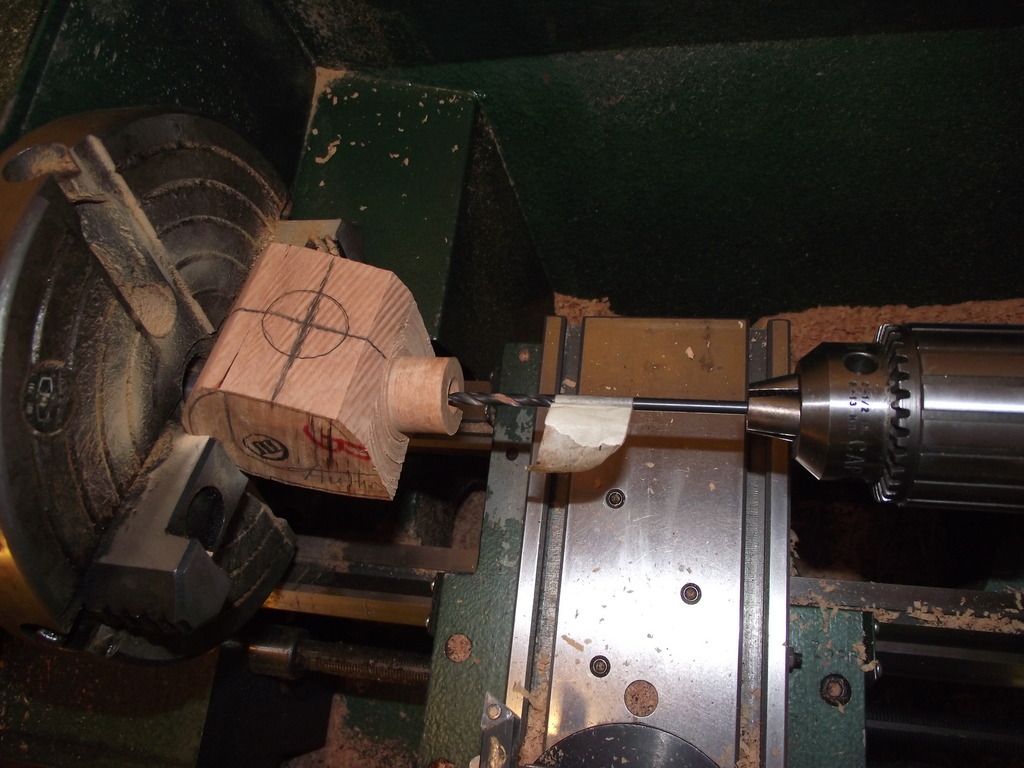
Step 2: Once I am happy with the mortise line up, I start the mortise hole with a center bit. This allows the other drilling processes to remain centered without much wobble or devation. (If you don't do this step, the bit tends to wander and the hole never drills to center.
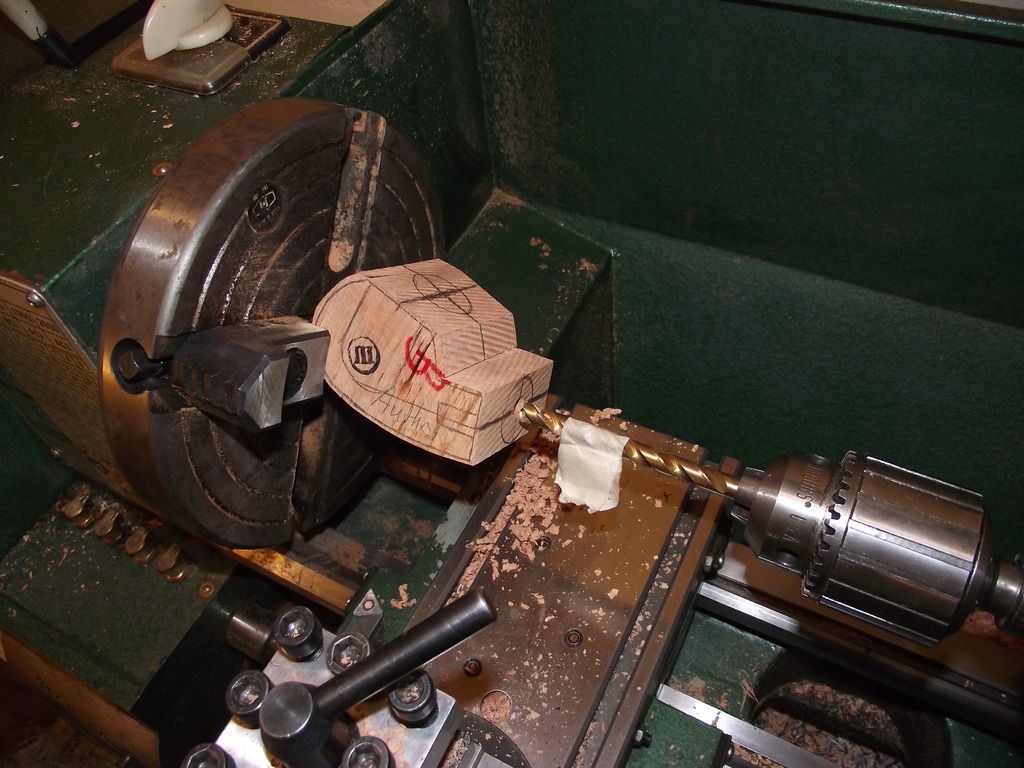
Step 3: I then drill the mortise with a 5/16" drill bit to the intended depth. You only want to go deep enough for the tenon to be secured, while keeping the draft hole line close to the center intercept junction at the base of the mortise. (if the draft hole is not centered in the mortise base, passing a cleaner will be impossible)
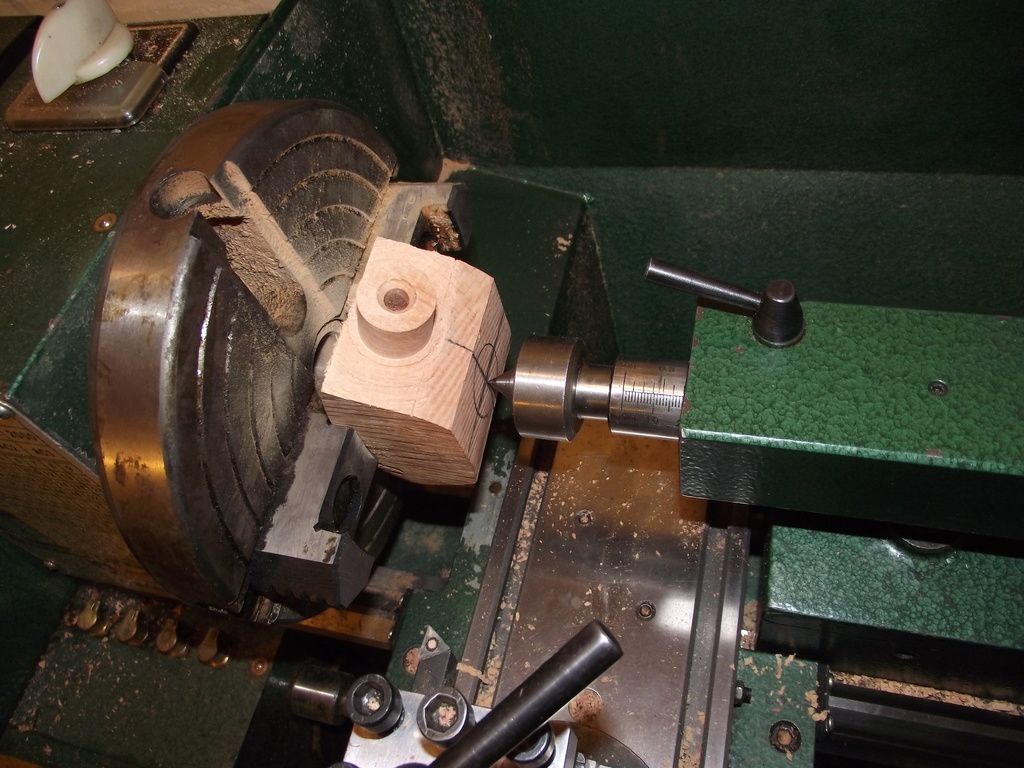
Step 4: I then countersink the entrance of the mortise hole. This provides a nice smooth centering action for insertion of the stem's tenon.

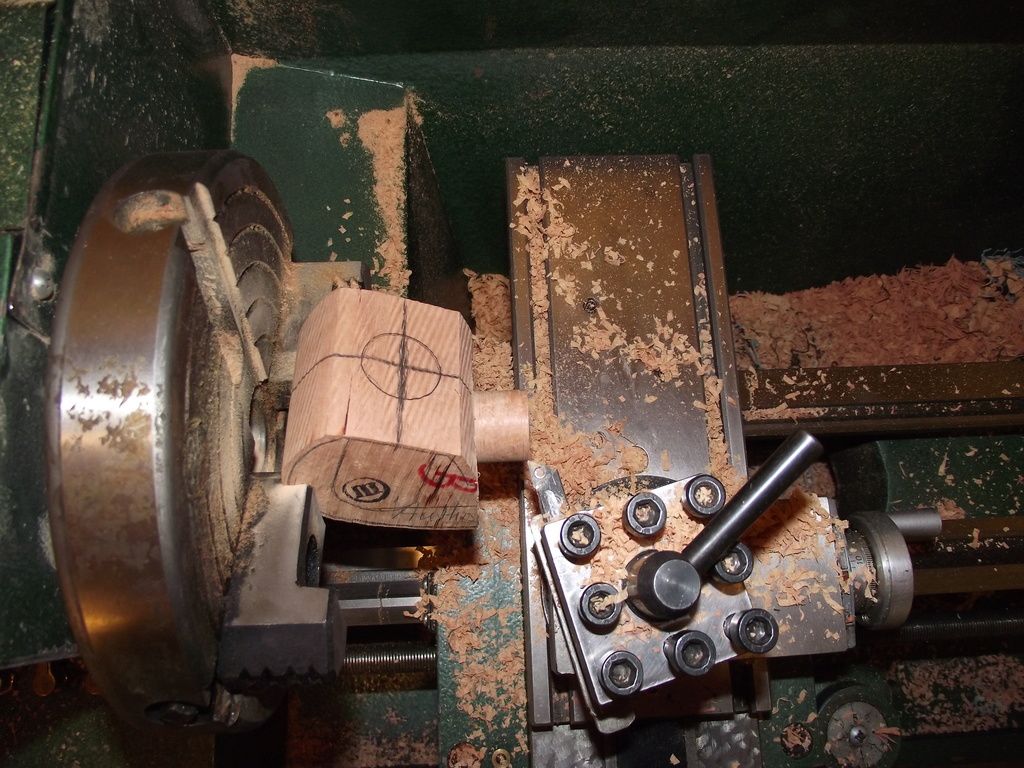
Step 5: Before I move the stummel from this position, I turn the shank and face it. If this happens to be a curved or asymmetrical shank, this step would be done by hand. For this shape however, it is straight and symmetrical, so I can get it started on the lathe.
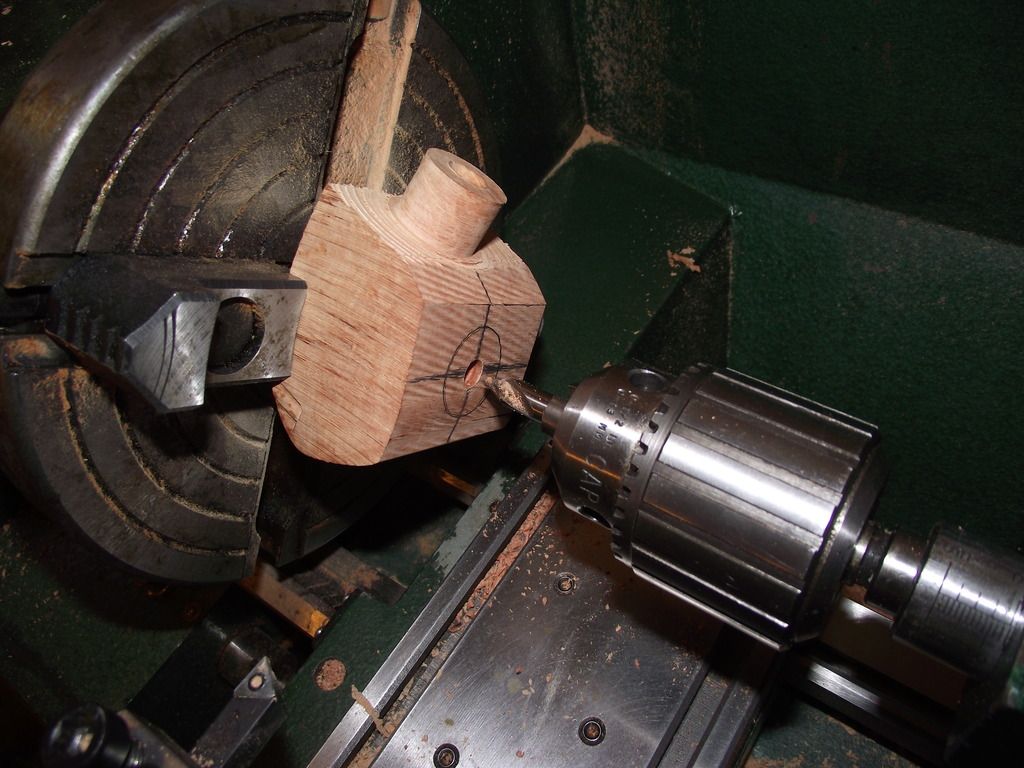
Step 6: The stummel is then adjusted and recentered to hit the correct angle of the draft hole. I use a 5/32" drill bit to drill the draft hole. It is paramount that this does not drill off center or go too deep, as the tobacco chamber must line up with this step.
Step 7: I then unmount the stummel from the chuck and remount it. This involves recentering everything for the tobacco chamber, again, using the live center as a reference point.
Step 8: Just like with the mortise, I start the tobacco chamber hole with a center bit to ensure the rest of the drilling process goes as planned.
Step 9: I then start drilling the chamber. Here I am using a nice english bit I bought from Ken Lamb in Chicago. This is a 7/8 bit and drills a nice smooth chamber, although this particular pipe requires a 1" chamber, so I will hit it with a spade bit in the next step to finish. If this were simply a 7/8" hole, i'd just be using this bit. (Drilling the entire chamber with a spade bit can be a very loud and chattery process, so I prefer to drill it with an english bit most of the way first.) I have to make sure not to go too deep and overdrill the chamber.

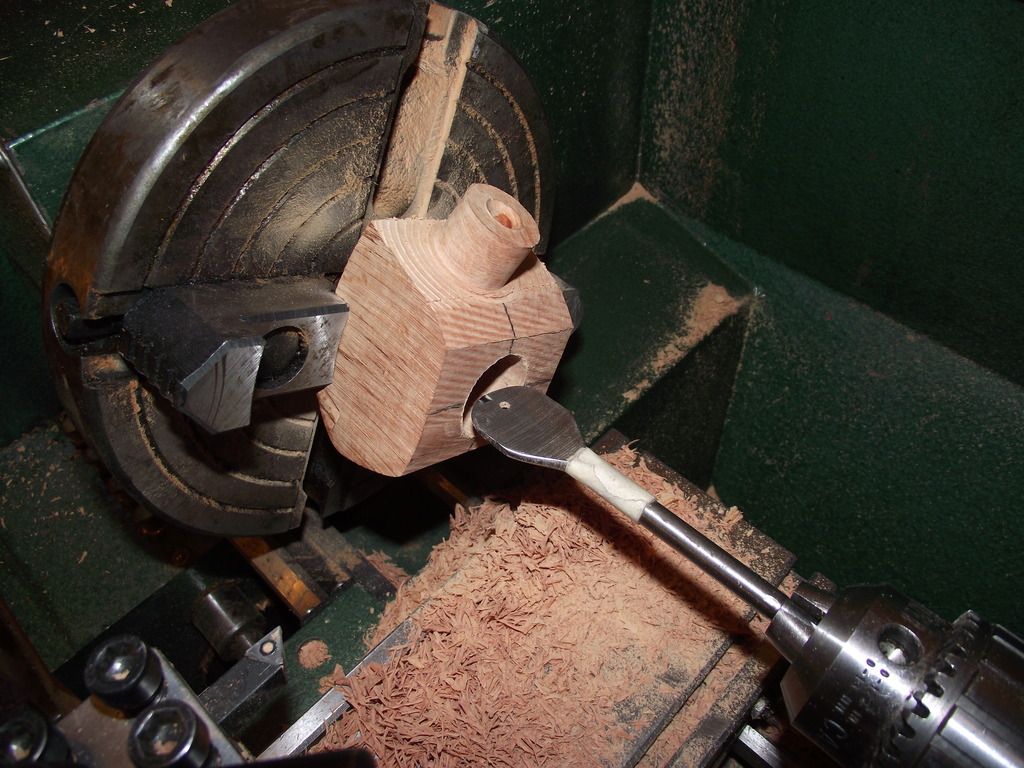
Step 10: I am now finishing up the tobacco chamber with a 1" spade bit that has been ground into a U shape. Depth on this step is paramount and a few passes have to be made in order to ensure that the draft hole enters the chamber as close to the bottom as possible. I am still working on my technique for this, but have been learning very quickly and should have it down in a few more pipes.
Step 11: After the chamber is drilled, I face the rim of the pipe. Since this shape is round, I am also grooving a rim edge in the top to help with keeping symmetry during hand shaping. This concludes the stummel's time on the lathe.
Step 12: As soon as it is off the lathe, it is time to start rough shaping on the 5" sanding wheel. I use 50-80 grit for this step depending on what I have on hand. Here I use a foam backed disc.
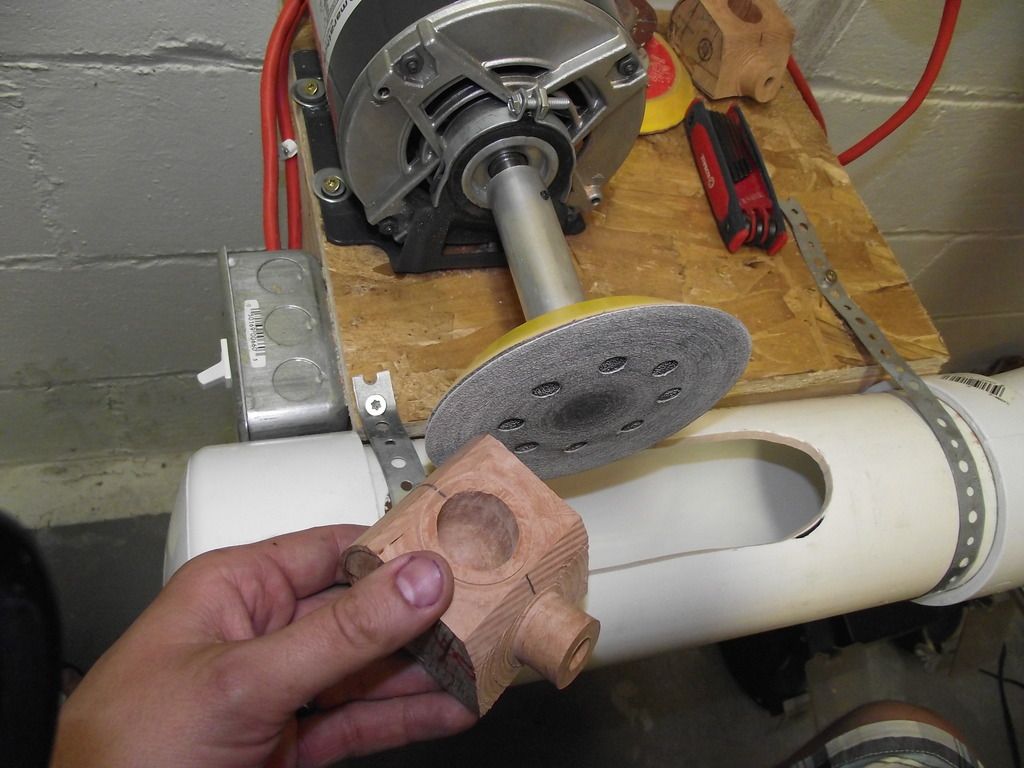
Step 13: There is a lot of shaping to be done on the disc, making some progress slowly.
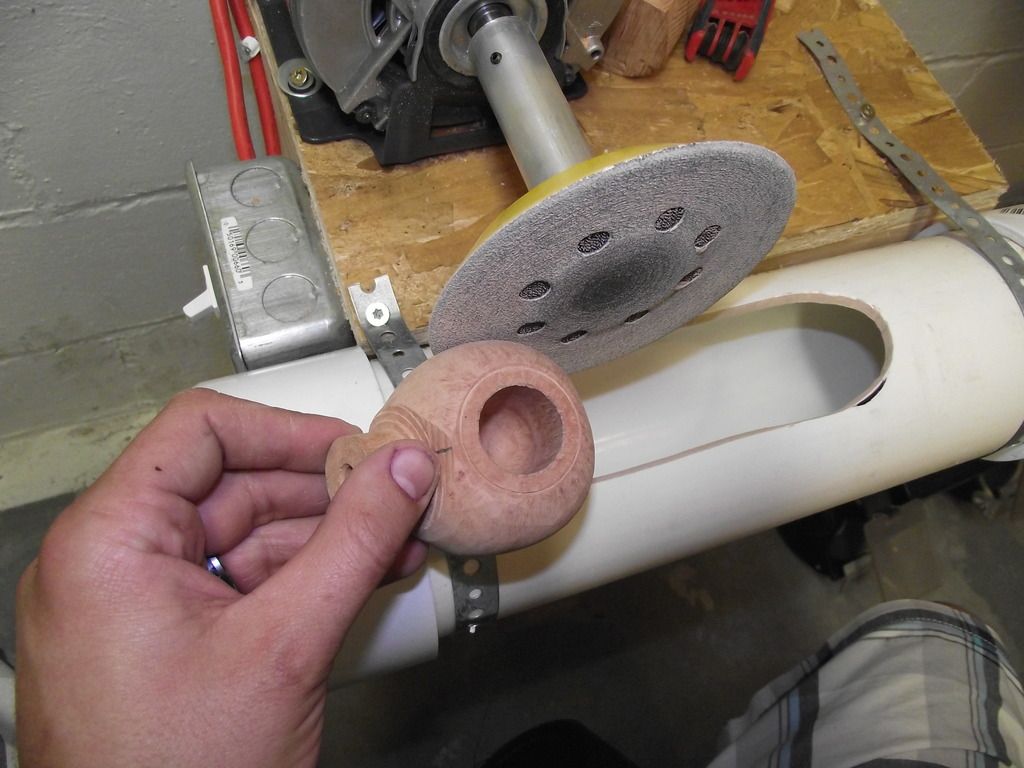
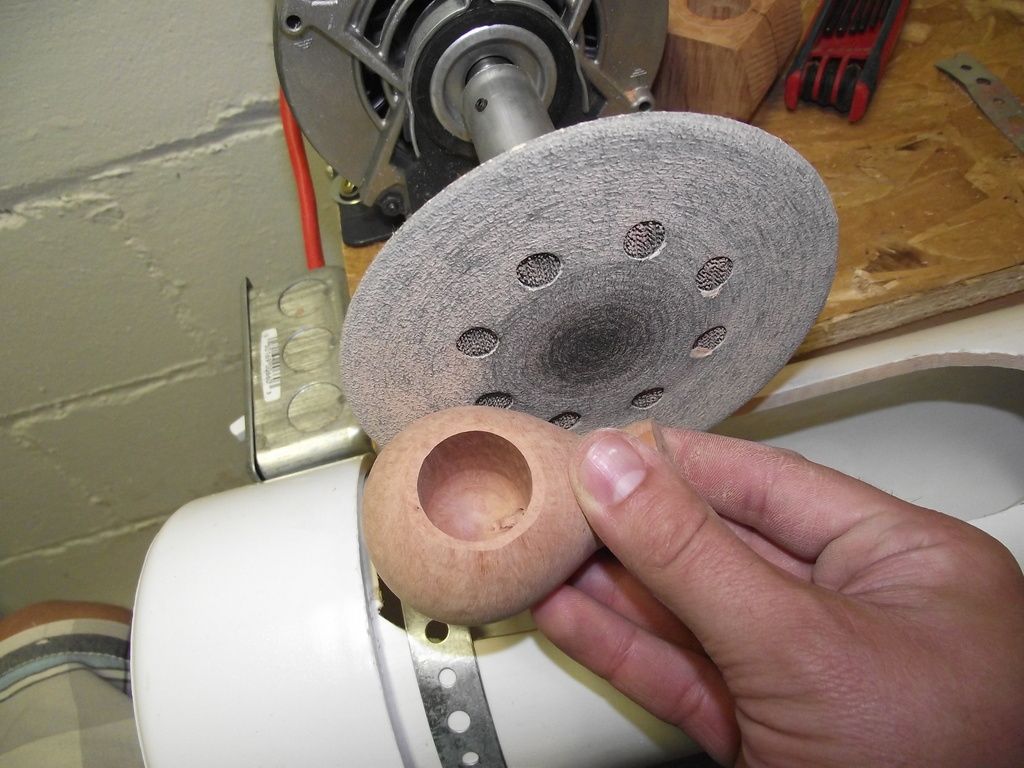
Step 14: Finally I am satisfied with the rough shaping and the time on the coarse grit disc is over. Now it is time to start work on the stem.
......... TO BE CONTINUED .......
With that, lets begin. Not shown are block selection, shape drawing and line drawing on the block, and cutting the lined shape on the bandsaw. Lets bring on the pics so far!
For ease of picture following, We'll call the first picture Step 1 and go onward from there.
Step 1: The Stummel needs to be mounted in the chuck according to the center lines that have been drawn on the block. I use a live center on the lathe (the pointy round thing) to help line it up.

Step 2: Once I am happy with the mortise line up, I start the mortise hole with a center bit. This allows the other drilling processes to remain centered without much wobble or devation. (If you don't do this step, the bit tends to wander and the hole never drills to center.

Step 3: I then drill the mortise with a 5/16" drill bit to the intended depth. You only want to go deep enough for the tenon to be secured, while keeping the draft hole line close to the center intercept junction at the base of the mortise. (if the draft hole is not centered in the mortise base, passing a cleaner will be impossible)

Step 4: I then countersink the entrance of the mortise hole. This provides a nice smooth centering action for insertion of the stem's tenon.

Step 5: Before I move the stummel from this position, I turn the shank and face it. If this happens to be a curved or asymmetrical shank, this step would be done by hand. For this shape however, it is straight and symmetrical, so I can get it started on the lathe.

Step 6: The stummel is then adjusted and recentered to hit the correct angle of the draft hole. I use a 5/32" drill bit to drill the draft hole. It is paramount that this does not drill off center or go too deep, as the tobacco chamber must line up with this step.

Step 7: I then unmount the stummel from the chuck and remount it. This involves recentering everything for the tobacco chamber, again, using the live center as a reference point.

Step 8: Just like with the mortise, I start the tobacco chamber hole with a center bit to ensure the rest of the drilling process goes as planned.

Step 9: I then start drilling the chamber. Here I am using a nice english bit I bought from Ken Lamb in Chicago. This is a 7/8 bit and drills a nice smooth chamber, although this particular pipe requires a 1" chamber, so I will hit it with a spade bit in the next step to finish. If this were simply a 7/8" hole, i'd just be using this bit. (Drilling the entire chamber with a spade bit can be a very loud and chattery process, so I prefer to drill it with an english bit most of the way first.) I have to make sure not to go too deep and overdrill the chamber.

Step 10: I am now finishing up the tobacco chamber with a 1" spade bit that has been ground into a U shape. Depth on this step is paramount and a few passes have to be made in order to ensure that the draft hole enters the chamber as close to the bottom as possible. I am still working on my technique for this, but have been learning very quickly and should have it down in a few more pipes.

Step 11: After the chamber is drilled, I face the rim of the pipe. Since this shape is round, I am also grooving a rim edge in the top to help with keeping symmetry during hand shaping. This concludes the stummel's time on the lathe.

Step 12: As soon as it is off the lathe, it is time to start rough shaping on the 5" sanding wheel. I use 50-80 grit for this step depending on what I have on hand. Here I use a foam backed disc.

Step 13: There is a lot of shaping to be done on the disc, making some progress slowly.

Step 14: Finally I am satisfied with the rough shaping and the time on the coarse grit disc is over. Now it is time to start work on the stem.

......... TO BE CONTINUED .......