My antique pipe rack restoration project

Log in

SmokingPipes.com Updates

Watch for Updates Twice a Week

PipesMagazine Approved Sponsor

PipesMagazine Approved Sponsor

PipesMagazine Approved Sponsor

PipesMagazine Approved Sponsor

PipesMagazine Approved Sponsor

Drucquers Banner
Status
Not open for further replies.

hobie1dog

Lifer
Jun 5, 2010
6,888
233
67
Cornelius, NC
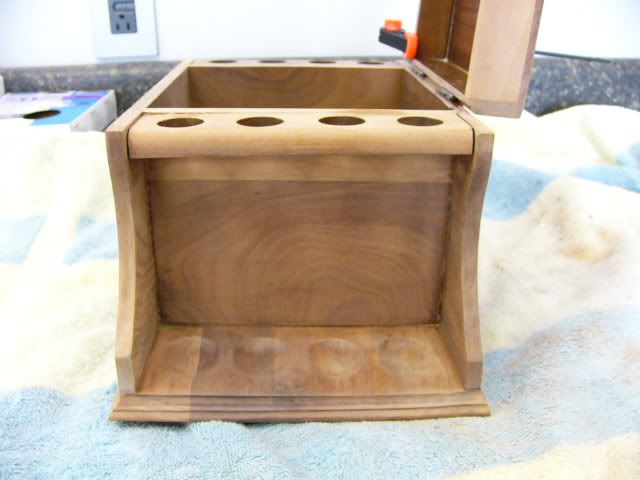
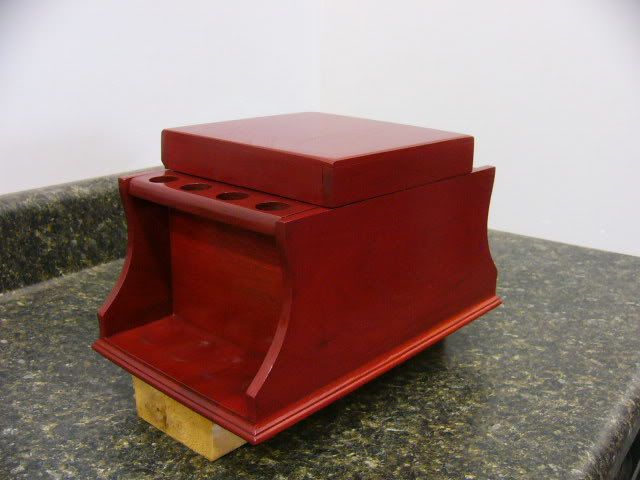
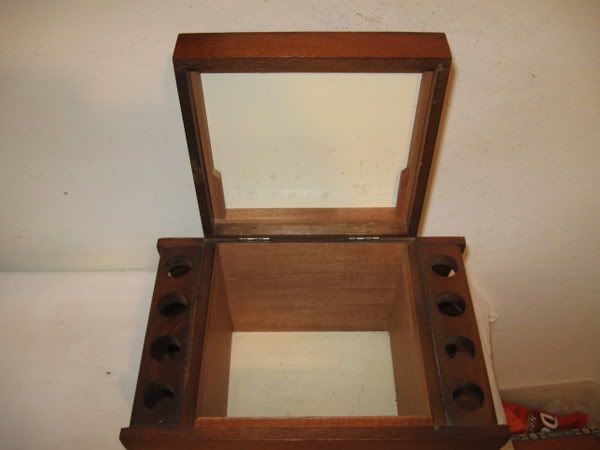
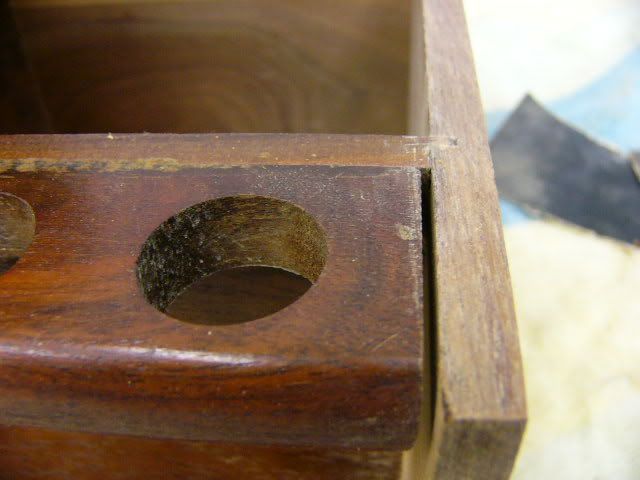
Thought I'd post up some pics of the restoration of an antique pipe rack I got on Ebay last week. There was a very similar 6 pipe rack that had the documentation with it and it was built in 1880...this one looks just like it inside and out, but holds 8 pipes. It was naturally a little smaller once I unboxed it, compared to the pictures on Ebay. Here's what I started with...a walnut construction box, and some of the joints are pretty good, and others not so good which gives it a definite old world look

Humidor2.jpg


Humidor1.jpg

Poor joints

P1030418.jpg

neat relief cut for the hinges though.

P1030419.jpg

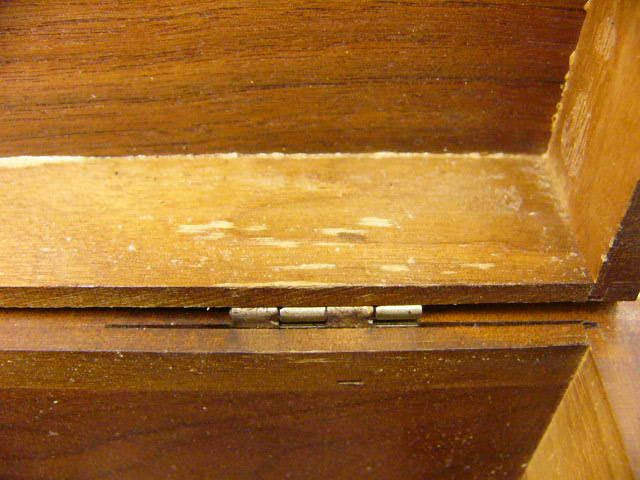
Didn't need to wipe off any excess glue back in those days either. :)

P1030421.jpg

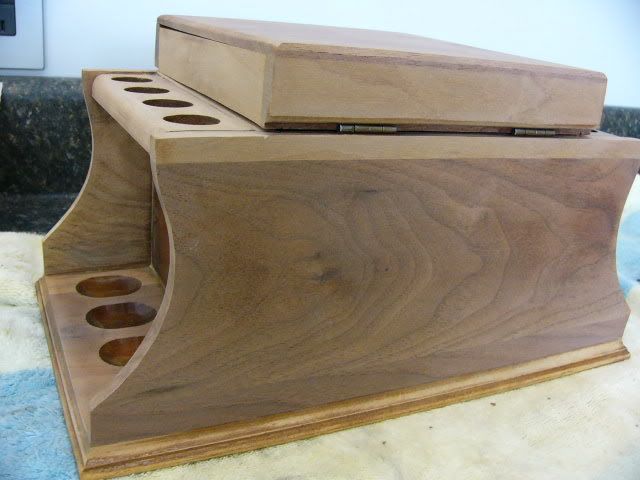
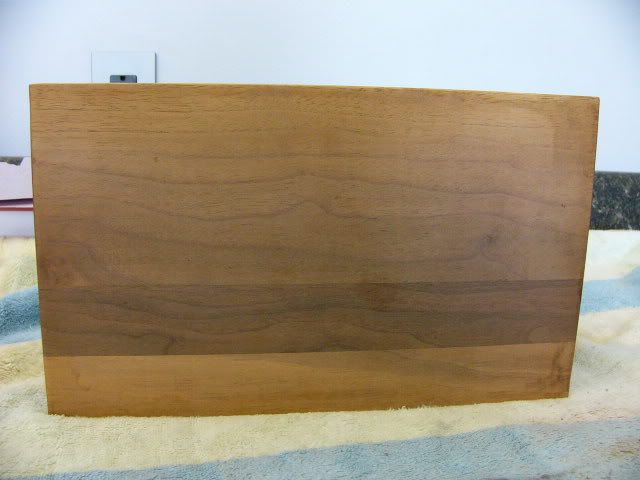
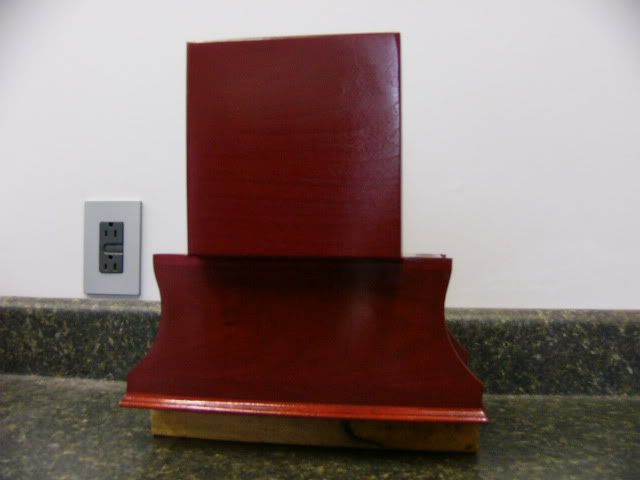
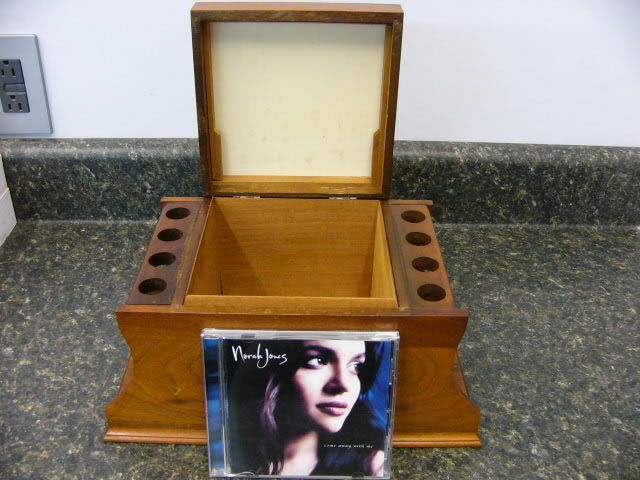
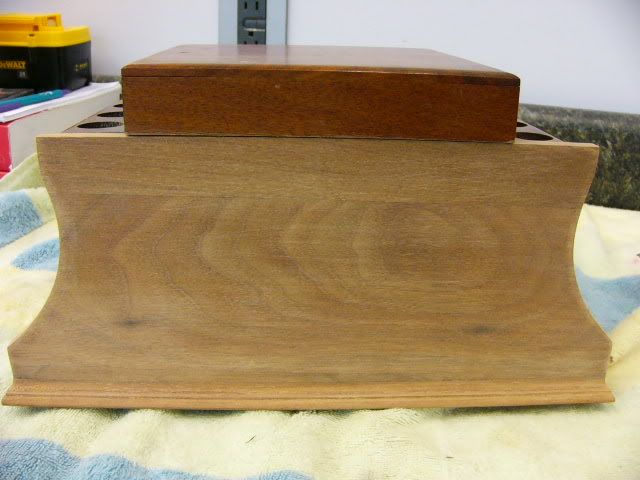
I put a CD in front for size reference.

P1030413.jpg

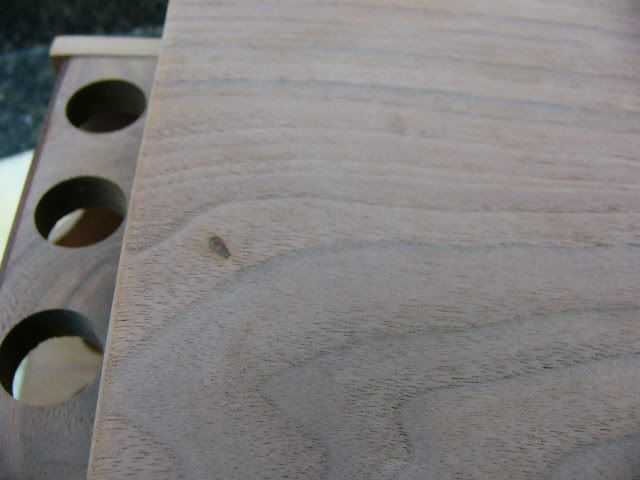
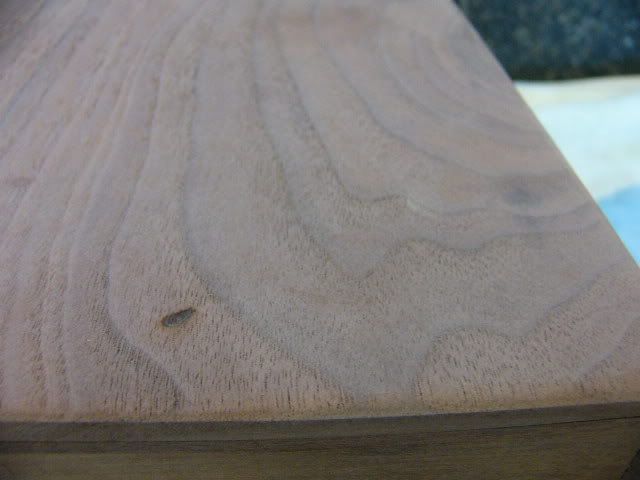
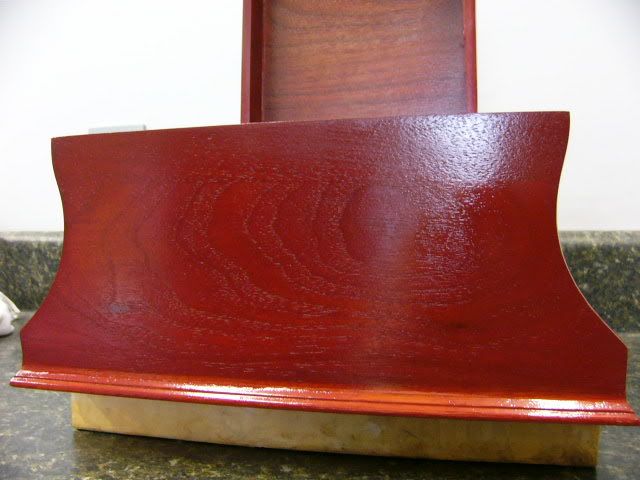
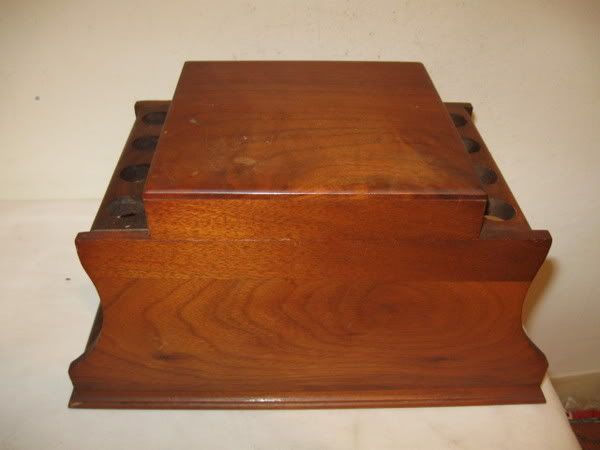
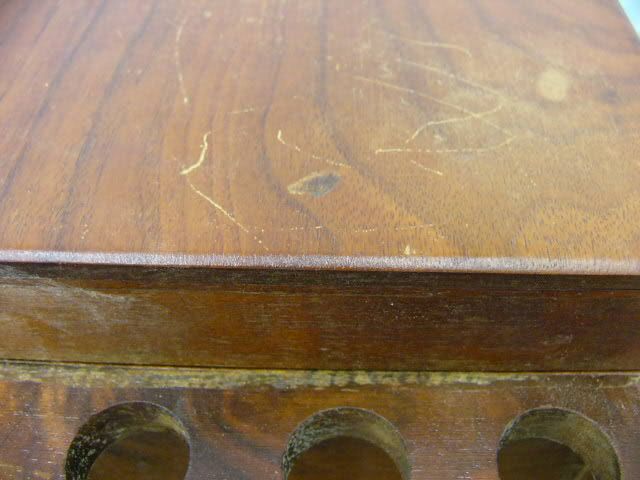
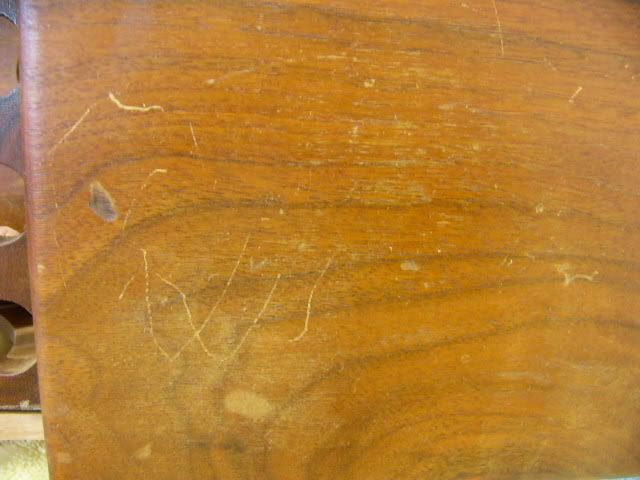
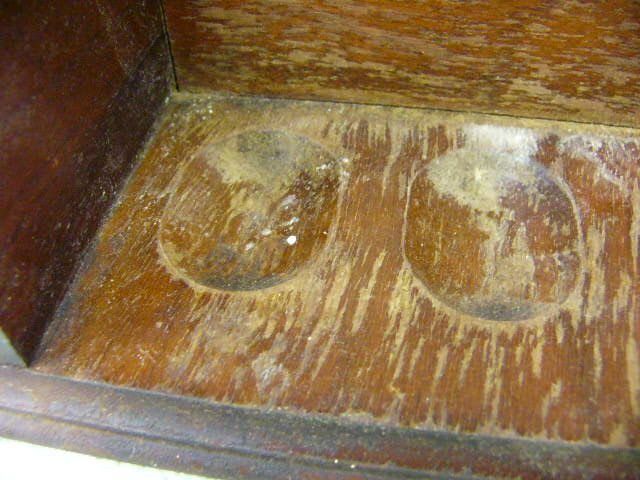
The top has a divot in it as well as some scratches.

P1030424.jpg

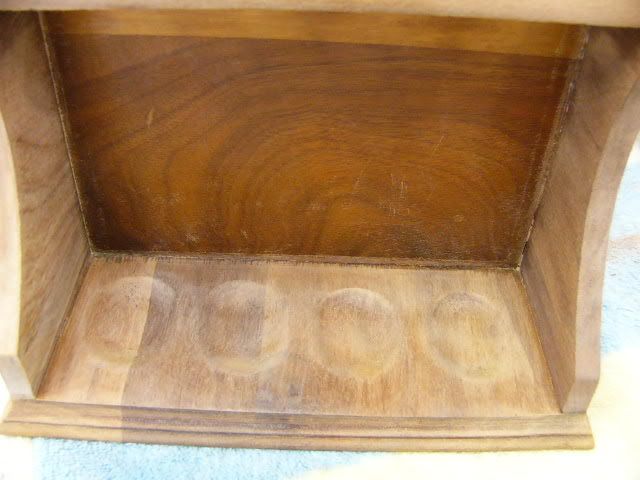
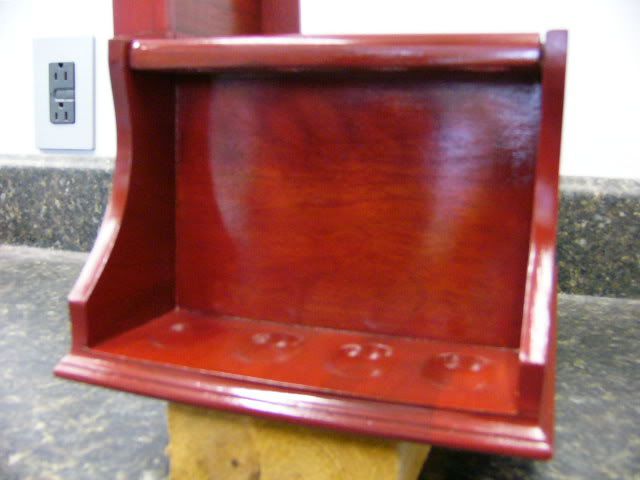
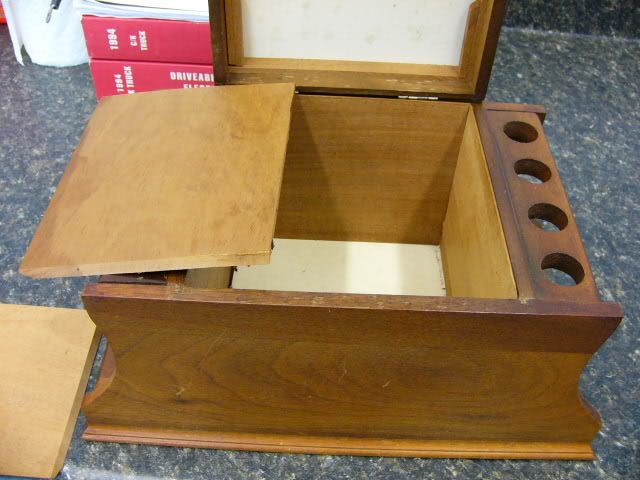
The 4 panels for the humidor section are all beveled for a friction fit and lift right out.

P1030412.jpg

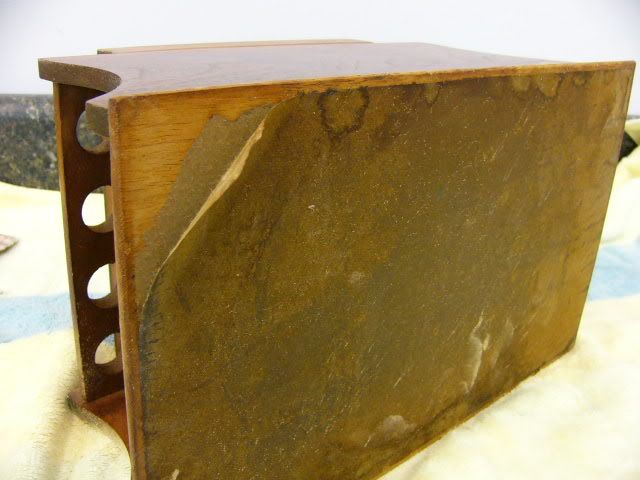
The bottom was covered with a thick paper which I got 50% off with a little scraping, the rest will sand right off. I'll replace it with thin sheet of felt I have used before that the Craft shop sells.

P1030414.jpg

I started sanding the original finish off already.

P1030416.jpg

I'll have alot of sanding to do on this part...I just wish I had some cloth backed sand paper for this section.

P1030417.jpg

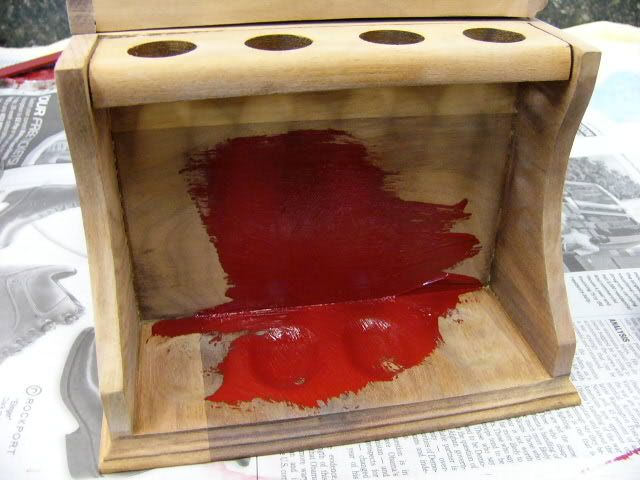
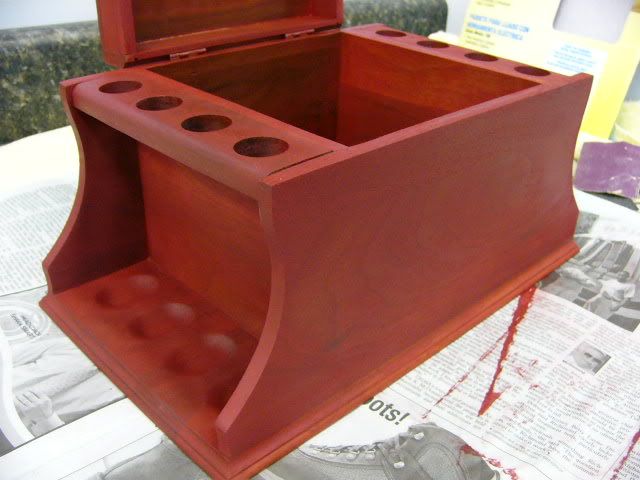
I'll post up some more pics once the sanding is all done and after I put the initial coat of stain on it.


cortezattic

Lifer
Nov 19, 2009
15,147
7,638
Chicago, IL
Great project hobie! Thanks for the pix -- I can't wait to see it all cleaned-up.

Maybe some steel wool can be used on those curved surfaces instead of cloth backed sandpaper.


classicgeek

Part of the Furniture Now
Apr 8, 2010
710
1
Neat!
I watched that 6-pipe humidor, and it didn't sell. It's back on eBay again. Keep us posted with your restoration. What are you planning for the stain?
Simon


hobie1dog

Lifer
Jun 5, 2010
6,888
233
67
Cornelius, NC
I watched that 6-pipe humidor, and it didn't sell. It's back on eBay again. Keep us posted with your restoration. What are you planning for the stain?
I'm not a fan of Walnut, so I'll likely stain it to match most of the rest of the wood in my house which will be like this turntable which is also made of walnut.

P1020661.jpg


P1020659.jpg


P1020662.jpg


P1020663.jpg

I first use Masters stain called Fire Red,

P1020619.jpg

and then seal it with a light coat of lacquer, then brush on some Brehlens mahogany tinted Grain Filler Paste, and removed with a gray 3M Scotchbrite pad.....then coat with 3-4 coats of Pre-Catalyzed Lacquer, sanding between coats with 320 to knock down any grain that raises up or to remove any debris that gets in the topcoat. The only can of it I have, is actually a semi-flat sheen, so I pour off just the top lacquer and leave all the flattening agent that has settled in the bottom of the can, that way I get a pretty good gloss finish.
Wadda ya think of it?
Here are pictures of the speakers I recently built for the garage stereo system which were made of Honduras Mahogany ( yeah, I know, I'm to blame for the devastation of the Rain Forests), Kind of the same effect.

P1030158.jpg


P1030171.jpg


hobie1dog

Lifer
Jun 5, 2010
6,888
233
67
Cornelius, NC
this is a pic of the speakers installed on the side walls next to the heat pump indoor unit which allows me to work in the garage in the summer

P1030290.jpg

110 inch projection screen is on the RH side of the pic


classicgeek

Part of the Furniture Now
Apr 8, 2010
710
1
That stain color looks good. I'm partial to reddish stains myself and it was what I had in mind when I posed the question. The humidor/pipe rack will definitely look good next to the other "accoutrements" of your garage... although from the pics I'd say that "mantuary" is a better word for it!
I obviously need to consult my interior decorator when it comes to my garage.
Simon


hobie1dog

Lifer
Jun 5, 2010
6,888
233
67
Cornelius, NC
This is one finished corner of my garage.

P1020229.jpg

It's very hard to get things up off the floor even with the added cabinets and loft I added

P1010857.jpg


P1020903.jpg

Command control center

P1030092.jpg


hobie1dog

Lifer
Jun 5, 2010
6,888
233
67
Cornelius, NC
Well, I spent about 3 or 4 hours today out in the garage sanding on this thing.

P1030437.jpg

Used the orbital sander on the top to decrease the size of the divot in the top

P1030428.jpg


P1030429.jpg

and more sanding results

P1030430.jpg

the paper on the bottom came right off too.

P1030431.jpg

This is the stain, called "Crimson Fire" which I was wrong in the previous post about the stain color title.

P1030432.jpg

same goes for the grain filler name too.

P1030433.jpg

those pipe troughs were a mother to sand.

P1030435.jpg

re-glued the joints that came apart during the sanding process which shook the things apart.

P1030436.jpg

So that's all for today. Rest of the day was spent spraying the finish on my friends subwoofer tube I built for him.

P1030427.jpg

6 coats of automotive primer to fill the mdf

P1030425.jpg


P1030426.jpg

I'm tired now, as Forrest said


hobie1dog

Lifer
Jun 5, 2010
6,888
233
67
Cornelius, NC
I applied the Masters "Crimson Fire" stain tonite and will have to let it sit till tomorrow evening.
First photo is just showing how bright red the stain is out of the can.

P1030438.jpg

This is the finished job, and yes, I even did the inside which will be covered up by the natural cedar liner.

P1030439.jpg

Yes, I did the bottom which will be covered up by a new sheet of thin felt. Got it elevated so that it will dry properly.

P1030440.jpg


hobie1dog

Lifer
Jun 5, 2010
6,888
233
67
Cornelius, NC
Today, I sprayed 3 full coats of Pre-catalyzed Lacquer on the pipe rack after I was satisfied with the stain job.
P1030445.jpg


P1030444.jpg


P1030443.jpg


P1030442.jpg

I put the metal insert in the top with the off white side facing out, this was the original orientation, but I'm not really into it.

P1030446.jpg

Flipped it over to the brass side to see what it looked like.

P1030447.jpg

I'll likely make some new panels out of Stainless Steel tomorrow at work and try them too. Overall, it's ok, and will match my speakers in the garage. I've got to stop and get a sheet of thin black felt for the bottom and will likely cut some strips of it and put them in the pipe stem cut-outs to cover up the roughness, and protect the stems from scratches.


fred

Lifer
Mar 21, 2010
1,509
4
What fun! Your project restoration is like watching Old Yankee

Workshop. Years ago, the cabinetry bug bit me big time. Thanks

for sharing.


hobie1dog

Lifer
Jun 5, 2010
6,888
233
67
Cornelius, NC
Thanks for the compliments guys. It's kinda sad, but every refinishing job usually has one little spot that doesn't turn out right due to glue remnants not allowing the stain to penetrate, or a bug that flies into the final coat, etc. and it is rarely that I'm happy with any job I do....it's just built into me that way...cannot change it....tried, doesn't work.
For 7 years I did rather high end refinishing in the Pipe Organ business, and every job had " a spot" that bothered me...no one else rarely ever noticed the flaws in the finishing. I use to have spots where I had stain problems and I would color back in the black grain lines in the wood with special pens....all in a 1/4 inch diameter spot.

This is some of my finishing work.

index3.jpg

This is had the bottom part existing and we added all the casework up on top to match.

index8.jpg


This one was all mahogany that was installed in a guys house in Atlanta.

opus55.jpg


Status
Not open for further replies.