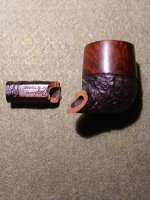
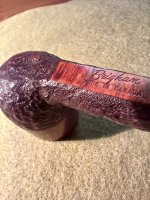
This Brigham sat in a box for a couple of years before I finally decided to try repairing it. My inspiration was some YouTube videos on the “High Grade Pipe Repair & Restoration” channel. This was my first time to try a broken shank repair.
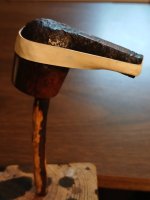
I used a needle in a pin vise to make tiny indentations all over the surface of the bare wood of the break. Then I mixed and applied enough G/flex 655 epoxy to have a bit of excess squeeze out once I joined the two pieces. A rubber band worked well for maintaining gentle pressure, and I waited a couple of hours till the excess could be nicely pealed off the outside. I started to try to remove the excess inside the airway as well, but it seemed likely that I would open the break again, so I set it aside until the epoxy was fully cured. Then I used a thin metal rod to break off the excess from the inside of the airway, and that worked fairly well.
I am hopeful that the bond will hold, but only time will tell. What luck have the rest of you had with repairs like this?


