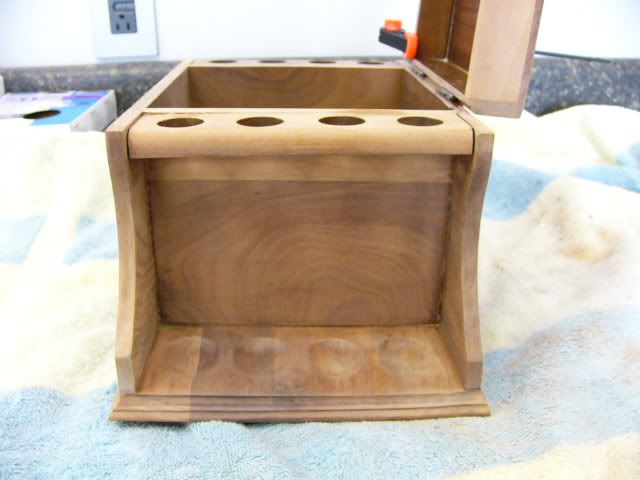
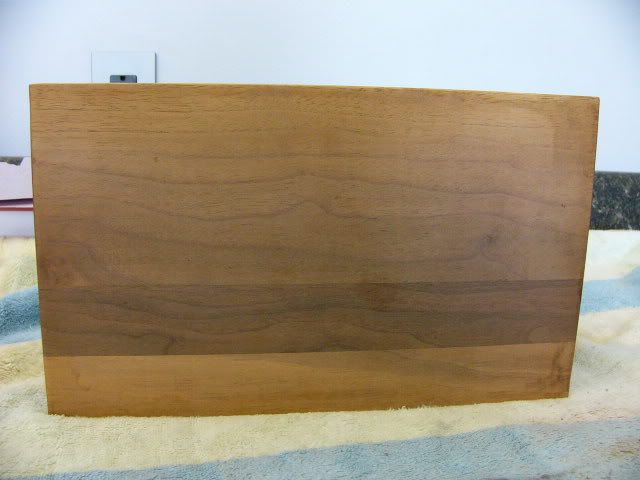
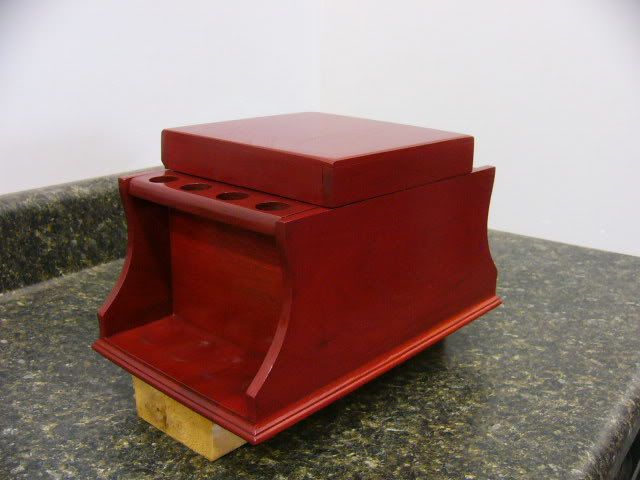
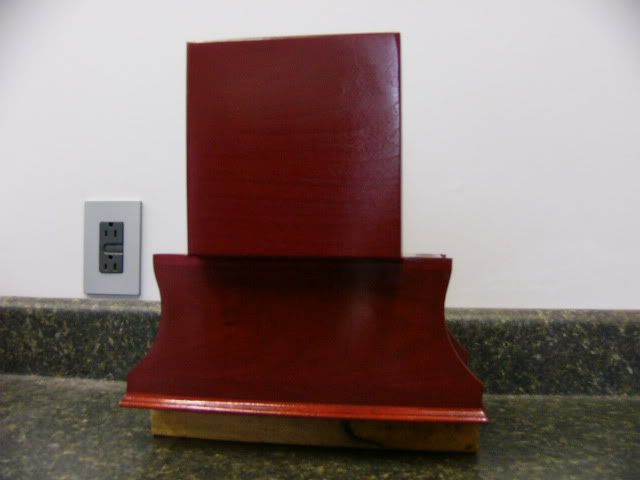
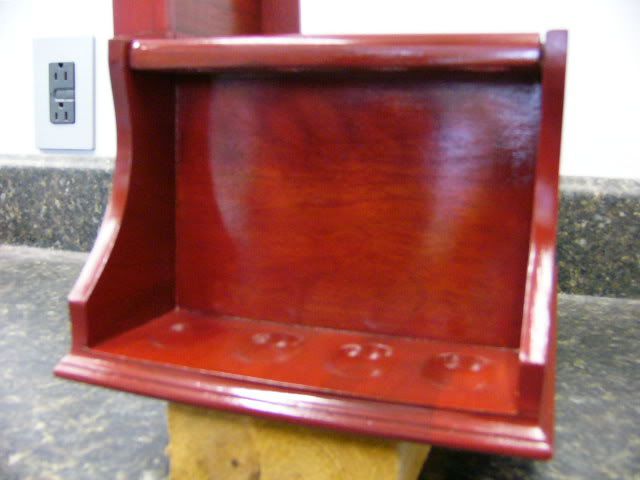
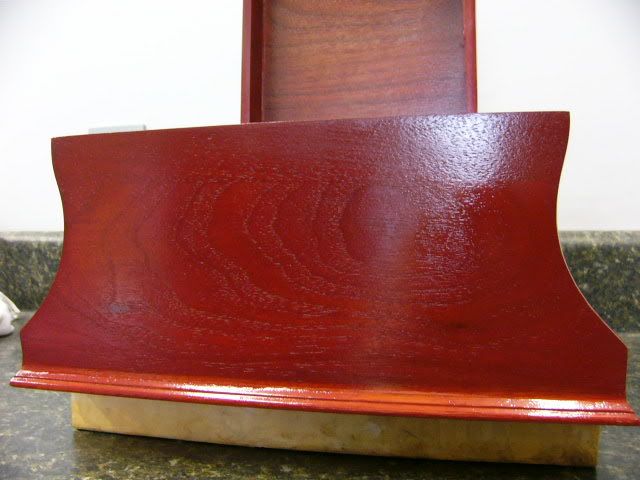
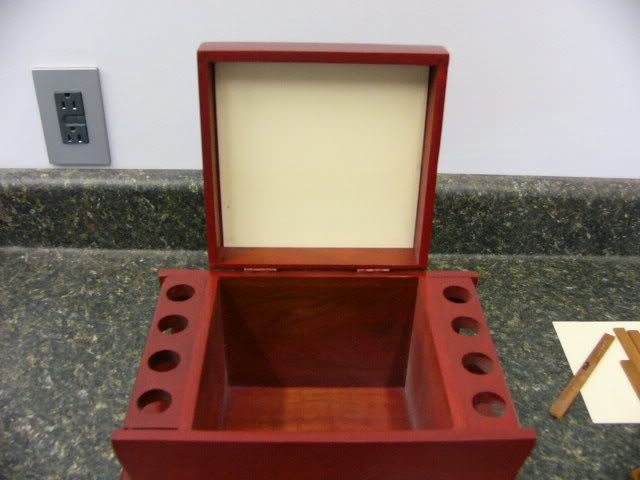
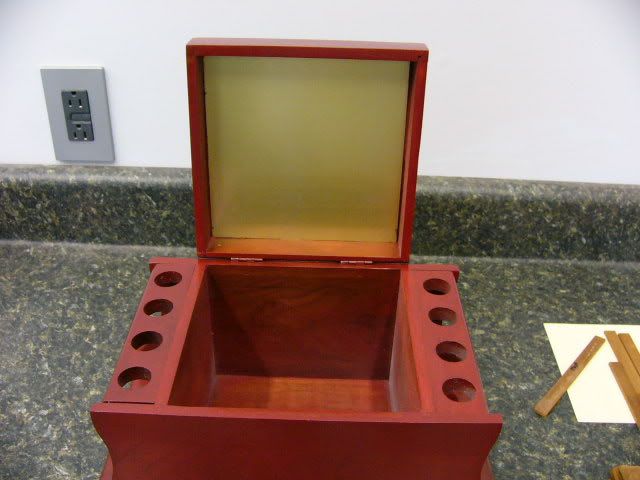
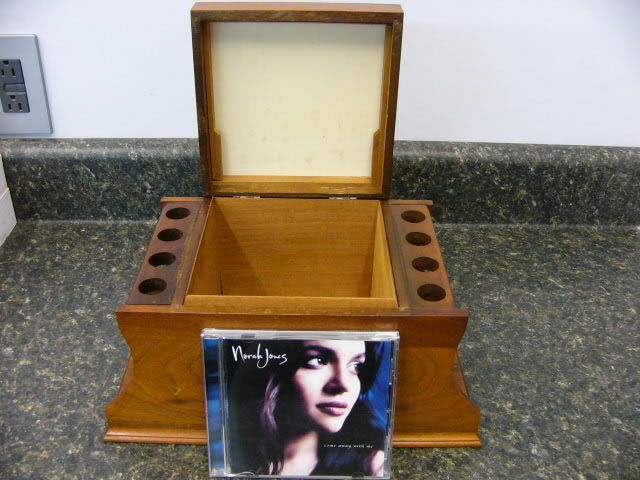
Thought I'd post up some pics of the restoration of an antique pipe rack I got on Ebay last week. There was a very similar 6 pipe rack that had the documentation with it and it was built in 1880...this one looks just like it inside and out, but holds 8 pipes. It was naturally a little smaller once I unboxed it, compared to the pictures on Ebay. Here's what I started with...a walnut construction box, and some of the joints are pretty good, and others not so good which gives it a definite old world look
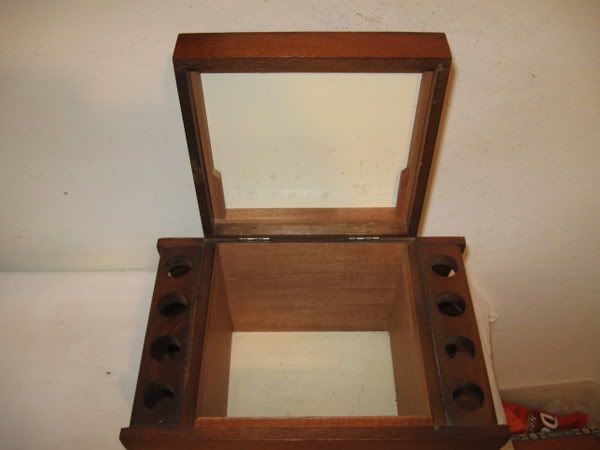
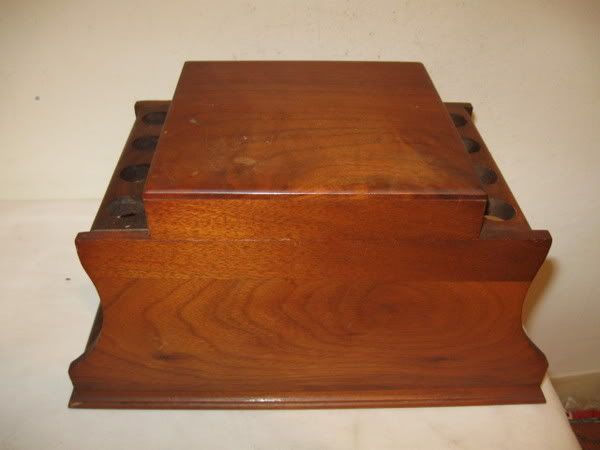
Poor joints
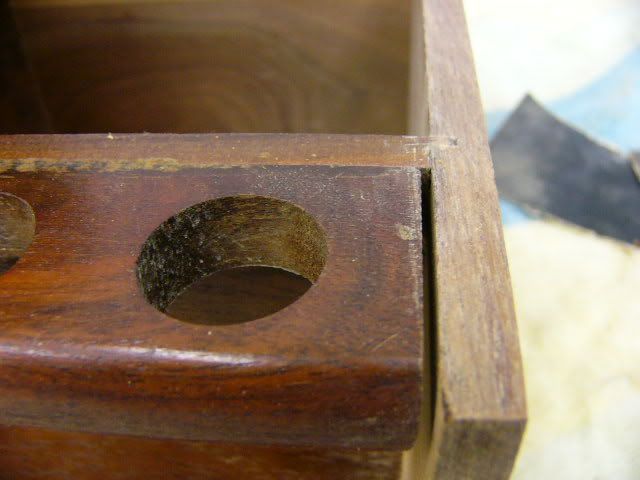
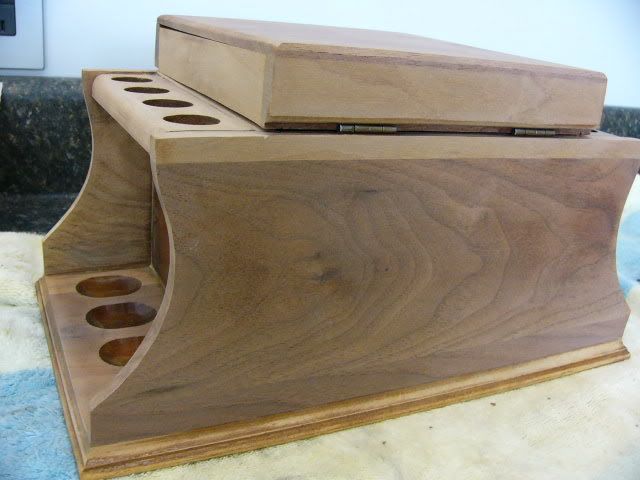
neat relief cut for the hinges though.
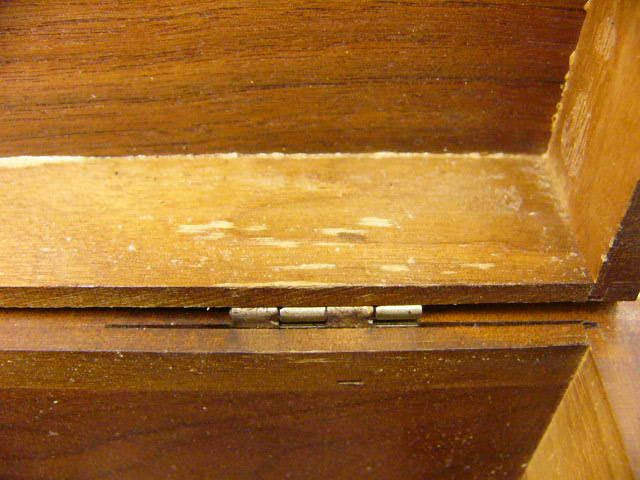
Didn't need to wipe off any excess glue back in those days either.
I put a CD in front for size reference.
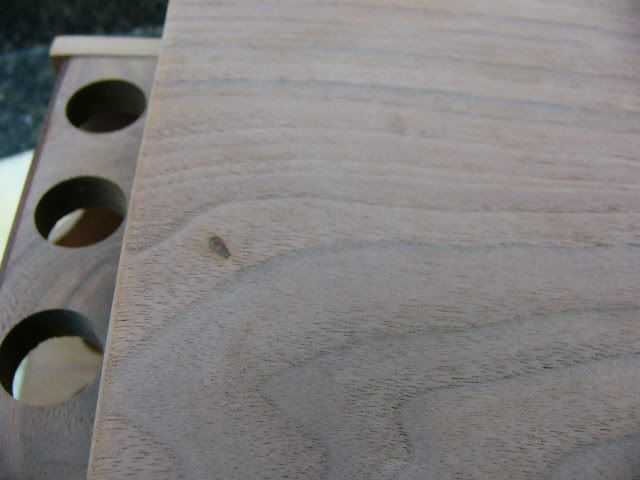
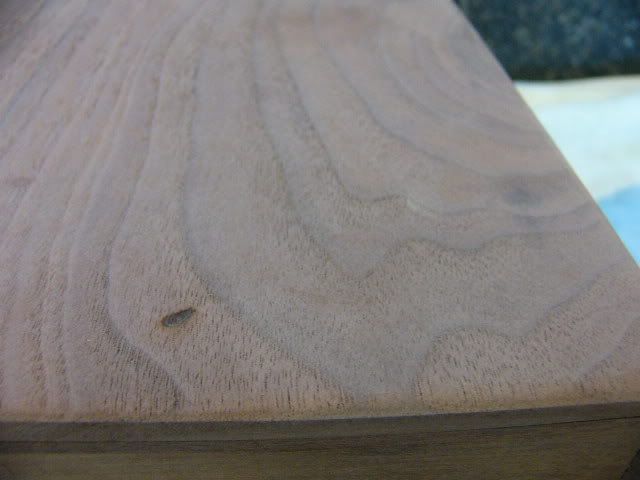
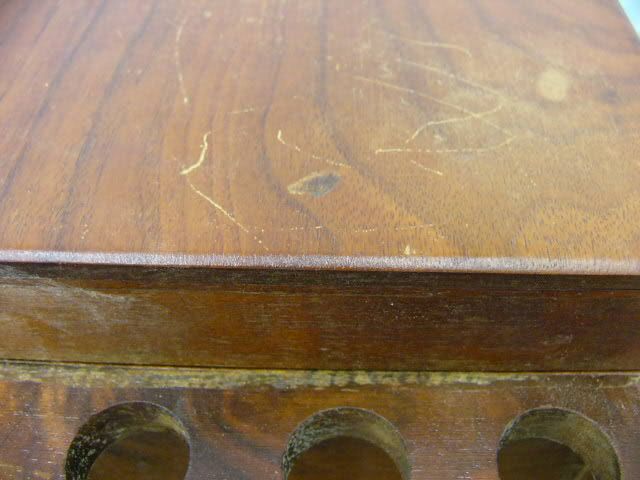
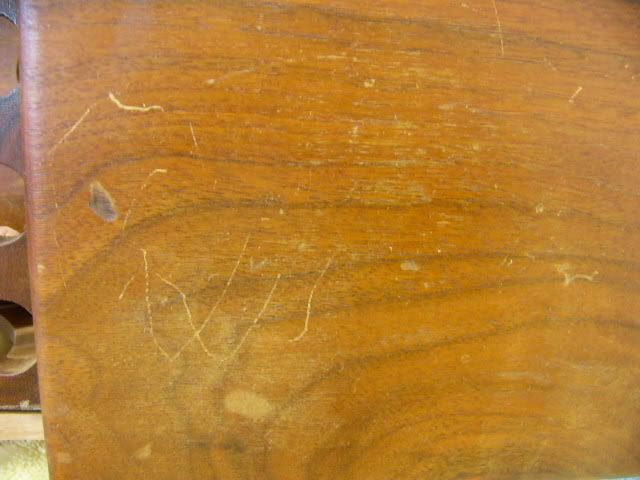
The top has a divot in it as well as some scratches.
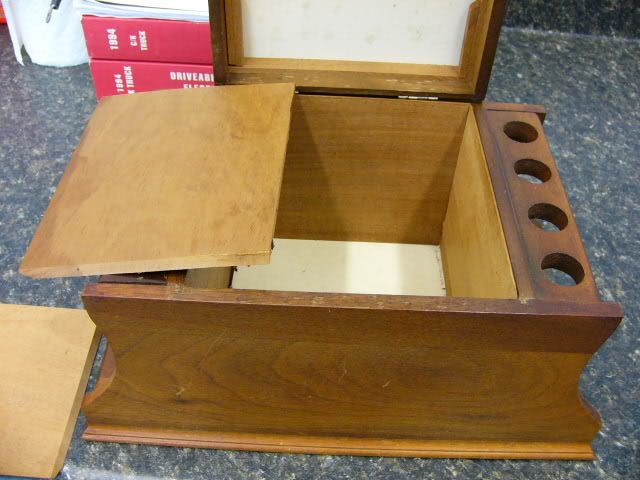
The 4 panels for the humidor section are all beveled for a friction fit and lift right out.
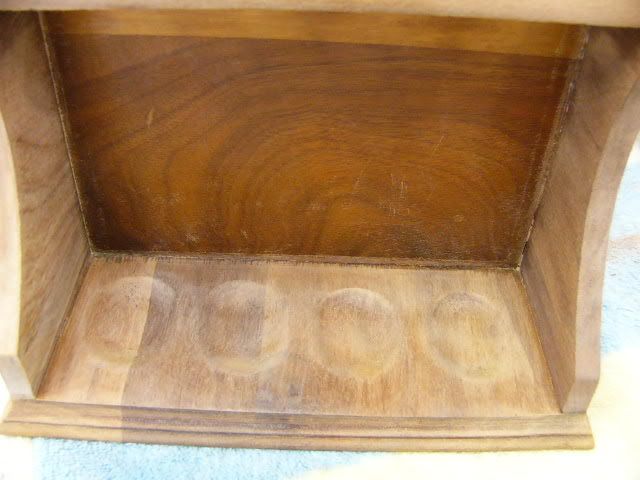
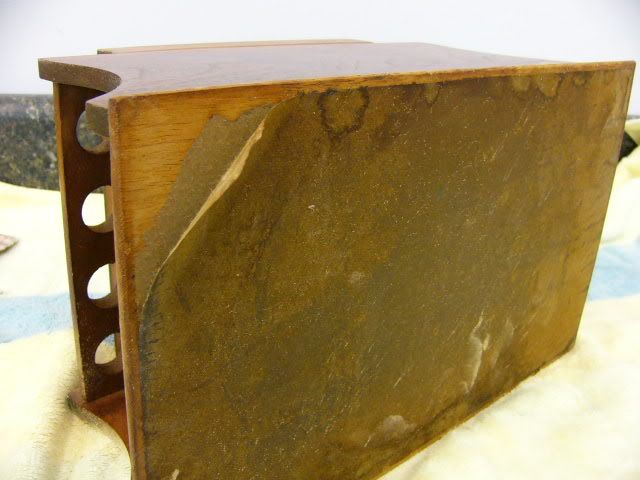
The bottom was covered with a thick paper which I got 50% off with a little scraping, the rest will sand right off. I'll replace it with thin sheet of felt I have used before that the Craft shop sells.
I started sanding the original finish off already.
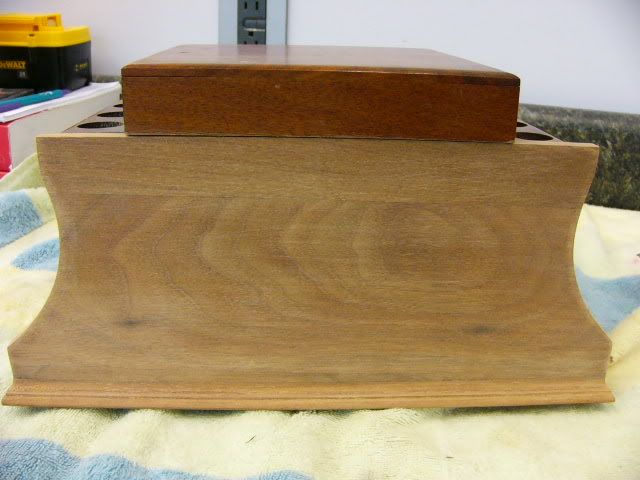
I'll have alot of sanding to do on this part...I just wish I had some cloth backed sand paper for this section.
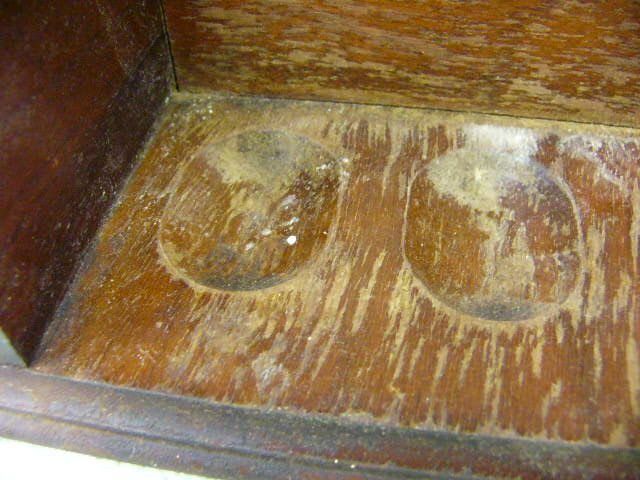
I'll post up some more pics once the sanding is all done and after I put the initial coat of stain on it.


Poor joints

neat relief cut for the hinges though.

Didn't need to wipe off any excess glue back in those days either.

I put a CD in front for size reference.

The top has a divot in it as well as some scratches.

The 4 panels for the humidor section are all beveled for a friction fit and lift right out.

The bottom was covered with a thick paper which I got 50% off with a little scraping, the rest will sand right off. I'll replace it with thin sheet of felt I have used before that the Craft shop sells.

I started sanding the original finish off already.

I'll have alot of sanding to do on this part...I just wish I had some cloth backed sand paper for this section.

I'll post up some more pics once the sanding is all done and after I put the initial coat of stain on it.


