Dunhill Canadian Restoration

Log in

SmokingPipes.com Updates

New Cigars
9 Fresh Estate Pipes
6 Fresh IMP Meerschaum Pipes
3 Fresh Bill Shalosky Pipes
12 Fresh Dunhill Pipes

PipesMagazine Approved Sponsor

PipesMagazine Approved Sponsor

PipesMagazine Approved Sponsor

PipesMagazine Approved Sponsor

PipesMagazine Approved Sponsor

Status
Not open for further replies.

bentmike

Lifer
Jan 25, 2012
2,422
40

I've never done a restoration on an estate before and after looking at numerous threads on the forum displaying all the good work done by amateurs and pros alike I couldn't help but try my hand at bringing a well used pipe back to life. This is the 3109 Chestnut Canadian that I scored at the NASPC show in Columbus. I thought it would be the perfect candidate.
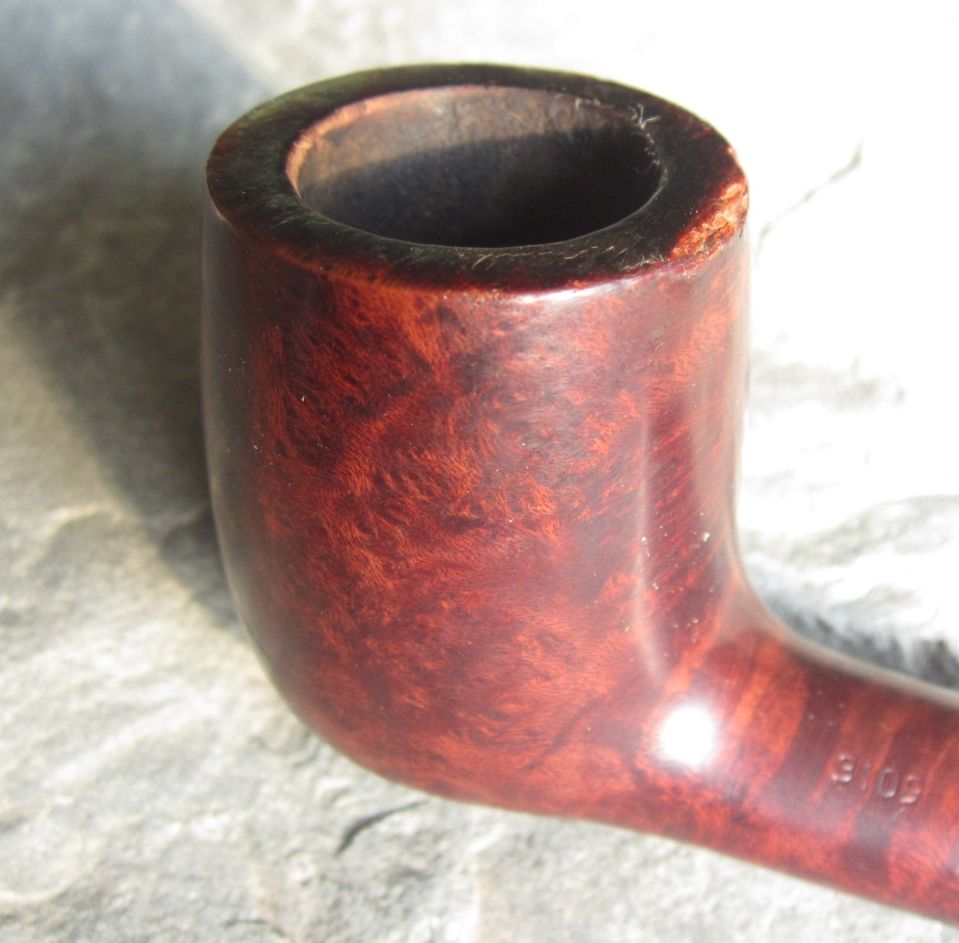
Here's the after shots. Not to bad for my first try I think. The pipe surely could be enjoyed the way it was with the blackened and crushed rim but now I think it looks much better. The pipe had been properly reamed with just a thin cake remaining and with no wood exposed. So that just left me to give the shank a quick once over with some 151 on a bristle cleaner and I let it dry before completing the staining and wax buffing.
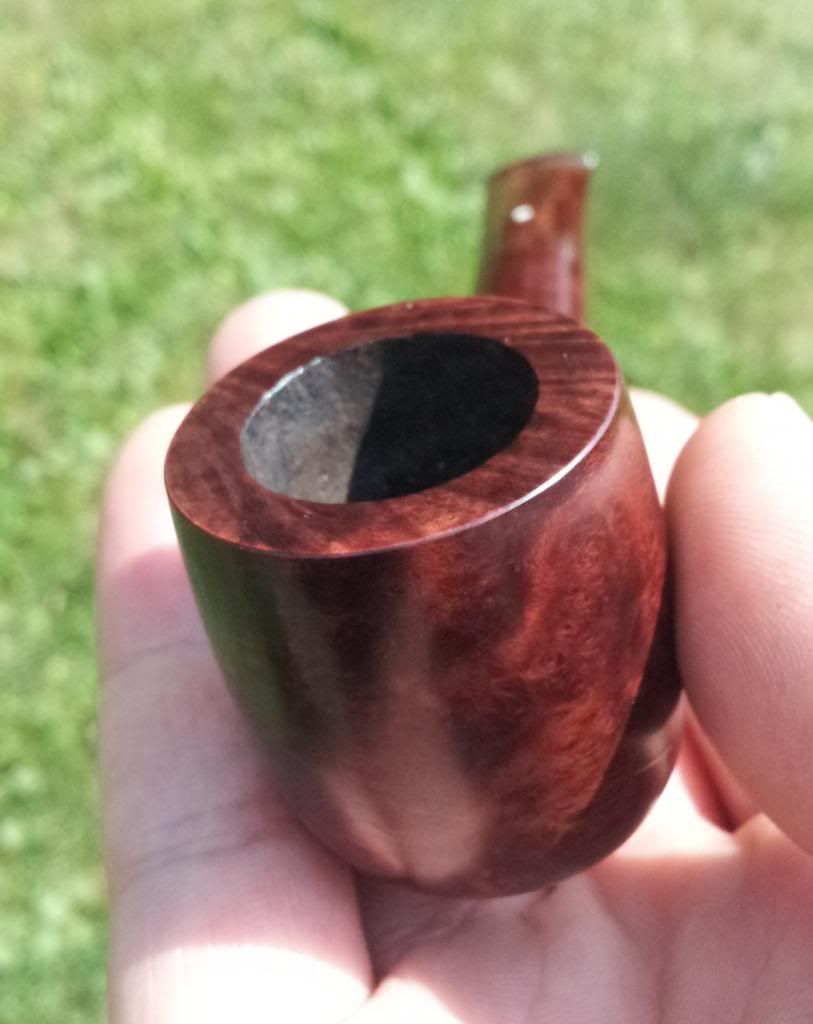
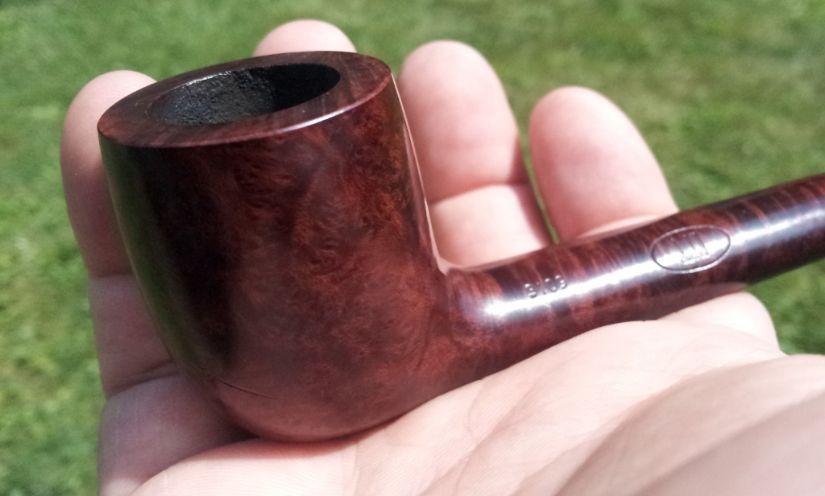
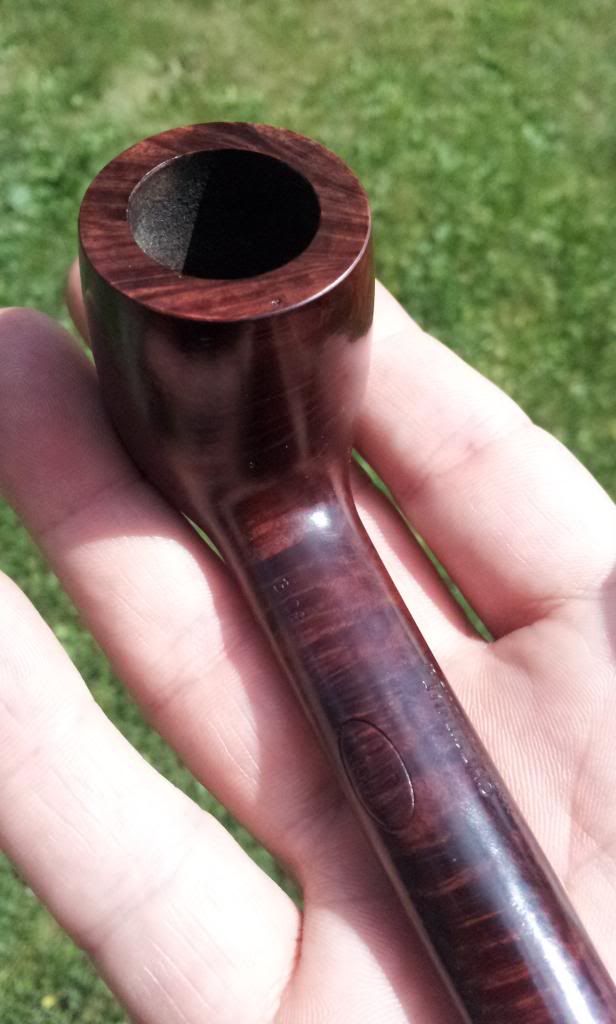
I've not smoked the pipe yet but the size 3 Canadian is my favorite shape right now and knowing my other Canadian Dunnies I expect this one to not let me down. Now I get it. I used to wonder why guys put all that effort into cleaning up old pipes. It's cool to clear away the layers of grime and fix the battle scars as well as possible and then catch a glimpse of the pipe as it might have looked in its younger days.


petes03

Lifer
Jun 23, 2013
6,212
10,659
The Hills of Tennessee
Great work, especially on the rim! The Canadian and Lumberman shapes are really growing on me. I don't own one yet, but I do have my eye on a Savenelli in the Roma Lucite series! Straight pipes in general are growing on me. After my first year of smoking, my collection consisted of 12 pipes, 10 bents and 2 straights. Fast forward a few years, now my collection is 30+ strong, with about 50/50 ratio of bents to straights! As a matter of fact, I have a straight billiard Stanwell Zibrano w/ oval shank and saddle bit, in layaway right now! Anyway, congrats on the pipe and the resto job!


bentmike

Lifer
Jan 25, 2012
2,422
40
Thanks Gents and Lady! This was a fun project but the icing on the cake was firing up the pipe for the first time. My Full Virginia Flakes smoked like a million bucks. There was no ghost in the pipe so just that fresh baked sugar cookie aroma from the Virginia's.
Bullbriar -that's no bull! Yes it really is my first restore. However I've been playing with wood and tools for 25 years. That experience makes it a little easier to find my way on a new project. I had to practice my staining technique on a scrap piece of briar to dial in the color. That was the most challenging thing.
Petes03 -I was the same. My first pipe was a bent pipe and that was my favorite shape for years. But like you I started noticing straight pipes and once I started smoking long shank pipes like my Canadians and lovats they have now become my favorites. The extra wood in a longer shank makes for more a absorbent airway which I think makes for a better smoke. I also love the oval shank because it self levels itself in my fingers. Your Stanwell sounds like it will be a good one. Can't wait to see it.


rockymtnsmoker

Can't Leave
May 31, 2013
418
4
Boldly done. A Dunhill resto for your first project! The background with woodwork helped, I'm sure. Very nice indeed.


allan

Lifer
Dec 5, 2012
2,429
7
Bronx, NY
Bent
Great job.
I'm curious. In order to remove the severe abrasions on the rim of bowl, did you have to sand the top down? If you did, what happened to the stain underneath? Did you have to restain or was the stain deep?
Thanks


bentmike

Lifer
Jan 25, 2012
2,422
40
Allan, Yes I had to remove 1/16" or a tad more of the rim to get below the damaged spot. Staining most hardwoods only affects the very surface (and pipes are no different) so I had to match the color of the rest of the pipe and re-stain the top of the rim. Color matching is the tricky part but after years in the printing industry it is something I'm familiar with.
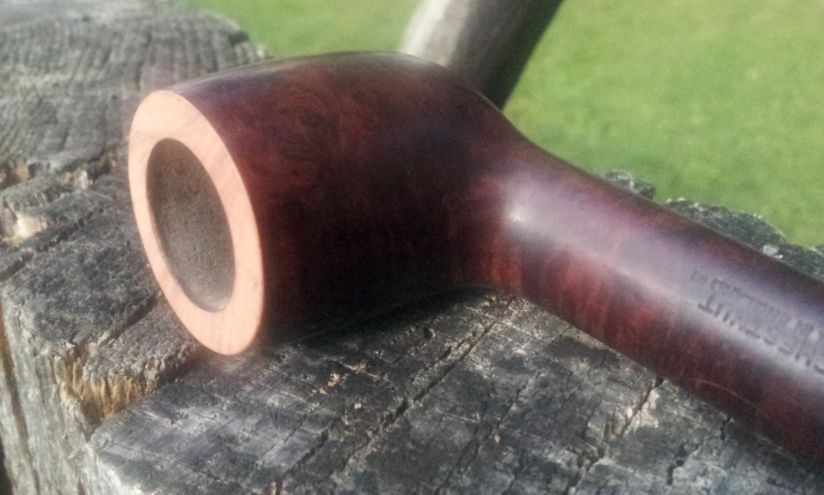
Here's what the rim looked like once I had sanded it down prior to staining. You can see the raw briar is much lighter.


Status
Not open for further replies.