Another Dunhill Tanshell Project

Log in

SmokingPipes.com Updates

Watch for Updates Twice a Week

PipesMagazine Approved Sponsor

Drucquers Banner

PipesMagazine Approved Sponsor

PipesMagazine Approved Sponsor

PipesMagazine Approved Sponsor

PipesMagazine Approved Sponsor

shanez

Lifer
Jul 10, 2018
5,481
26,336
50
Las Vegas
Great work!
I need to learn to read though. I've been reading it as "sugar" glue which is used in food decorating. My mind thought "well, okay, maybe it crystallizes and hardens which is why he is using it". :crazy: Yeah, super glue, probably a much better choice. :rofl:


didimauw

Moderator
Staff member
Jul 28, 2013
10,736
37,796
SE WI
Hahaha I thought you just maybe had a typo, then I went and re read my posts to make sure I wasn't putting "sugar glue"


mso489

Lifer
Feb 21, 2013
41,211
60,648
I commend the heroic effort. It might result in a good old smoking pipe that you'll enjoy for years. At the least, you'll have quite a story to tell. It's true you don't want to get too many chemicals close to the heat and fire. Probably the carbon layer will wall them off, but really volatile materials will gas off just being warmed. Anyway, you'll usually know by nose. It's a riveting tale. The raising of Lazarus of the pipe world.


shanez

Lifer
Jul 10, 2018
5,481
26,336
50
Las Vegas
Probably the carbon layer will wall them off, but really volatile materials will gas off just being warmed.
See? "Sugar" glue would crystallize and then turn to carbon! I'm not crazy? :rofl:


didimauw

Moderator
Staff member
Jul 28, 2013
10,736
37,796
SE WI
Ok finally back to it. Had some delays, due to family health.
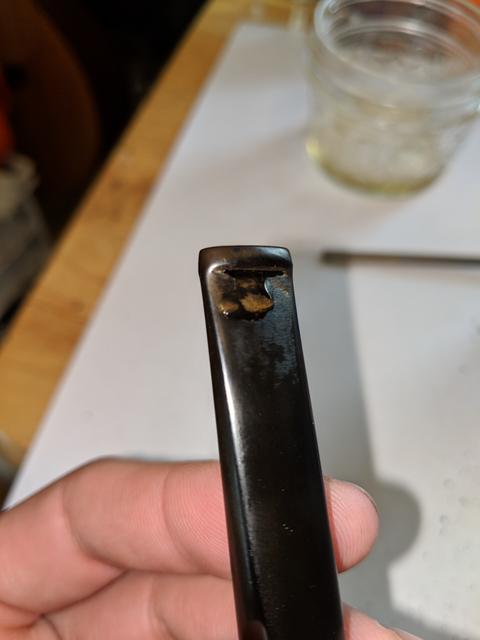
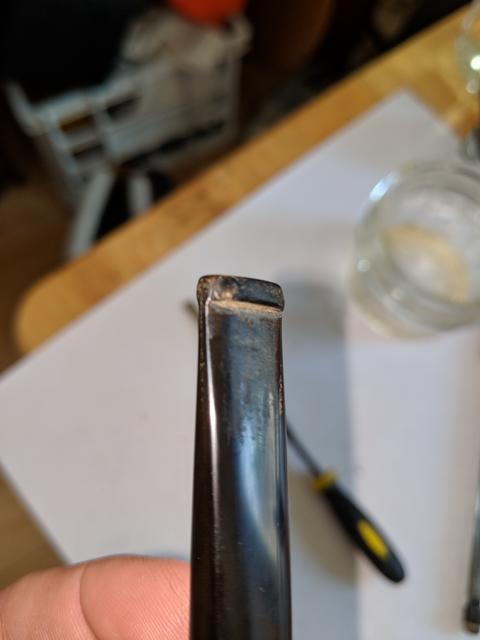
So onto the stem. There was some deep dents in it, on the stem itself, and on the button.

IMG-20190423-102814.jpg


IMG-20190423-102830.jpg

I used super glue to fill them.
IMG-20190425-100428.jpg


IMG-20190425-103347.jpg

And then filed.

IMG-20190425-095845.jpg


And sanded.
IMG-20190425-122933.jpg

And then micromesh polished. And well, it turned out ok I guess. Better than it was.

And yes the pictures I took, I spent a while looking for the right angles so flaws wouldn't show...haha
IMG-20190429-220728.jpg


IMG-20190429-220731.jpg


didimauw

Moderator
Staff member
Jul 28, 2013
10,736
37,796
SE WI
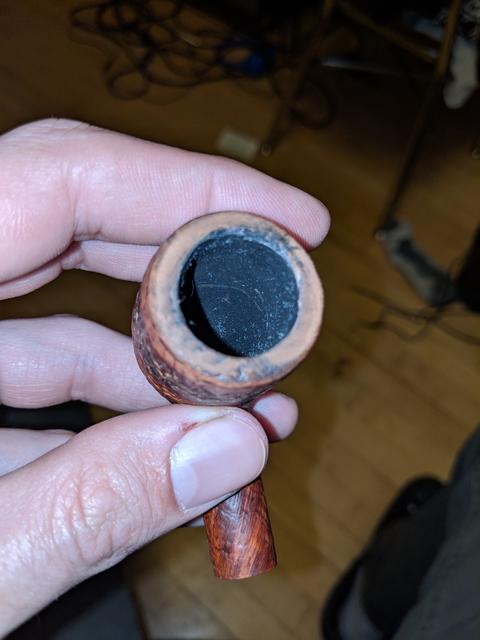
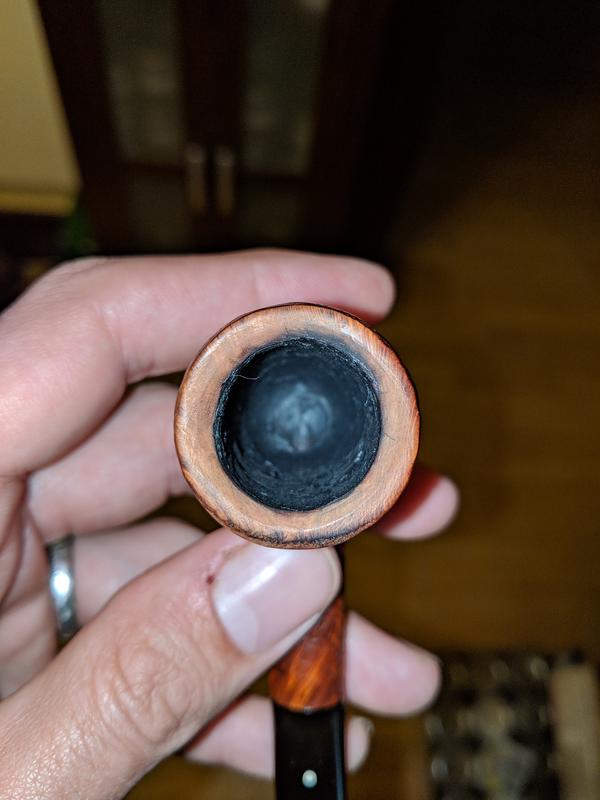
And working on the top of the bowl, the more I got it clean, the more charring and damage I found. So yeah, I topped it.
I should have named this the stupid ugly Dunhill Zombie thread....
IMG-20190429-213023.jpg

So I tried my best to chamfer the inside of the bowl, to hide the huge char mark. First lightly with a Dremel...yeah that was dangerous, then hand sanded with 220 grit.
IMG-20190429-214028.jpg

And kept going, and I think this is as good as I care to get it.
IMG-20190429-214814.jpg

Soon it will be totally covered in cake and I won't be able to see it anyways.
I tried to take this "refurbishing/repair/demolishion" serious, and realized... This is hard stuff.
Or I could have named this thread, " How Georged DOESNT repair pipes" haha
Even my tamper is frowning at me...
IMG-20190429-222925.jpg


didimauw

Moderator
Staff member
Jul 28, 2013
10,736
37,796
SE WI
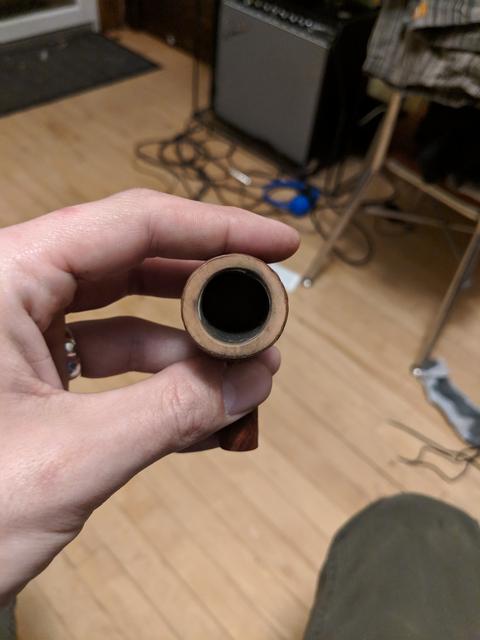
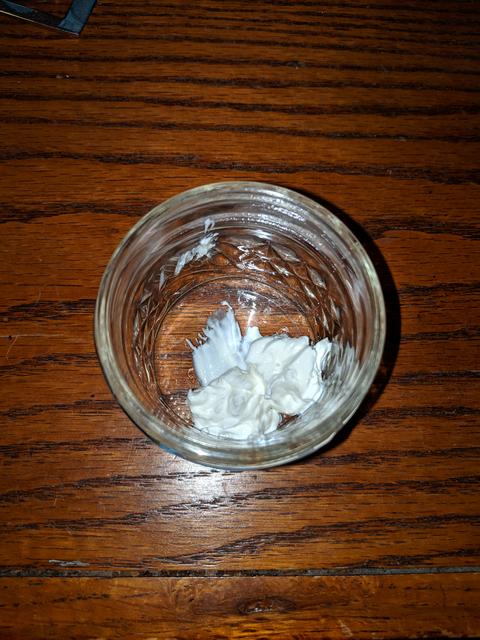
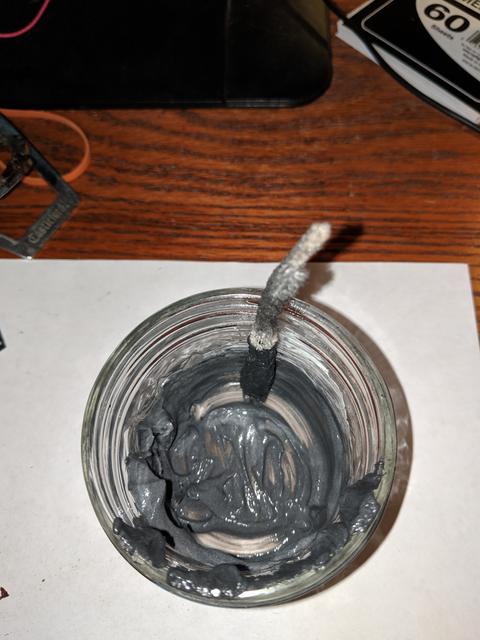
So, I still wasn't happy with the coating on the inside. Didn't seem to harden like I had hoped. So I used a tip from josephcross and mixed the activated charcoal, with....
Sour cream...
IMG-20190503-213940.jpg

IMG-20190503-214052.jpg

I don't have any exact measurements. Just mixed it together till it turned a dark grey color.
IMG-20190503-214843.jpg

I'm told it hardens very well, and the scent will go away within a day or so. So we shall see.
IMG-20190503-214856.jpg


  • Like
Reactions: itsnotuitsme

didimauw

Moderator
Staff member
Jul 28, 2013
10,736
37,796
SE WI
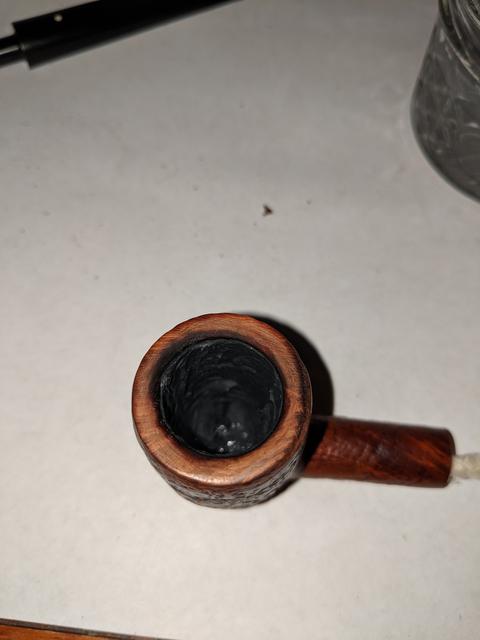
So after letting the new bowl coating sit, and harden I was finally happy with it. That method worked like a charm!
IMG-20190507-221409.jpg

Then I had to deal with the stem. Couldn't for the life of me get it to fit inside the shank. Then I remembered reading about pencil graphite as a lube. So u sharpened a pencil, and lubed the tenon with it. AMAZING. Couldn't believe it. Slid in without any issue.
Then I loaded my Rossi up with some Carter Hall and headed to the garage to buff the pipe.
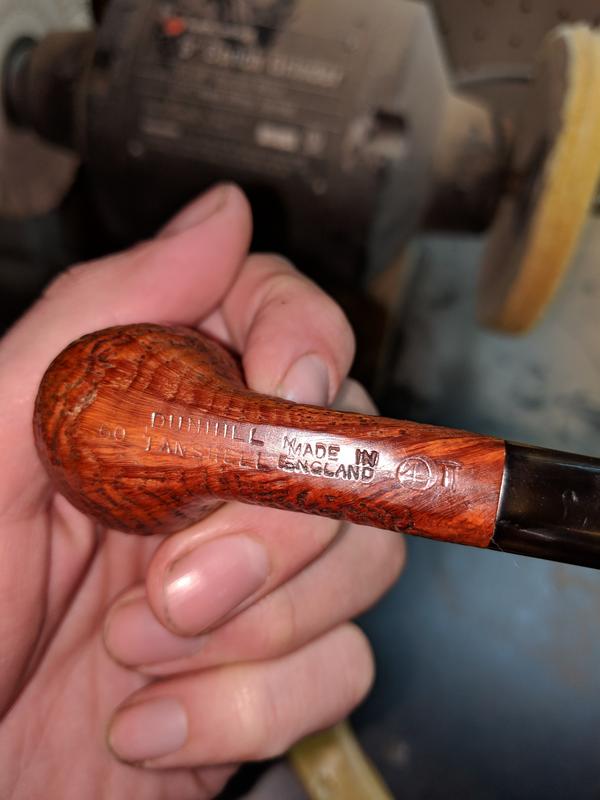
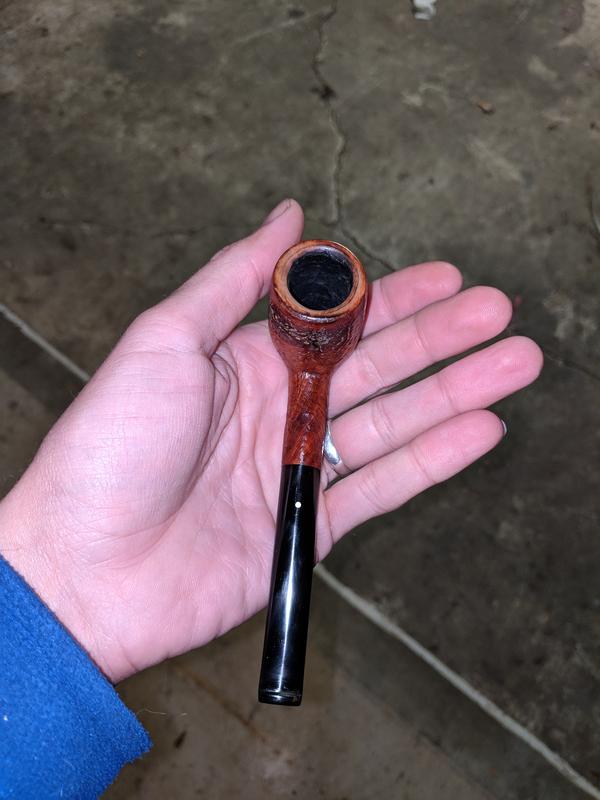
One good coat of caranauba wax, and here's the final pictures of the Dunhill Tanshell zombie.
IMG-20190507-222154.jpg

IMG-20190507-222204.jpg

IMG-20190507-222223.jpg

IMG-20190507-222304.jpg

IMG-20190507-222244.jpg

IMG-20190507-222258.jpg

Yes there's some smudges on the stem I hadn't cleaned up yet, but I'm done. IM DONE!!!
This project had me sweating, nervous, anxious, and down right angry at times honestly. I believe this will be the last project I work on.
This was much harder, and much more work that I anticipated.
I think I'll leave the rest to the professionals.
The end.

 
  • Like
Reactions: itsnotuitsme

jeffro

Starting to Get Obsessed
Jul 18, 2017
163
28
I think you did a great job on the refurbishment on that old Dunny that has seen better days, now you have given this pipe a second life, just like Dr. Frankenstein did with his subject or "Monster"
If all else failed I suppose you could have made it into a real monster pipe like Ollie Sylvester of Monstrosity pipes does to his creations.


kcghost

Lifer
May 6, 2011
15,138
25,721
77
Olathe, Kansas
I don't know about this. Have you done real serious refurb work before?? It seems like you took on a rather large task with not enough guidance. Well. if it came out well all is well.