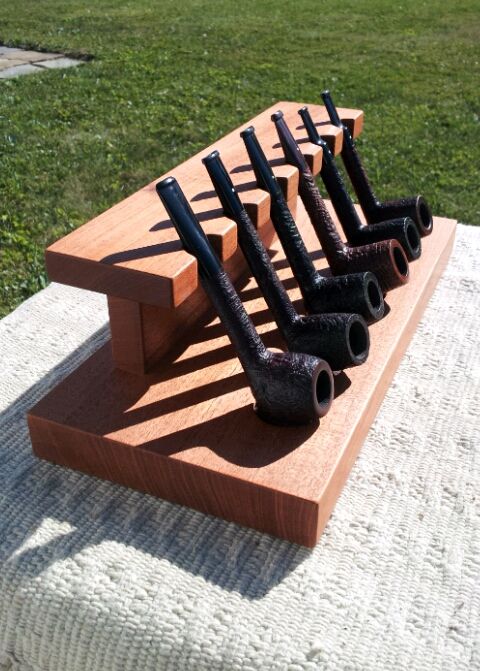
I'm a little ashamed to admit it but I don't have a pipe rack. Over the past few years I've gathered a nice collection of burners but I had nothing to rest and display my usual rotation on. I've been wanting to get started on a pipe rack for myself so come on out to my workshop and follow along on my latest project.
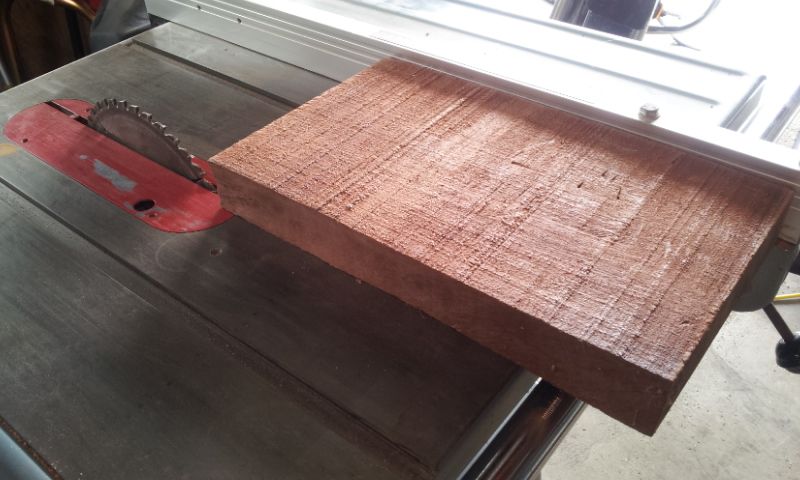
So many table top pipe racks are made from spindly low quality wood like pine and stained the usual dark colors. As a woodworking hobbyist that stuff drives me nuts. In my wood supply I have a bunch of solid mahogany that I salvaged from the scraps from a pattern shop. This wood is mostly thick slabs of the beautiful tropical wood but shorter pieces sawn off the ends of huge boards. Not good for much but smaller projects so there was no question of what wood to use for my pipe rack.
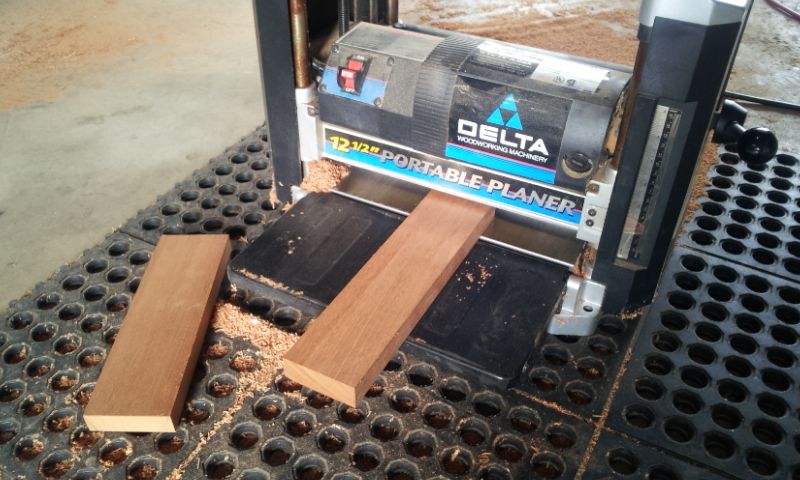
After sawing the pieces to rough size on the table saw I ran them through the planer to reduce them to the thickness I wanted.
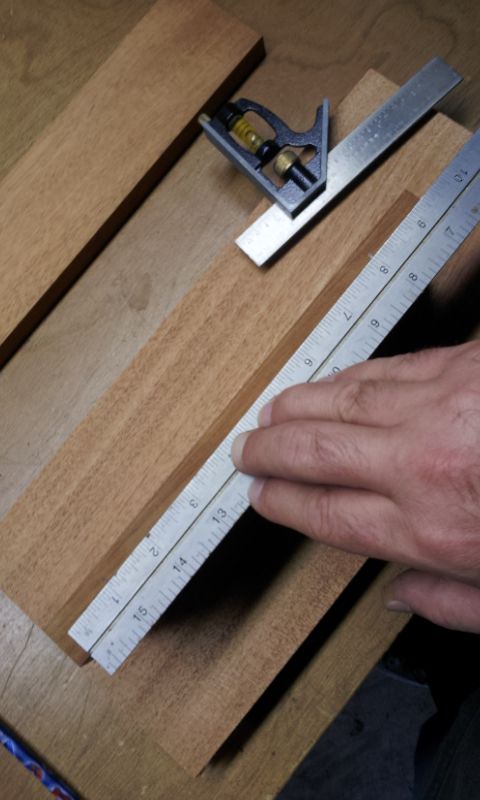
After cutting and planing all the pieces the next step is laying out the dowel holes. I like using wooden dowel pins in my projects. The pins allow precise fit of the pieces, add more glue surface and let me dry fit the pieces together to make sure everything looks right before the final assembly with glue makes things permanent.
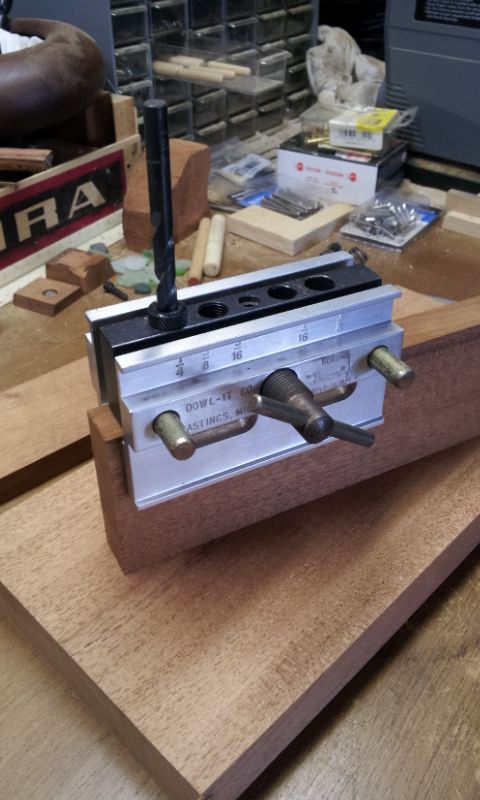
One of my favorite tools is the "Dowel-It" doweling jig. It's basically a steel block with a built in clamp. The block has threaded holes that accept different sized inserts that guide a drill bit. The clamp centers the block on the material holds it dead square so a perfect hole can be drilled.
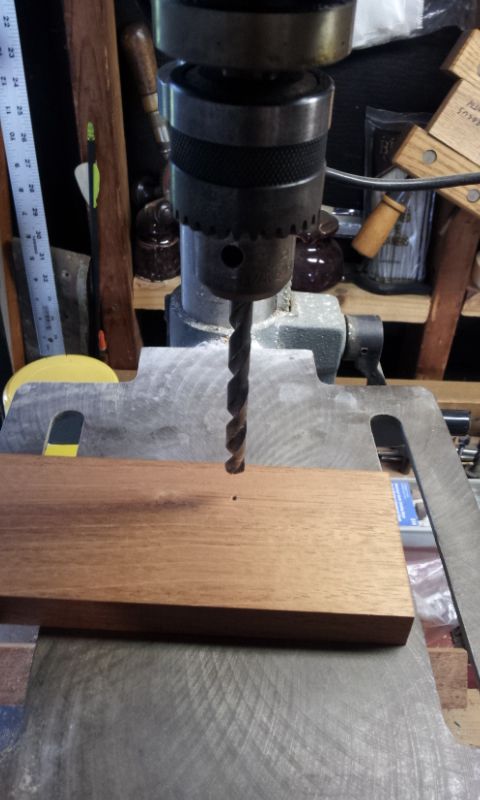
For bigger pieces that won't fit in the doweling jig the drill press does the job.
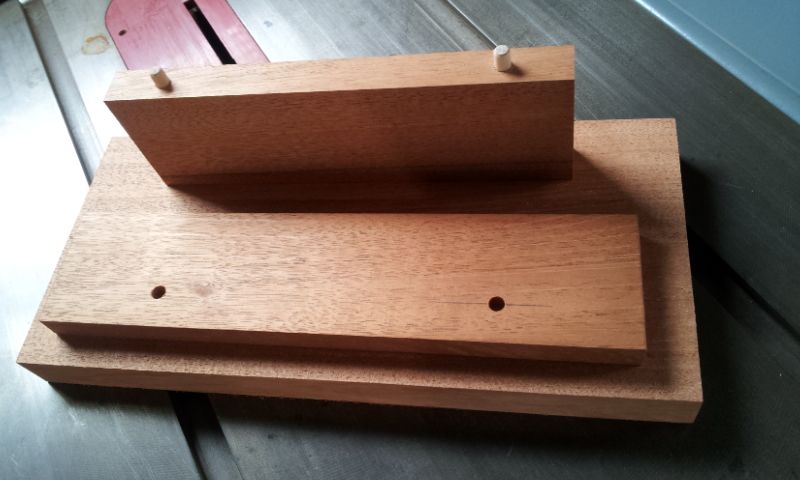
Here's the pieces drilled and pinned:
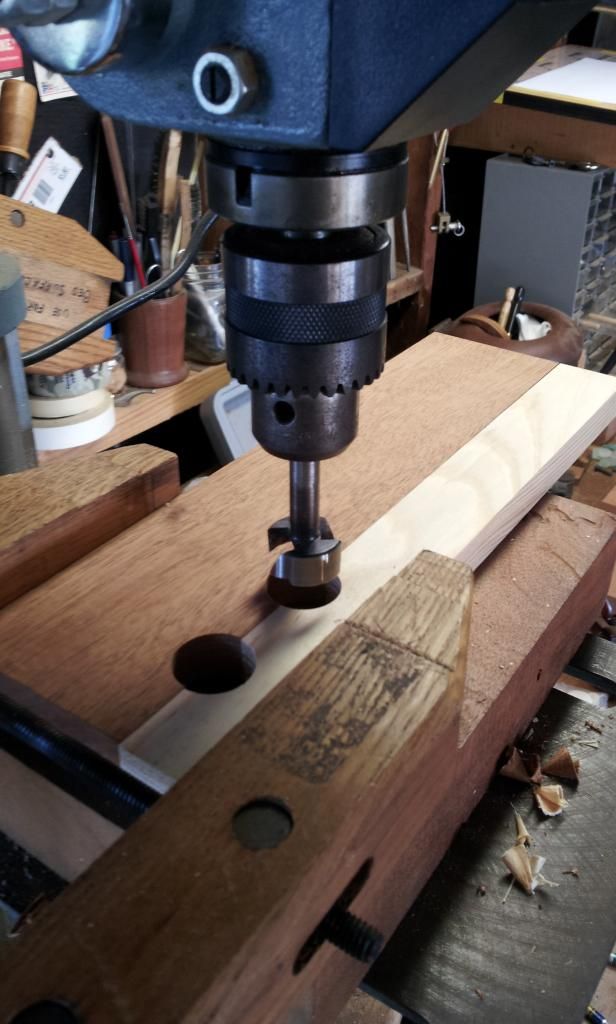
Now we're getting to the fun part. The upper piece that the stems of the pipes will rest against needs cutouts that will center and hold the pipes in place. To do this I carefully laid out the centers and used a Forstner bit to cut half rounds in the face of the top piece. In the photo a strip of scrap pine is shown clamped to the mahogany top piece. I did this to prevent tear-out of the wood during the drilling.
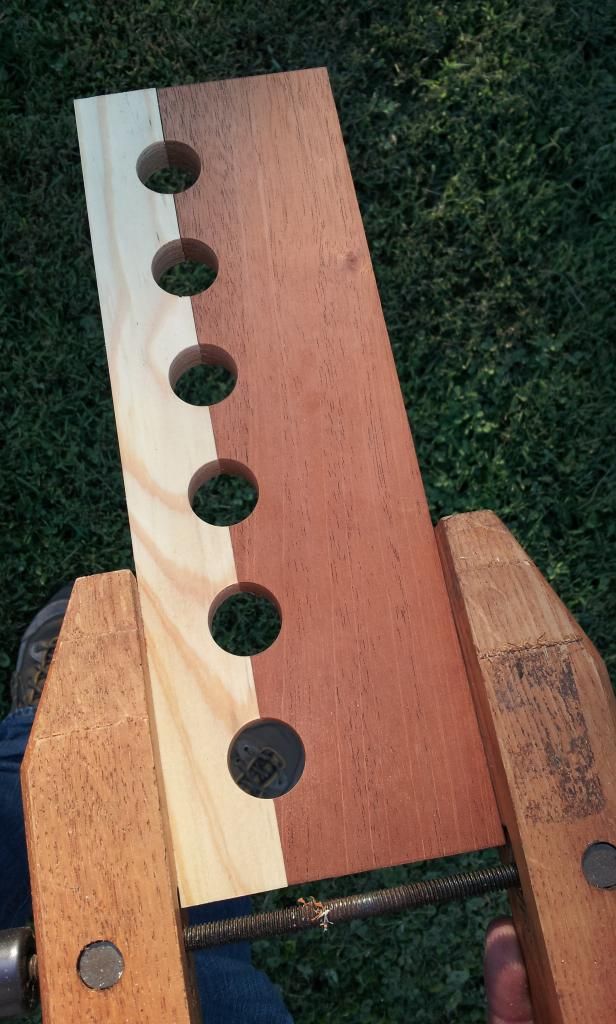
Stem rests perfectly spaced and drilled.
Moving on to the base of the pipe rack a row of flat bottomed holes need to be laid out that match the stem rests machined into the top piece. I accomplished this with a bigger 1-3/8" diameter Forstner bit and set the depth stop on the drill press so the holes will only be deep enough to receive a felt pad and provide a small step to hold the pipe bowls in place.
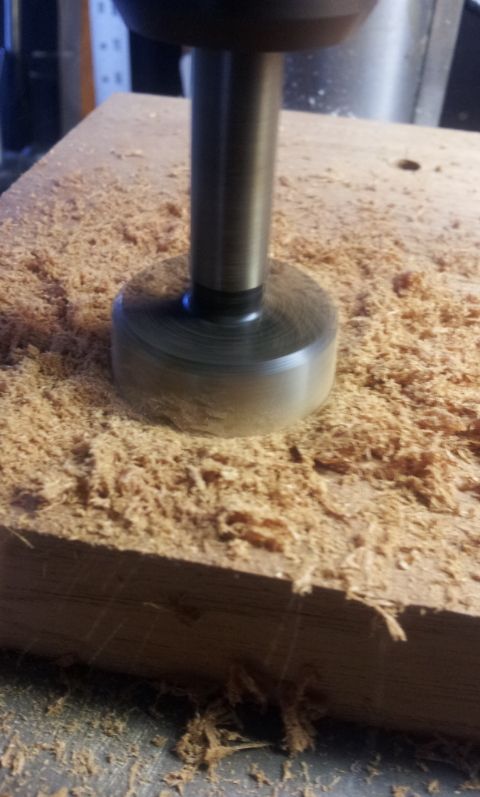
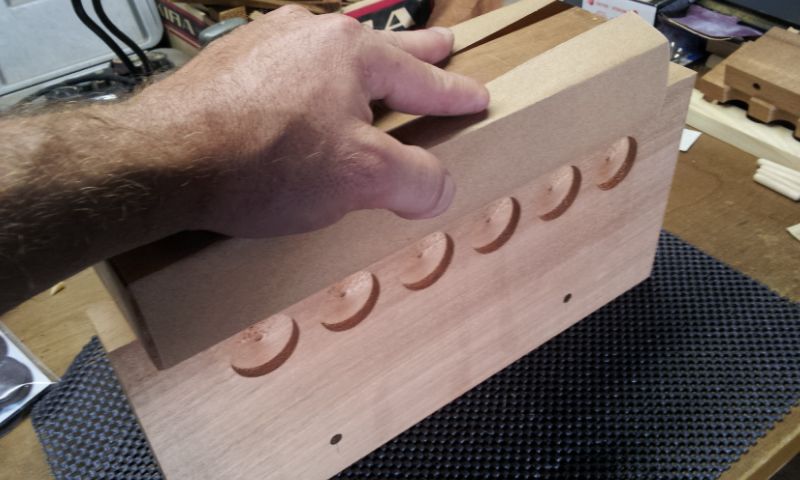
With all the machining done its on to sanding. This is the stage where I really start to get excited to see the project completed and momentum builds. Even so this is the part where patience is very important and corners cannot be cut.
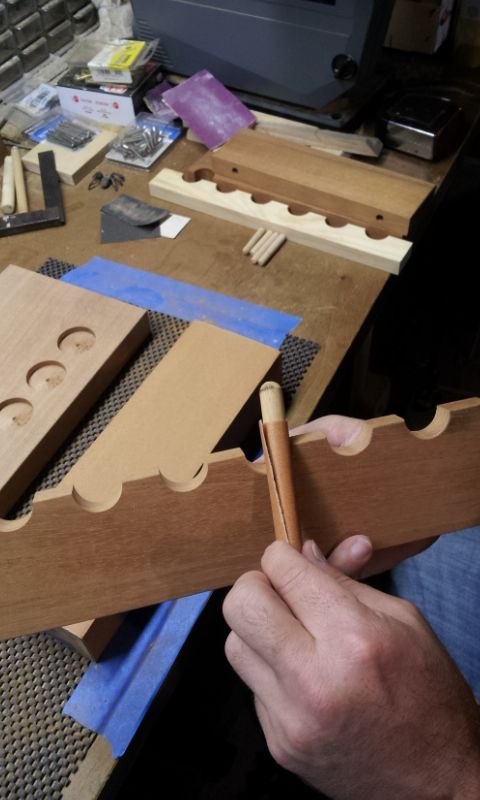
For flat surfaces a sanding block works fine but other areas some creativity is required. To sand a small radius onto the stem rest cutouts I rolled up some sandpaper around a piece of dowel and carefully worked the edges. When I sand a project typically I'll work a couple hours then put it down and come back the next day and continue on. Taking a break then coming back with fresh enthusiasm keeps me focused on doing the best job I can.
After about six hours of sanding working from 120 grit through 220, 320, 400 and finally 600 grit paper I was ready for the glue up.
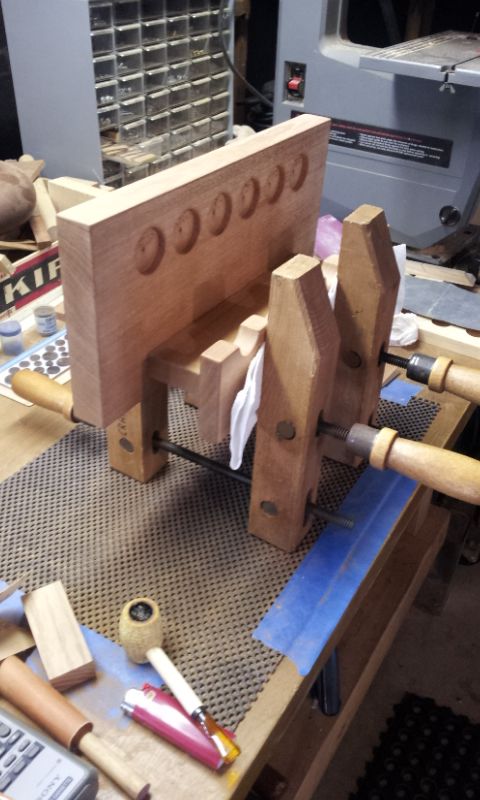
Later I removed the rack from the clamps and wiped it down with low gloss tung oil using a soft cotton cloth. After drying overnight I popped some brown felt pads into the flat bottom holes in the base and headed to the backyard for some photos taken in bright full sun to really show off the beauty of the wood.
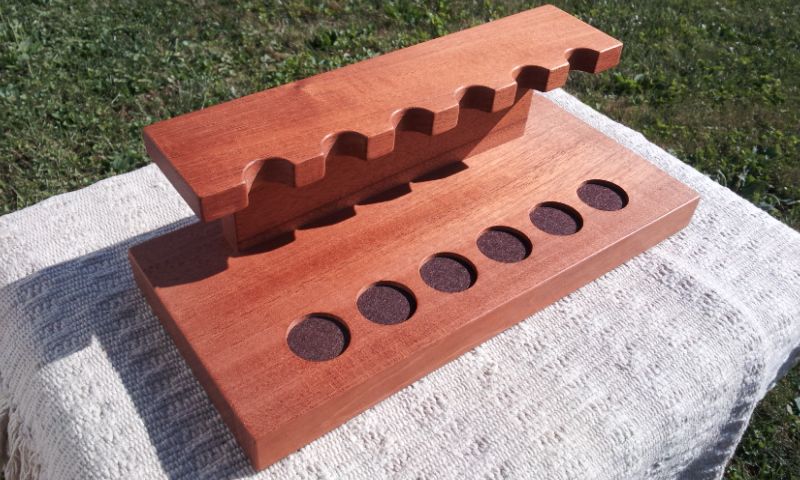
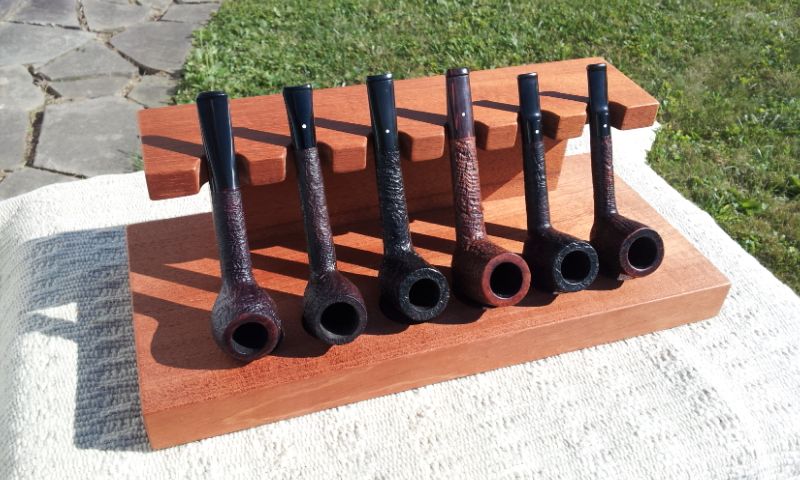
Now my pipes are happy and I have a fine rack worthy of my favorite smokers. My vision for this rack was to create a simple and plain design with a monolithic look. I have router bits that I could have used to cut a decorative edge around the base but I chose just a small radius on all the edges. I didn't want the rack to be too ornate. I want the pipes to be the center of attention. The mahogany wood in and of itself brings plenty of class to the table.
