For folks that learn better by reading directions, these were submitted by forum member Jesse Silver (sablebrush52)
I've written this
VERY COMPLETE set of steps for uploading and posting from within the Pipe Magazine site. Once you have done this a couple of times, uploading and posting pictures within the Pipes Magazine site is very fast and easy. It just looks like a lot.
To upload a picture to the PM site, do the following:
1. Start at the Pipes Magazine home page. The home page can be accessed on the left side of the menu at the top of the page where it says "Home".
2. On the home page, next to the word "Home" it says "My Account".
3. Place your cursor over "My Account" and scroll down the pop up menu to "Album" and another pop up menu will appear that says "Pictures" and "Upload Picture".
4. Click on "Upload Picture".
5. A page will appear that says "Upload Picture" at the top. There are two windows below it, one of which says "Picture Title" and the other of which says "Picture Description". Fill in a title and description for the image that you are going to upload.
6. Below these windows it says "Browse".
7. Click on "Browse".
8. A window will appear showing your desktop. Navigate to the directory where the picture that you want to upload is stored. Select the picture that you want to upload and click on the "open" button. The file name of the image that you selected will appear next to the word "Browse"
9. Below "Browse" is "Upload Photo". Click on the "Upload Photo" button.
10. The picture that you just uploaded will appear on a new page. To upload another photo, click on "Upload Photo" next to the image that you just uploaded and repeat steps 8 and 9 until you have uploaded all of the pictures that you want to upload.
To add the pictures to your post, do the following:
1. Open a second window to the PM site, and navigate to the thread where you want to post your pictures. Then return to the window where you just finished uploading your pictures.
2. I you are still on the page where you uploaded your pictures, click on the word "Pictures" to the left of the last image that you just uploaded. This will return you to your album page, showing thumbnails of all of the pictures that you just uploaded. Otherwise, return to the "Home" page, scroll down the "My Account" pop up menu to "Album" "Pictures". Select "Pictures".
3. You will see a page showing thumbnails of all of the pictures that you have uploaded.
4. Click on the thumbnail of the picture that you want to add to your post. This will open the page for that picture.
5. If you are on a PC, right click to open a pop up menu and scroll down to "copy image location". If you are on a Mac, hold down the control key and click to open a pop up menu and scroll down to "copy image location".
6. Select "copy image location".
7. Select the other window, which should be open to the thread where you want to post your pictures.
8. Click on the "IMG" button immediately above the reply window. This will open a dialog box. Paste the image location that you just copied into the "IMG" pop up dialog box. Click OK. The image location of the picture will appear in your reply, framed by IMG in brackets.
9. Repeat steps 2 thru 8 for each image to post multiple images.
10. When you have finished adding images and have written what you want to say, click "Send Post".
Your images will appear in your post.
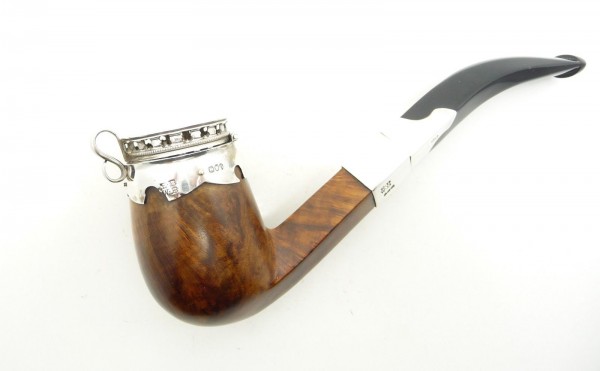
1882 Barling
Posting from a third party image hosting site, like Imgur, is simpler as you can bypass the whole "IMG" thing by selecting BBCode option, which will automatically format your selected picture. Then you just paste it into the reply window.
1926 Barling "Montreal"


