Dunhill refurb wip

Log in

SmokingPipes.com Updates

New Cigars


PipesMagazine Approved Sponsor

PipesMagazine Approved Sponsor

PipesMagazine Approved Sponsor

PipesMagazine Approved Sponsor

PipesMagazine Approved Sponsor

Status
Not open for further replies.

them4chef

Lurker
Oct 23, 2018
26
0
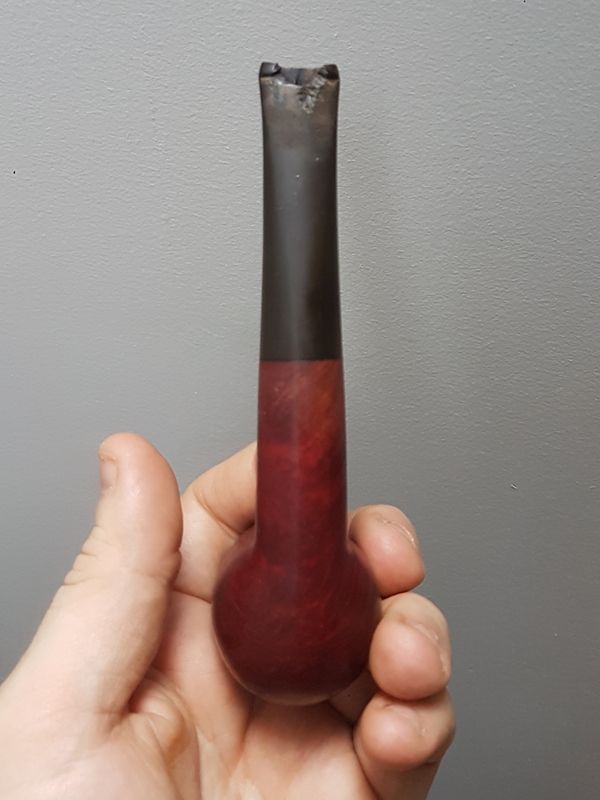
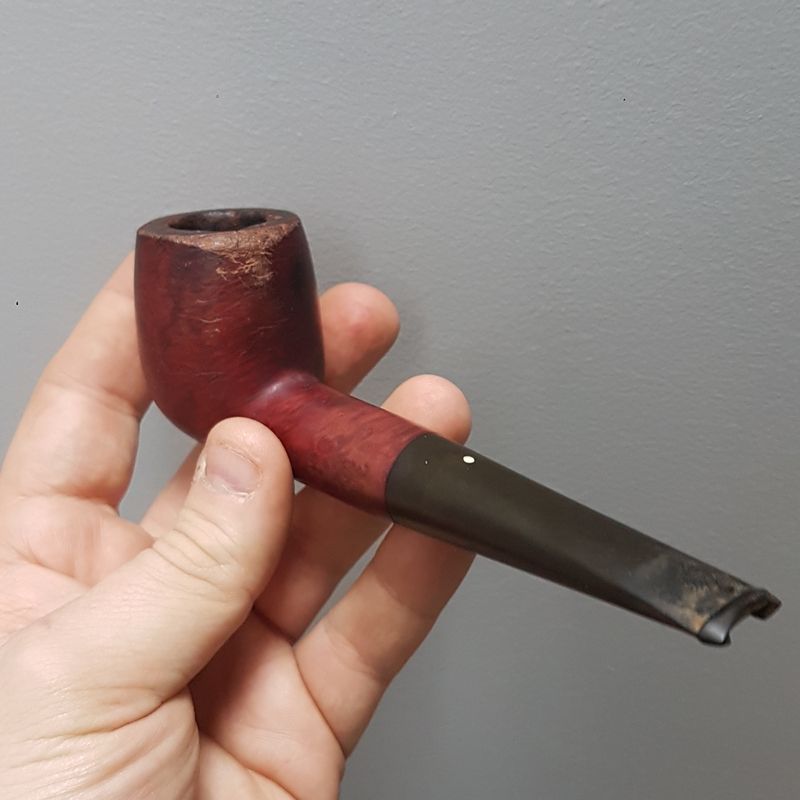
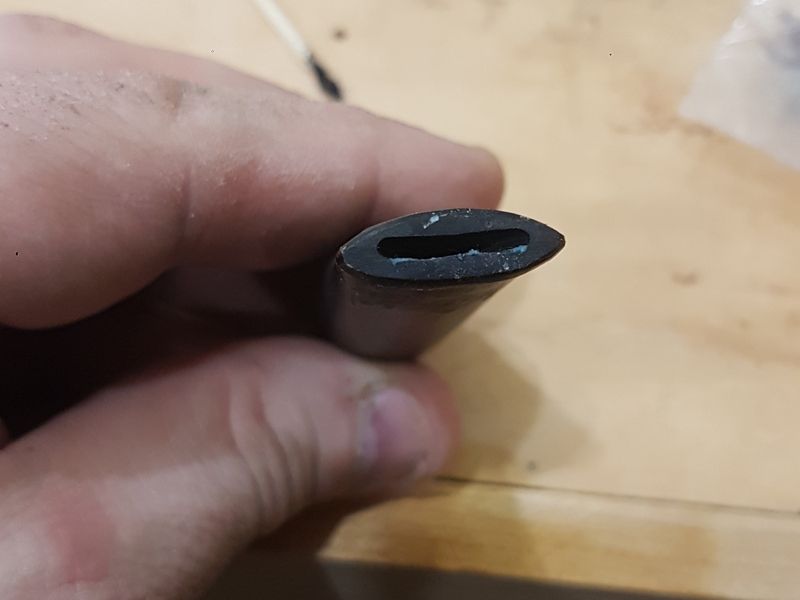
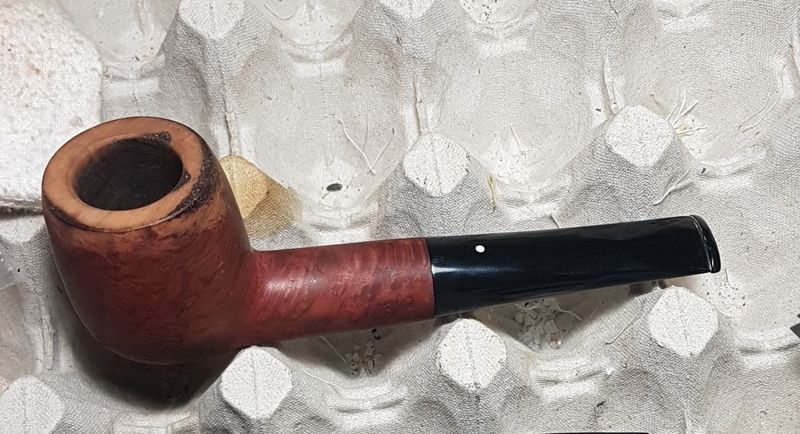
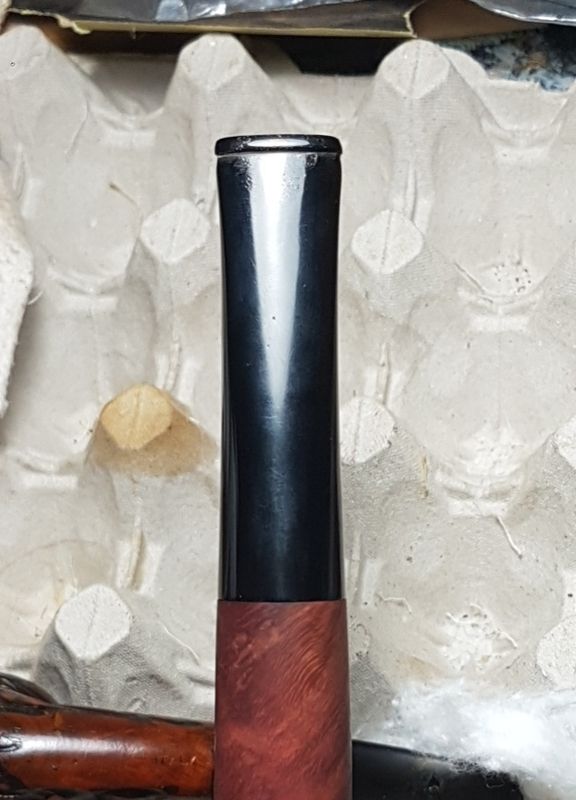
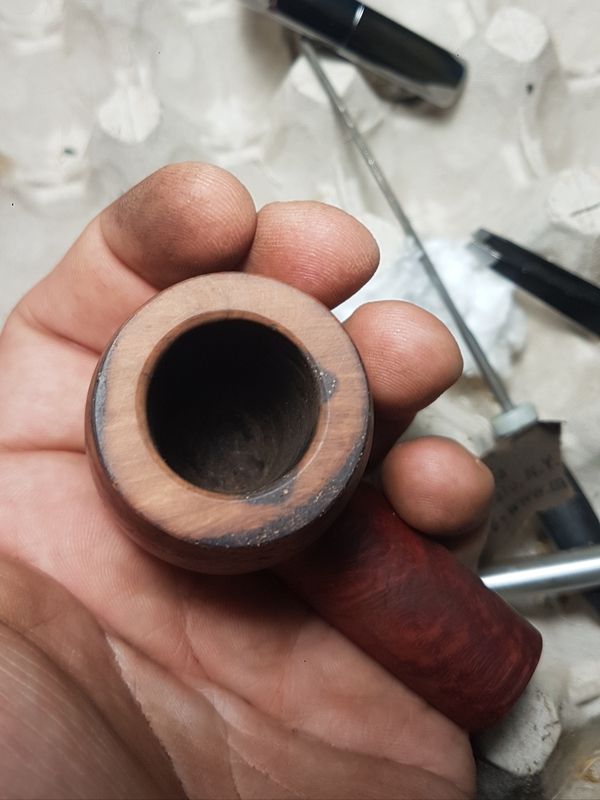
So thought I'd share the wip I've been toying around with. I picked up this dunhill on Ebay for what seemed to be a reasonable price. The stem was busted up pretty good and the stummel was thrashed. The internals are in excellent condition considering the shape the exterior was in. This was my first attempt at rebuilding a vulcanite stem. The rim has also been rebuilt. Next I'll try to steam out the exterior dents and then proceed with refinishing the exterior.


blackadderlxx

Can't Leave
Jun 17, 2018
369
10
Looking great. And your labors on the stem are really amazing. Looking forward to seeing the finished product!


ssjones

Moderator
Staff member
May 11, 2011
18,443
11,350
Maryland
postimg.cc
Awesome work! I'll stay tuned for final update.

I switched to an electric iron for steaming dents. It's far more effective than a heated knife, etc and way more convenient. I picked up one just for pipe work at a yard sale this summer.


them4chef

Lurker
Oct 23, 2018
26
0
Well it's been a crazy busy past few weeks. We got hammered with the worst wind storm in recent history here im the gulf islands of BC.
Well last night I spent some time finishing up the dunhill. The stummel was full of dents. I don't know what happened to this pipe in its previous life but it sure wasn't cared for at least on the outside. I steamed out many of the dents but ended up having to fill some with ca glue and blend them in.
I sanded the exterior with micro mesh pads leaving the somewhat faint markings intact. Using brown Tripoli and white diamond to polish it I then used a combination of stain pens and leather dye to restore the color and a coating of wax to finish. Other than a few small cosmetic issues im quite happy with the final results.


them4chef

Lurker
Oct 23, 2018
26
0
Thanks so very much you guys! I'm excited to see the feedback since I'm very new to restoring pipes.
The button restoration started with the oxiclean bath and detailed interior cleaning. Then I moulded some playdough into the airway and moulded what I thought the inside of the bit should look like. I've tried card stock with a release agent on it before but was not completely happy with the results.

Then i mixed medium CA glue with active charcoal and built it up in thin layers hitting it with activator between coats.
Then once sufficient build up was there i used a flat file too shape the stem and button. A thin layer of plain ca filled any small imperfections. I Then filed and sanded with micro mesh, polishing compound and wax to finish. The benefit of the play dough is it seals the airway and even with the glue on it, it can pick picked and pushed out.
A quick clean up with a hobby knife and micro file and it seems to be good as new.
I'm most critical of my own work and can see areas to improve but I'm very happy with this 75.00cdn dunhill. The size and weight is unlike any others I have and can't wait to smoke it.


cortezattic

Lifer
Nov 19, 2009
15,147
7,638
Chicago, IL
Impressive work! What a rescue! Nice idea to mould the button area with removeable Play Dough, then re-build it with CA and charcoal.


ssjones

Moderator
Staff member
May 11, 2011
18,443
11,350
Maryland
postimg.cc
Thanks for the play-dough airway fill tip, I'll have to give that a try.
The activator is a huge time saver between layers. (Hobby-Lobby sells this)

 
Status
Not open for further replies.