Buffing Station Up!

Log in

SmokingPipes.com Updates

Watch for Updates Twice a Week

PipesMagazine Approved Sponsor

PipesMagazine Approved Sponsor

PipesMagazine Approved Sponsor

PipesMagazine Approved Sponsor

PipesMagazine Approved Sponsor

Status
Not open for further replies.

metarzan

Part of the Furniture Now
Nov 14, 2012
608
117
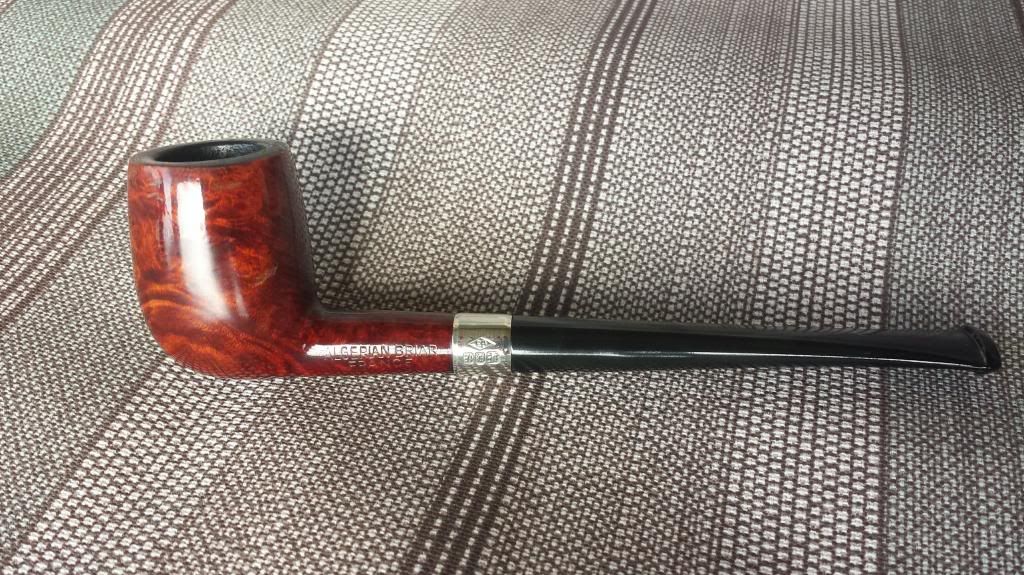
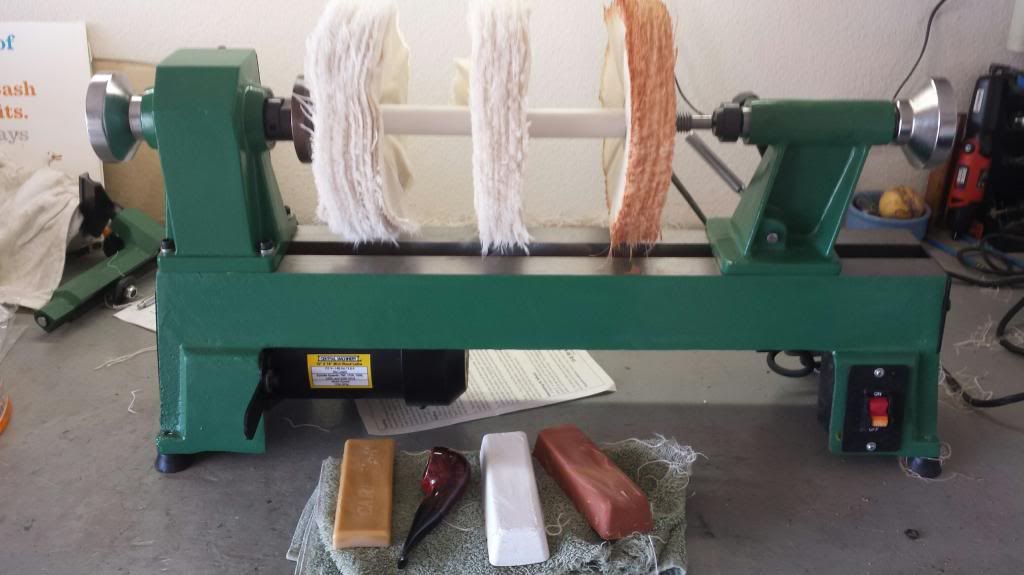
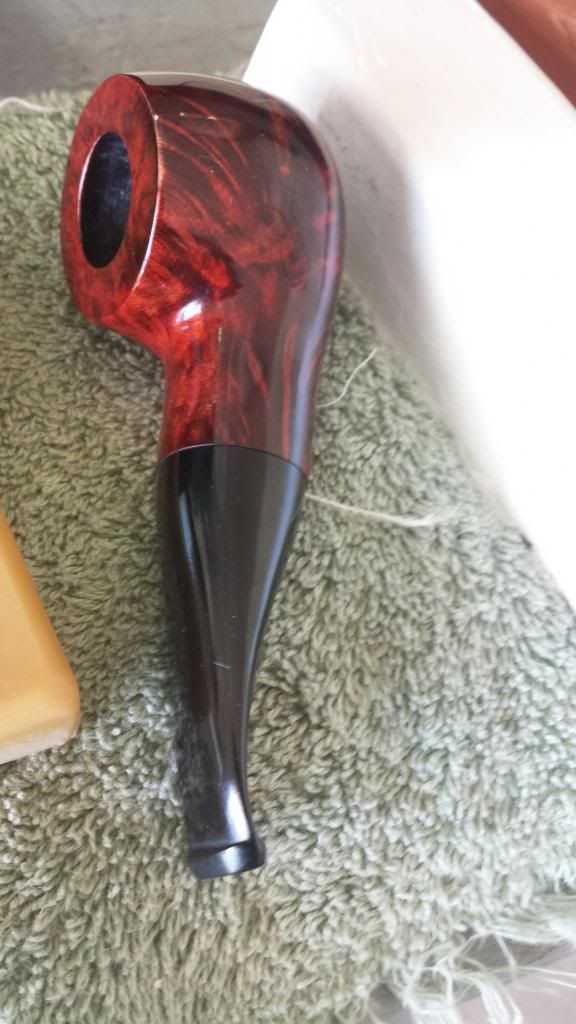
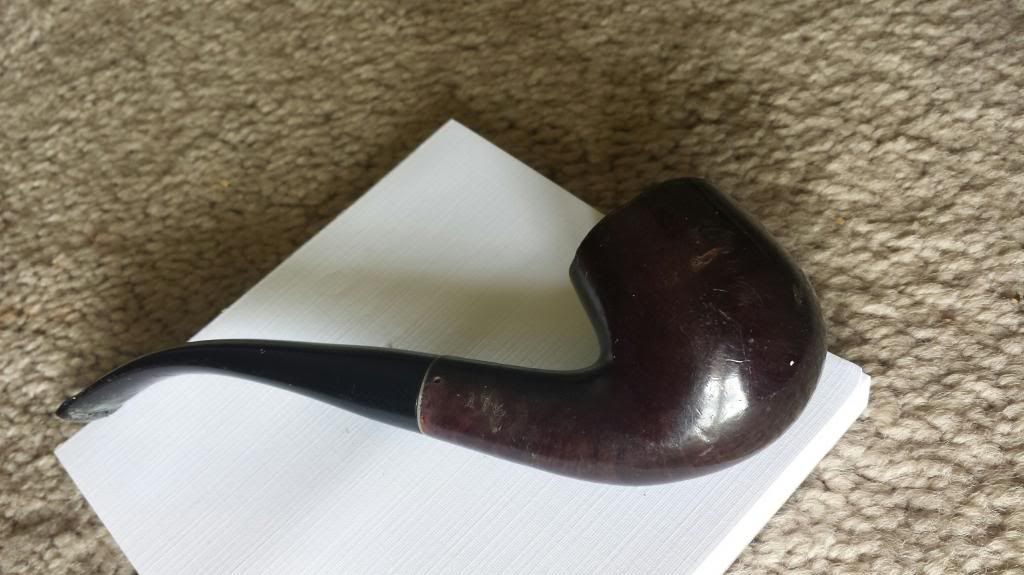
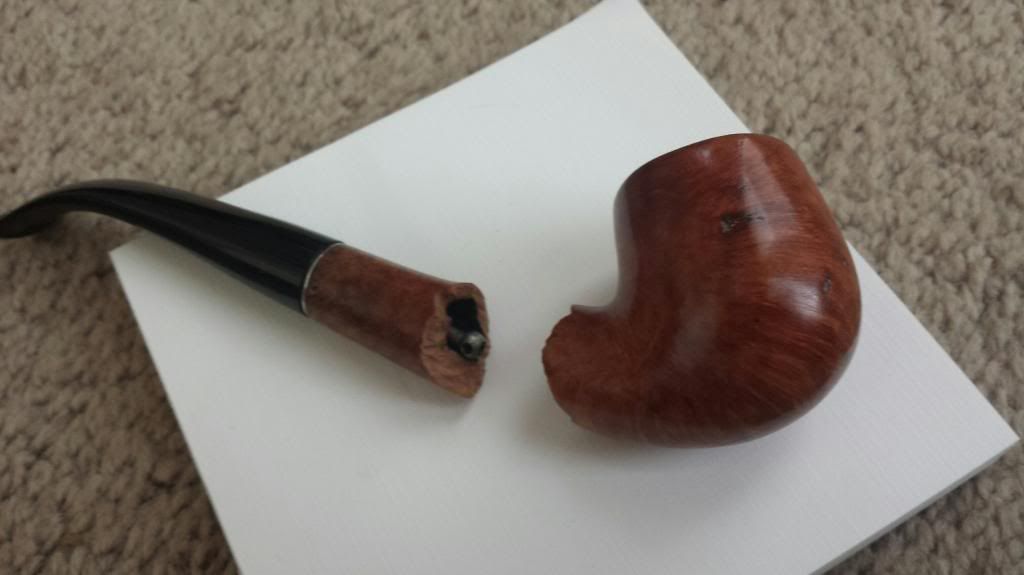
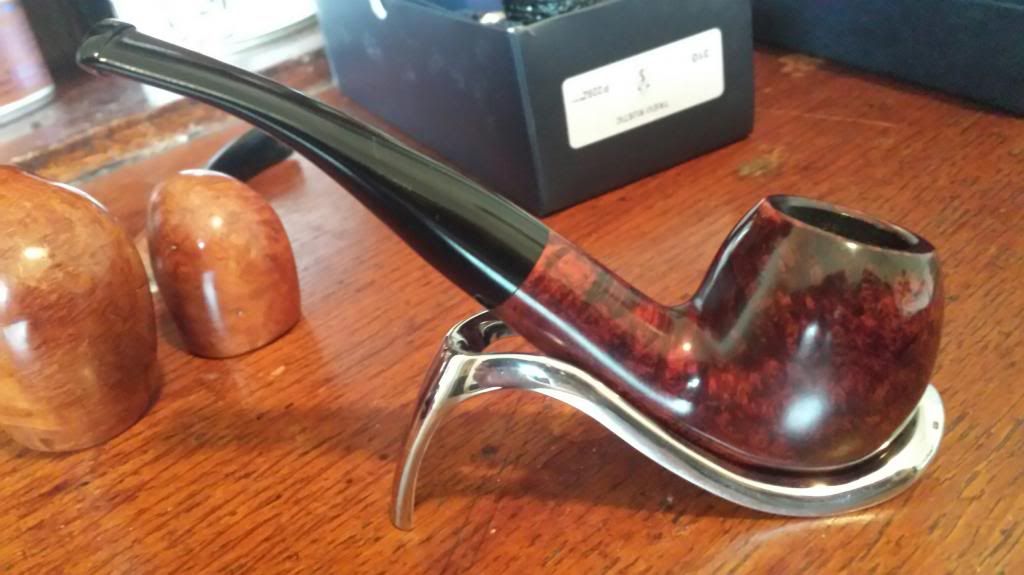
Finally bought a lathe to fit the Beall 3 on mandrel. I got the Beall system a couple years back and tinkered around trying to fix an old lathe to put it on but finally just went for new and more compact. Kicking myself for waiting so long because the results are phenomenal right out of the gate. Tested it out first on an old Giant Well pipe that looked like hell and I never used anyway. Strings and compound went flying but the buff got loaded up and broken in so I grabbed a pipe that I actually love to smoke but the dull matte finish never called out to me. A few minutes later she is a shining beauty. Now I can stop passing on some of the estate pipes I come across and give them new life.
20140608_134205_resized_zpsc3247b80.jpg

20140608_134222_resized_zps8c55e3e9.jpg


metarzan

Part of the Furniture Now
Nov 14, 2012
608
117
It is just a Harbor Freight lathe. Lots of places sell the same lathe with different stickers or paint but usually for more. It is on sale for $194 and I used a 20% off coupon.
http://www.harborfreight.com/5-speed-bench-top-wood-lathe-65345.html
The middle speed (1600RPM) seems ideal for the large buffing wheel size. I might even slow it down a bit. The Beall mandrel is 17" and the lathe accepts up to 18" so perfect fit there. 10" diameter is perfect for the 8" buffs. Another plus is that I still have a few days to get into the tamper exchange!


mso489

Lifer
Feb 21, 2013
41,210
60,459
I bet that will transform estate pipes from their grungy old stogy selves into the glimmering

briars they were always intended to be.


metarzan

Part of the Furniture Now
Nov 14, 2012
608
117
Figured I would show a before pic of my next victim. It was my first pipe. Got it in high school from a friends dad who collected pipes. It is a Kaywoodie, plastic bit with a stinger. Have not used it in years and really holds no sentimental attachment. Here goes...
20140608_153847_resized_zpse25efc28.jpg


metarzan

Part of the Furniture Now
Nov 14, 2012
608
117
Well there is a reason a pipe gets stained almost black... Other than the new little crack in the shank :? I counted eight imperfections. Before you guys start in with the "Hold on tight!" suggestions, I learned that lesson earlier when I shot the bar of tripoli compound into the wall behind the lathe. Granted, the Woodie bowl shot into the wall as well but I was left holding on tightly to the stem and shank. It broke about exactly where the stinger ends in the shank. Oh well next time less pressure I guess. I did sand it down before buffing and I much prefer the final finish even with the imperfections to the dark stain. Looks better in person. Feeling undaunted by the mishap, I grabbed a Savinelli Duca Carlo and turned it from it's stock matte sheen to a nice gloss. As promised, here's the Woodie after...
20140608_163505_resized_zpsccc0ead7.jpg


phil67

Lifer
Dec 14, 2013
2,052
7
Years ago I used to make handmade custom knives. Although grinding the blade can be a tad hairy if your not cautious, the most dangerous procedure in making knives is polishing them once they've been hardened. ONE little slip up in not holding the blade correctly to the wheel and the wheel will grab the blade and it will go flying at 100mph. It happened only once to me and the tip of the blade actually penetrated one half inch into the concrete floor just millimeters from my foot!
The same applies to polishing a pipe, albeit it's obviously not as dangerous as a piece of pointed and hardened 154CM steel. You always must be cautious as to the angle of the object as it is applied to the buffing wheel. Also... always be cognizant of the pressure applied. I've dealt with just about every exotic wood you can name and it's always best to start with a light to medium pressure. With practice you'll lean, and it seems you've already learned your first lesson. :wink:


Strike Anywhere

Can't Leave
Nov 9, 2011
374
101
Central United States
Less pressure is exactly right. You'll learn how much to use, but less is more. Let the wheel and the compound do the work. If you're "deforming" the wheel with pressure, you're pressing too hard. If you're not seeing progress you either have too much or not enough compound on the wheel. You know how much you've applied, so adjust accordingly. Don't let things heat up too much. If you feel something start to get warm, not hot but warm, stop and let it cool, especially vulcanite/cumberland/ebonite. I usually try to setup some padding when I'm working with my buffer, but that's not possible for everyone. I just use an old motor with an arbor attached that my dad made for me. I have to change each wheel manually, but I usually try to work on pipes in batches, so no big deal. Gives me unimpeded access to the wheel, and I'm able to put a big plastic tote with a pillow it in under my work space. Good luck, and if you feel like you're actually pressing into the wheel, you're doing it wrong. :)


metarzan

Part of the Furniture Now
Nov 14, 2012
608
117
Thanks all for all of the tips. Yes I was pressing into the wheel and deforming the shape. I still have many loose strands that extend an inch or so from the main wheel surface. Was reading that you can smooth it up with a block of sandpaper and a vacuum to catch the trimmings. Then I think I will for sure drop the RPM's and take it slower for a while at least. I have a couple more pipes that I can practice on but I want something really grungy. Off to eBay perhaps for a bucket of junk.


metarzan

Part of the Furniture Now
Nov 14, 2012
608
117
Okay I think I am obsessed. This dainty little unidentified pipe is one of my favorite VaPer smokers. The bowl has a couple chips in the varnish but cleaned up pretty good for now.
20140608_181553_resized_zps0095c960.jpg

What I am equally impressed with is the night and day stem transformation from buffing. Chose the most oxidized stem I could find and it looks like new after a quick buff.


lonestar

Lifer
Mar 22, 2011
2,854
161
Edgewood Texas
Some pretty good advice, but I will add;

Stick your finger in the bowl while buffing it.

Light touch.

Looking at the front of the wheel, always buff with the very front of the wheel or lower. Catches will be a lot worse with the top half of the wheel.


ejames

Lifer
Oct 6, 2009
3,916
22
You can trim those strings with scissors--not as it's turning though. Did you get a wheel rake? A screwdriver will work but the rake is better.


metarzan

Part of the Furniture Now
Nov 14, 2012
608
117
I tried the sandpaper trim thing and not much luck. Scissor trim it is. Wheel rake is a new one on me. Guessing it breaks up the strands and keeps them from matting or clumping? Will get one. Thanks.


ejames

Lifer
Oct 6, 2009
3,916
22
I t
ried the sandpaper trim thing and not much luck. Scissor trim it is. Wheel rake is a new one on me. Guessing it breaks up the strands and keeps them from matting or clumping? Will get one. Thanks.
Yep,also cleans out excess built up compounds.

 
Status
Not open for further replies.