My First Pipe Kit...Ugh!

Log in

SmokingPipes.com Updates

Watch for Updates Twice a Week

PipesMagazine Approved Sponsor

PipesMagazine Approved Sponsor

Drucquers Banner

PipesMagazine Approved Sponsor

PipesMagazine Approved Sponsor

PipesMagazine Approved Sponsor

Status
Not open for further replies.

mso489

Lifer
Feb 21, 2013
41,210
60,455
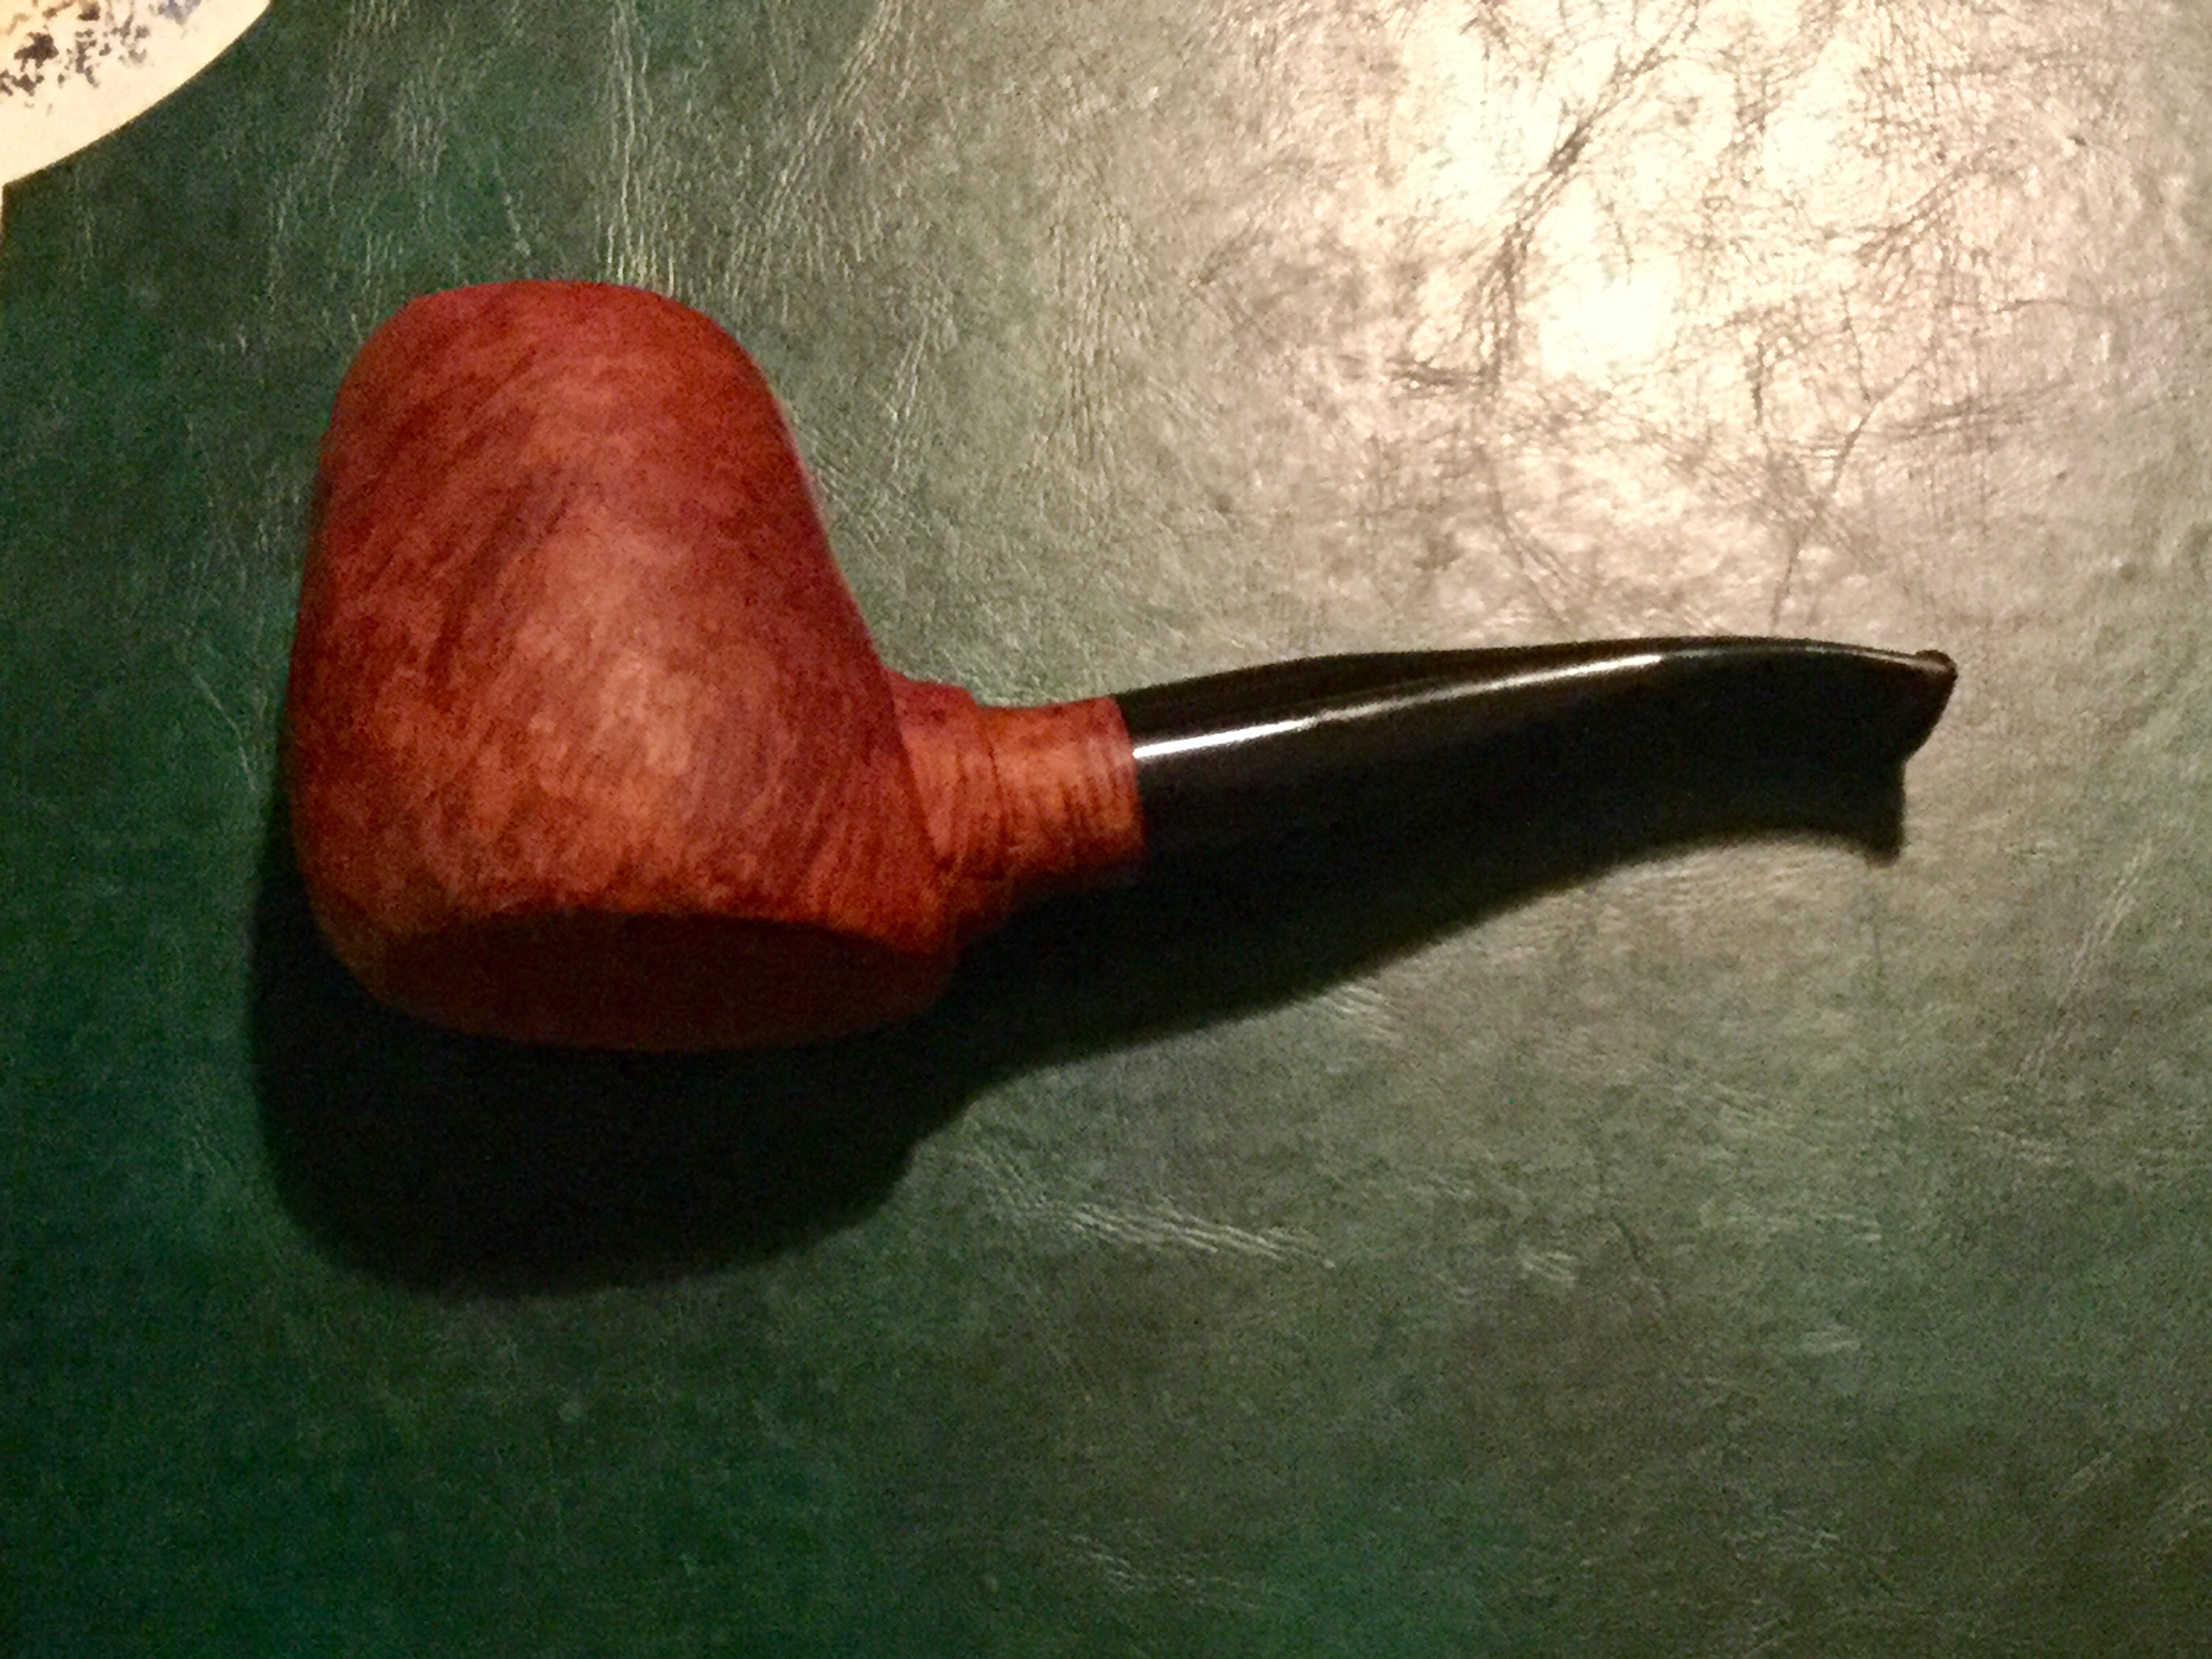
It's a judgement call, if you want to spend the time hewing down the pipe so it has better shaping, despite the flaw, and hope it works out, or not. You could learn some valuable techniques for working briar in the process even if the flaw eventually makes the pipe short-lived. But it is an investment of time.


oldmansmoking

Part of the Furniture Now
May 13, 2017
587
65
UK
Great shame, mine had a few pits but turned out OK.

Used rasps and sand paper took a week to do.

img_0020-600x450.jpg


rmpeeps

Lifer
Oct 17, 2017
1,123
1,767
San Antonio, TX
My first kit pipe from 1998. Living in deep South Texas at the time so I used Prickly Pear juice to stain the pipe. It’s still unsmoked; for some reason I just can’t. I carved 4 more over the years for smoking. All the pre-drilled kits were from Tinsky and pits, splits, and cavities were minor.

No 1a

No 1b


jpmcwjr

Moderator
Staff member
May 12, 2015
24,708
27,310
Carmel Valley, CA
Nice work!! Rather than links, you can embed the photo in the post; saves others time.....
4I5A2wc.jpg

Once your photos are on a photo hosting site (such as Imgur.com; Postimage; Dropbox, etc. Photobucket), or on virtually any site, such as eBay, Amazon, you-name-it, select the full sized image, then Control-click (Mac) or Right-click (Windows) on the image itself, then choose copy image location. Now paste that URL (the full web address, which should end in .jpg) into the IMG box in the reply window of the thread you're posting to.
The site's album is also a good choice.

 
Status
Not open for further replies.