How I Restore and Refinish Grabow Color Pipes

Log in

SmokingPipes.com Updates

Watch for Updates Twice a Week

PipesMagazine Approved Sponsor

PipesMagazine Approved Sponsor

PipesMagazine Approved Sponsor

PipesMagazine Approved Sponsor

PipesMagazine Approved Sponsor

Status
Not open for further replies.

cwarmouth

Starting to Get Obsessed
Oct 10, 2017
244
3
Hey Folks,
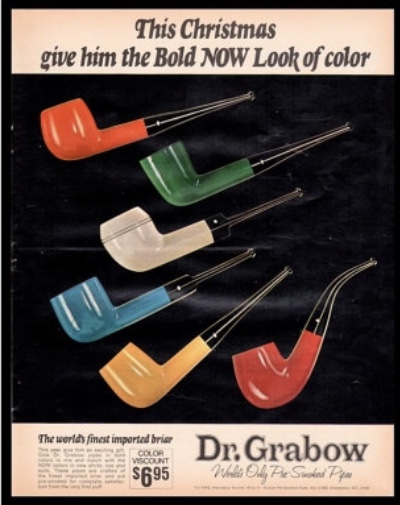
I joined this forum a few weeks ago when I posted some before and after pics of a yellow Dr. Grabow Viscount on the "What's under that Grabow" thread... http://pipesmagazine.com/forums/topic/whats-under-that-grabow/page/2
A couple folks asked for more info on how I restore these pipes, so I thought I'd start a thread on it. First I will say that I am not a professional at this. Just a hobbyist that loves saving these old color series pipes. I love finding ones in pristine condition too, but I especially love taking really bad ones refurbishing them.
The first thing I do is give the outside of the pipe a good thorough cleaning. Sometimes pipes that look really bad actually clean up nicely and do not need refinishing at all. I have been surprised by that. I start with a sponge and some dish detergent. That usually gives a pretty good indication if the pipe is going to need to just be cleaned up or refinished. If it is still dirty but free from cracks and chips I will get a little more aggressive and use a magic eraser with a very light touch. That will typically remove the wax and you will know for sure what you are dealing with at that point. Even though the pipe I chose for this project looked pretty obviously in need of a refinishing, I stilled went through that cleaning process first. I always start as gently as possible and go from there.
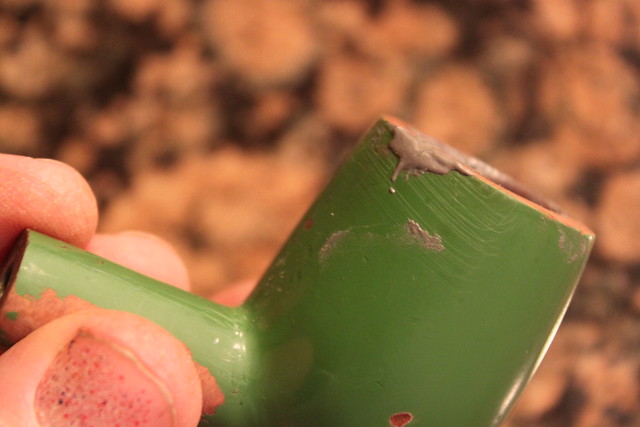
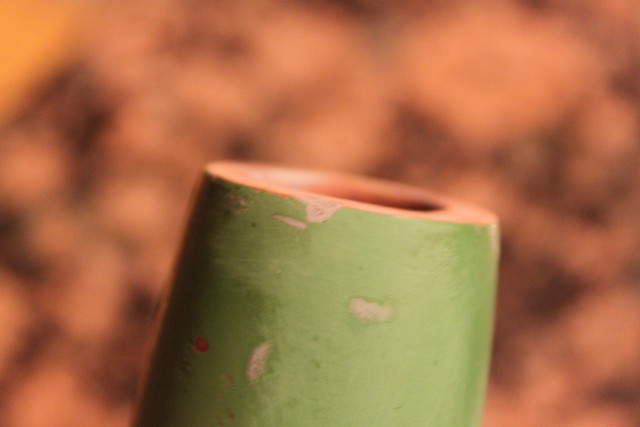
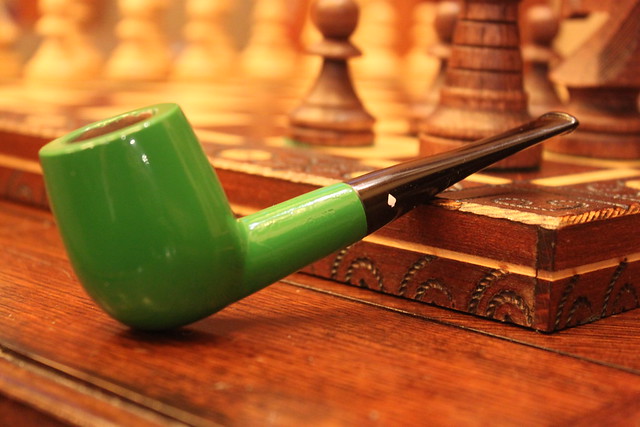
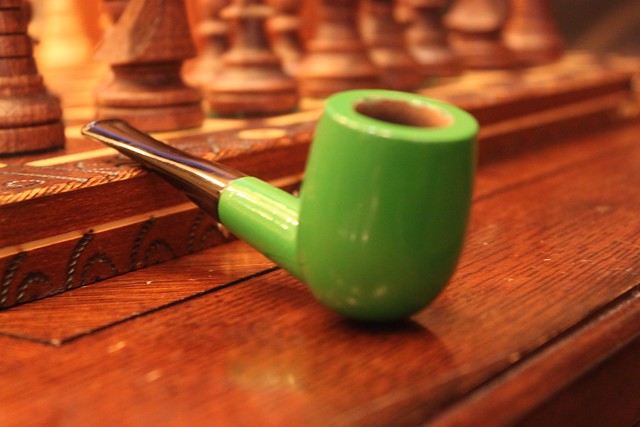
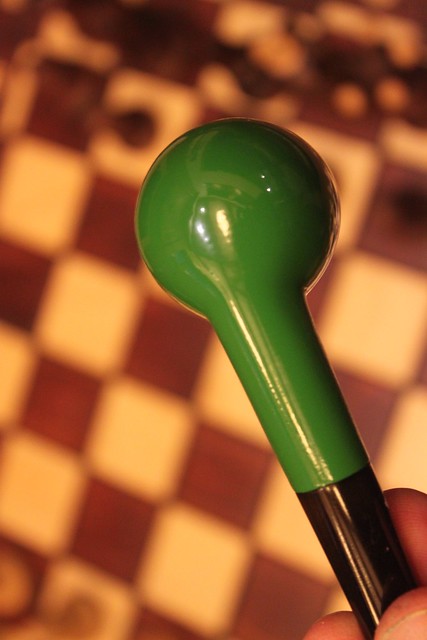
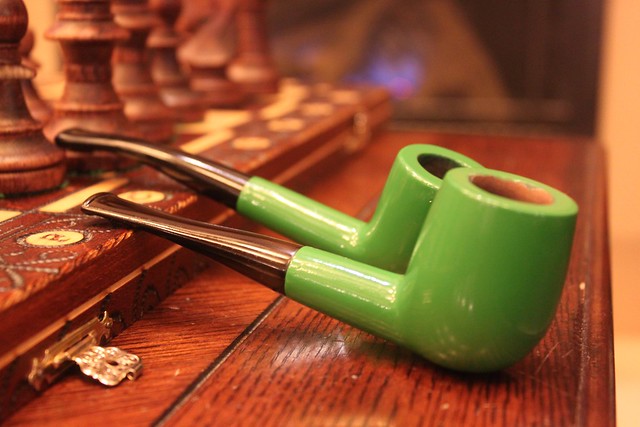
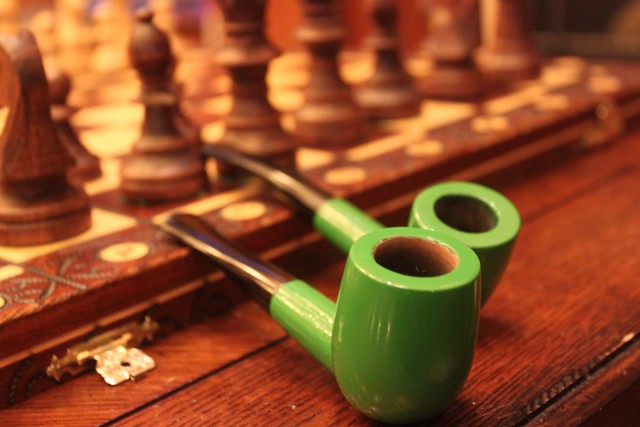
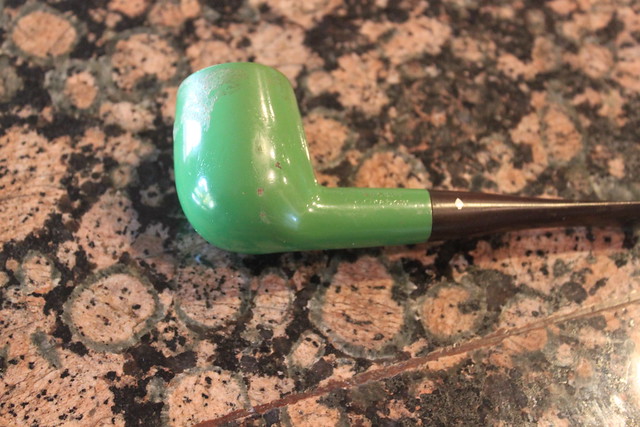
Here are pics of it after being cleaned. You can see there are quite a few chips in the paint:
24303410398_c0828de702_z.jpg

26379090379_43a21ca91e_z.jpg

38123805682_4926019588_z.jpg

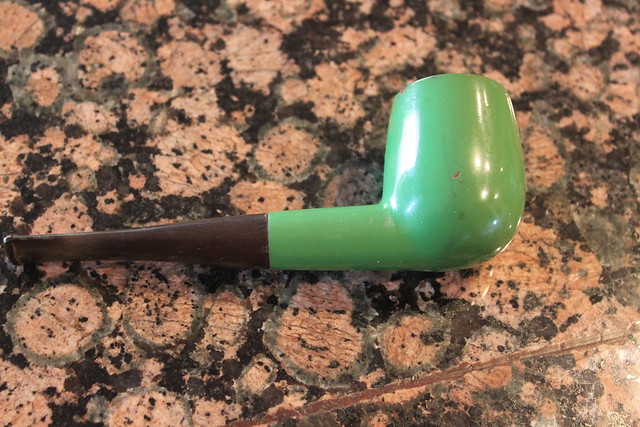
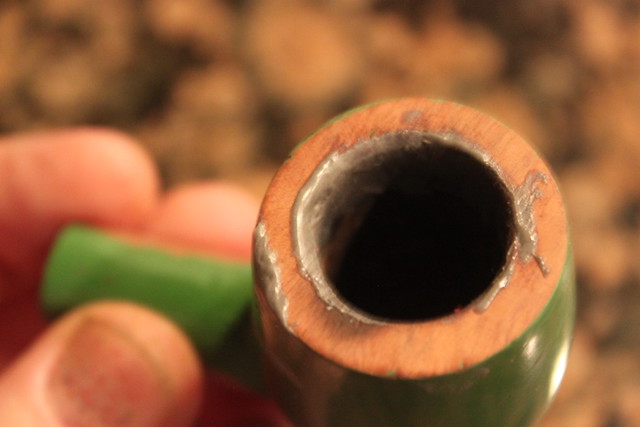
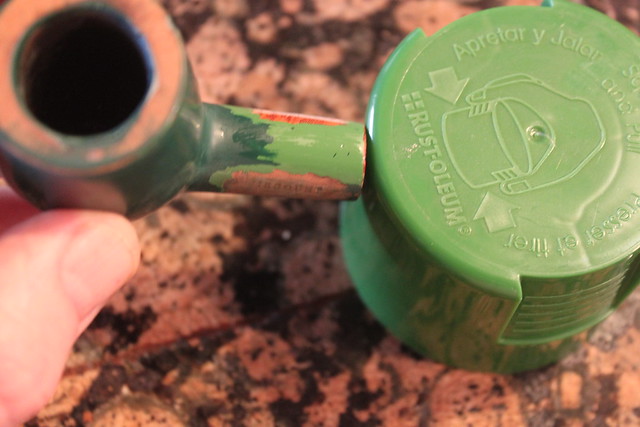
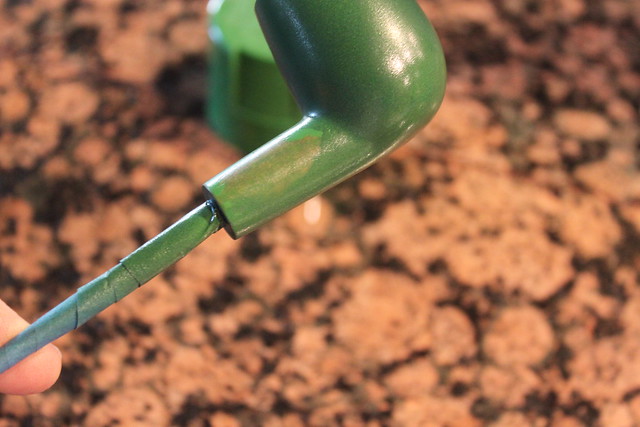
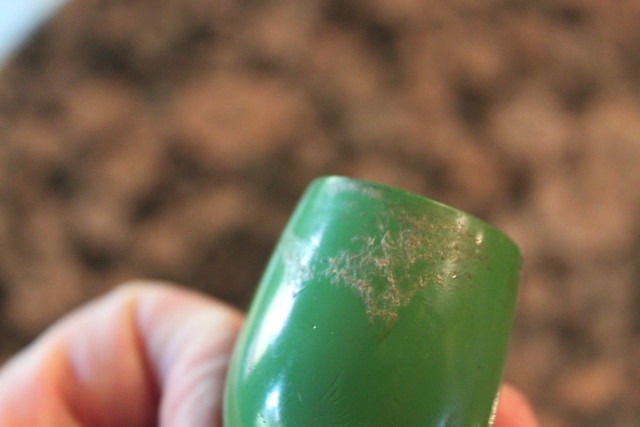
But worse than that, there was some sort of glue or something on a good portion of the bowl. This would not come off:
38100288246_fe97392674_z.jpg

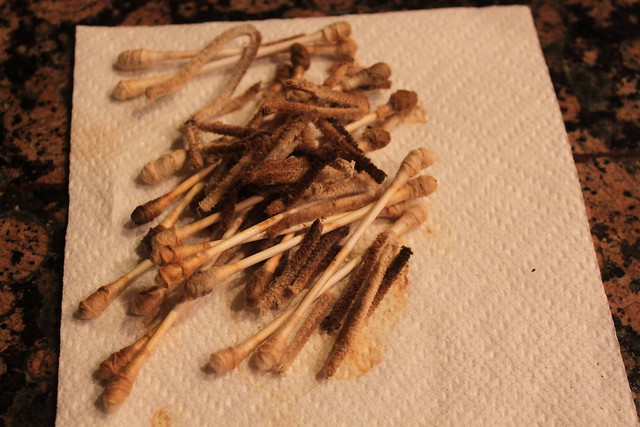
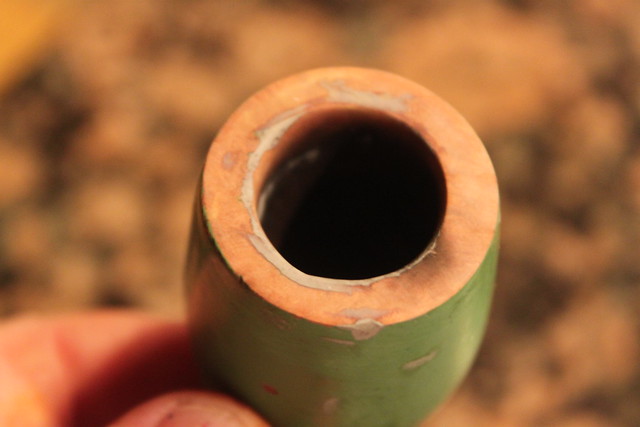
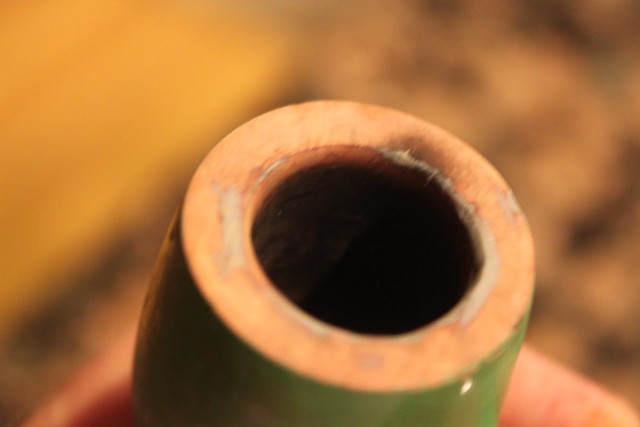
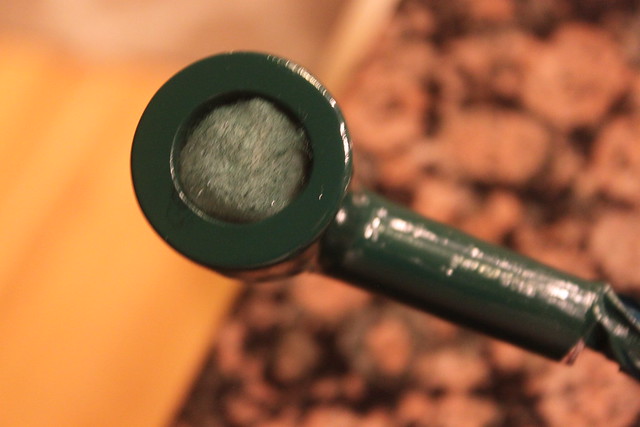
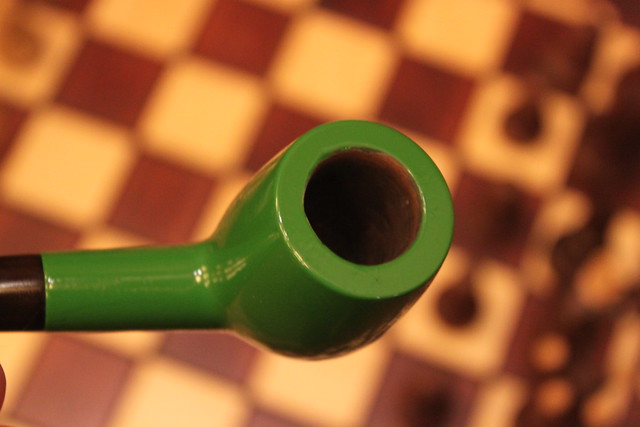
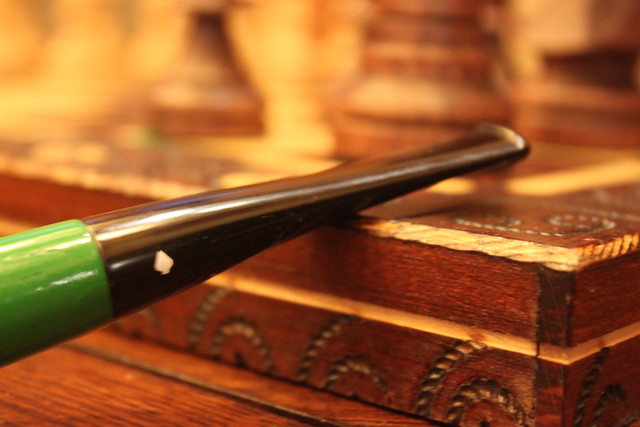
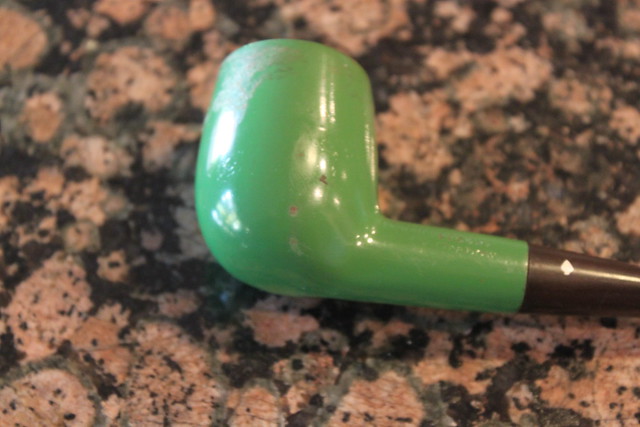
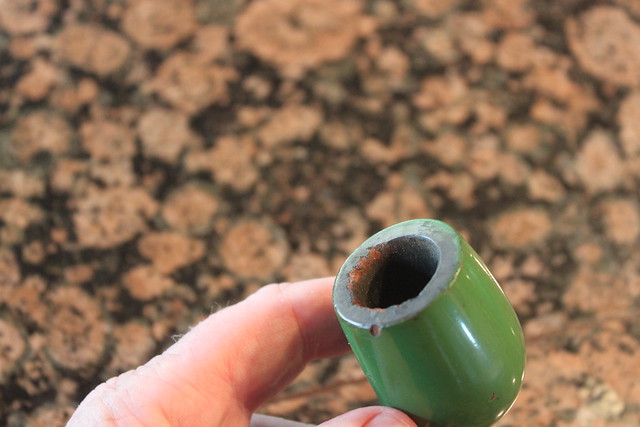
But worst of all was the condition of the rim. It had obviously been beat on a knocker. Why?...
24303330838_054840cd3b_z.jpg

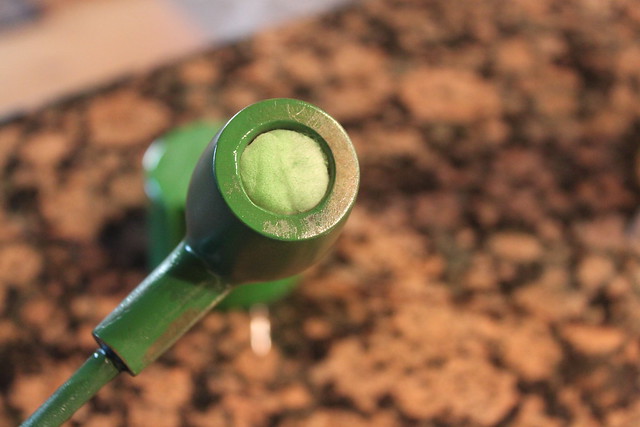
So yes, in my opinion this pipe is a perfect candidate for a full-on restoration with a refinish. The next step will be to ream the bowl, and clean and sanitize the bowl and shank. Once that is done I will begin with repairs to the rim.

 
Mar 30, 2014
2,853
78
wv
I’ll be watching for the update. You have your work cut out.
How’s the search for the Color Christmas set coming along?


cwarmouth

Starting to Get Obsessed
Oct 10, 2017
244
3
Hi Dave, thanks for commenting and watching. It'll be a satisfying one when it's done, for sure.
As far as the Christmas collection is concerned, I bought the ad. That's something, right? I'm going to frame it and put it on the wall by my pipe stand for inspiration. I have a few pipes already and I'm about to start forcing it along. Stay tuned for that.


cwarmouth

Starting to Get Obsessed
Oct 10, 2017
244
3
I gotta tell ya... this is the part of the job I don't like folks. But I am super picky about having a squeaky clean pipe - I don't like the idea of smoking someone else's gunk. So I keep doing this until pipe cleaners and q-tips come out white.
38252663661_980740a1d9_z.jpg

But once it is clean, the fun begins. The nice thing about these color pipes is that you get to paint over all the old damage and your repairs. To fill in the chips and chunks, I mix up a bit of JB Weld and apply it with a tooth pick to the damaged areas. Any that gets inside the bowl gets sanded out.
37542102964_c20c68e4c5_z.jpg

24381564648_e0f778441c_z.jpg

37542114174_f44c48cc5a_z.jpg

Once it cures I sand down the excess to get a nice smooth surface. The shank, in the area of the nomenclature is stripped with paint stripper and "scraped" with a flat piece of wood like a popsicle stick. Then washed with hot, soapy water. Preserving the nomenclature is definitely the most difficult part for me. I am torn as to whether it is best to leave the original paint on or take it off. I think the pipes were stamped after the paint was was applied at the factory, so removing it might actually be removing part of the depth of the nomenclature. On the other hand, removing it exposes the bare briar and a clean stamping. Either way it is a challenge. The outside of the bowl and shank is also sanded with 400 grit, then 600 grit paper. All paint chips and the stripped area on the shank is feathered out so that there are no abrupt edges in the paint.
26477046599_48263dc59a_z.jpg

38198244256_145bb3ce7a_z.jpg

26477066609_4d7ca29ce5_z.jpg

Once all the fine sanding is done, it is ready for refinishing.

 
Mar 30, 2014
2,853
78
wv
I would recommend “pipe mud” for any repairs to the inside of the bowl chamber. Followed by a carbon coating. Pipe mud is just ash and maple syrup. I use activated charcoal and real maple for the bowl coating. Putting a flame to super glue or jb weld is bound to give off fumes. The downside is, it takes 5-7 days for the natural bowl coating to fully set.


cwarmouth

Starting to Get Obsessed
Oct 10, 2017
244
3
Thank you for the advice, Dave. The inside of the bowl looks good on this one but I did sand off any incidental JB Weld that got in the bowl.
With my interest in these pipes being what it is I asked a gentleman on another forum who ran the Dr. Grabow factory during this era him what kind of paint they used on these pipes. He said it was a heat resistant enamel with an added ingredient for moisture resistance that he could not remember. I was happy to hear that there wasn't some secret sauce finish because I have been using VHT (Very High Temperature) and equivalent paint for refinishing my pipes with good results The paint I use is for engine blocks, which of course get much hotter than a pipe gets. I figure that today's high heat paints have to be better than paint was 40 years ago so I am confident in the longevity of the finish for my own use. I would not feel good about selling them, although it would probably be fine.
37562869644_05fe7bbc53_z.jpg

There is a wide selection of colors available. I asked a local auto parts store to order a can of Racing Green for me because on the color chart it looked like a good match. Turned out to be a bad match. It was too dark and too blue. So I had to sand it down and start over.
I apologize for the terrible picture quality of the first pic. I guess I was too ticked about the color to focus.
24403400208_f4d1f0b7c9_z.jpg

This time I took the pipe with me and drove around to various stores looking for a good match. John Deere Green looked perfect. It was only heat resistant to 250 degrees fareheit, as opposed to 500 of the other brands, but if my pipe gets to 250 degrees I have more to worry about than the paint.
38242593302_bbbf9e5941_z.jpg

38242588682_3e70acdaaf_z.jpg


With the pipe re-sanded it is time to get this thing finished up.


cwarmouth

Starting to Get Obsessed
Oct 10, 2017
244
3
Here is what works well for me with refinishing these pipes: After getting the surface prepped as described above I wipe it down with a damp cloth then blow it off with compressed air. Then I wrap a piece of blue painter's tape around a couple fingers with the tacky side out and very gently rub it all over the surface to remove any dust. Then I stuff a dampened cotton ball in the bowl to keep paint out. It has to be dampened or little strands of cotton will get painted down onto the rim. Then I take a small screwdriver and wrap the shaft in painter's takpe until it fit snugly in the shank. This is what I use to hold the pipe while I paint it. I hold the pipe at arms length for the first coat. This coat is just a very light dusting of paint. It barely covers the bowl. This light coat is important because it makes a chemical and tooth adhesion bond for the next coat. I let this coat dry for about 10 minutes, then apply a second light coat. I let it dry about 10-15 minutes then spray a wet coat. I never directly spray the nomenclature, I just let the overspray hit it.
26499968489_7b0eba2353_z.jpg

26499974609_f2d3fc5131_z.jpg


cwarmouth

Starting to Get Obsessed
Oct 10, 2017
244
3
The easy part is over with now. The hard part is waiting a week or so until the finish is fully cured before enjoying a bowl or two full of rich and delicious tobacco.
38244357582_21bbb96955_z.jpg

24405455228_803a94a6bd_z.jpg

26500068669_188c86cc91_z.jpg

38244353582_f7aee81fb8_z.jpg

26500120569_0df162ed6c_z.jpg

38244389382_5576cbd179_z.jpg

38244392712_f04e15a9e1_z.jpg


  • Like
Reactions: AlabamaDan

oldmansmoking

Part of the Furniture Now
May 13, 2017
587
65
UK
<p>Outstanding restoration, a joy to see a true professional at work.<br />
It’s mint condition now.<br />
Congratulations
 

cwarmouth

Starting to Get Obsessed
Oct 10, 2017
244
3
Thank you, guys. I am just so happy to be able to come into a well established community like this one, with people who have far greater expertise in the pipe smoking hobby than I have, and have something to contribute. It's great. Hopefully my interest in these pipes will encourage others to try to save these unique novelties and add them to their collection.

 
Mar 30, 2014
2,853
78
wv
For me, restoration is equally enjoyable as smoking them. It’s rewarding when you bring an abused antique briar back from the dead.
Looking forward to the next project. The before/after posts are always my favorite.


cwarmouth

Starting to Get Obsessed
Oct 10, 2017
244
3
Dang. I'm glad my $5 pipe could serve as inspiration for your priceless pipe. Go for it.

 
Status
Not open for further replies.