Restoring Estates! How I Do 'Em (PIC HEAVY)

Log in

SmokingPipes.com Updates

New Cigars


PipesMagazine Approved Sponsor

Drucquers Banner

PipesMagazine Approved Sponsor

PipesMagazine Approved Sponsor

PipesMagazine Approved Sponsor

PipesMagazine Approved Sponsor

Status
Not open for further replies.

branzig

Starting to Get Obsessed
Jan 7, 2014
137
0
So here we go, a little thread that shows the process that I go through when restoring a fresh batch of Estates. I will update this thread in segments depending on how much I get done each day. Any questions or comments please ask.
Day 1
Here they are, farm fresh from Ebay! I really scored on these puppies!


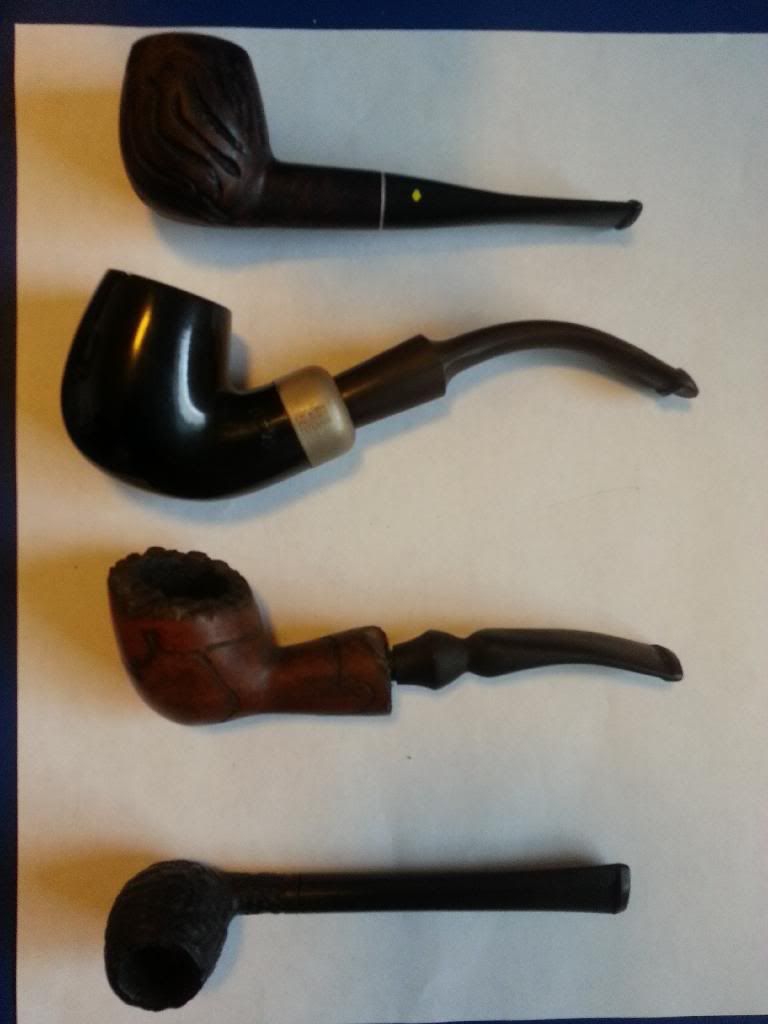
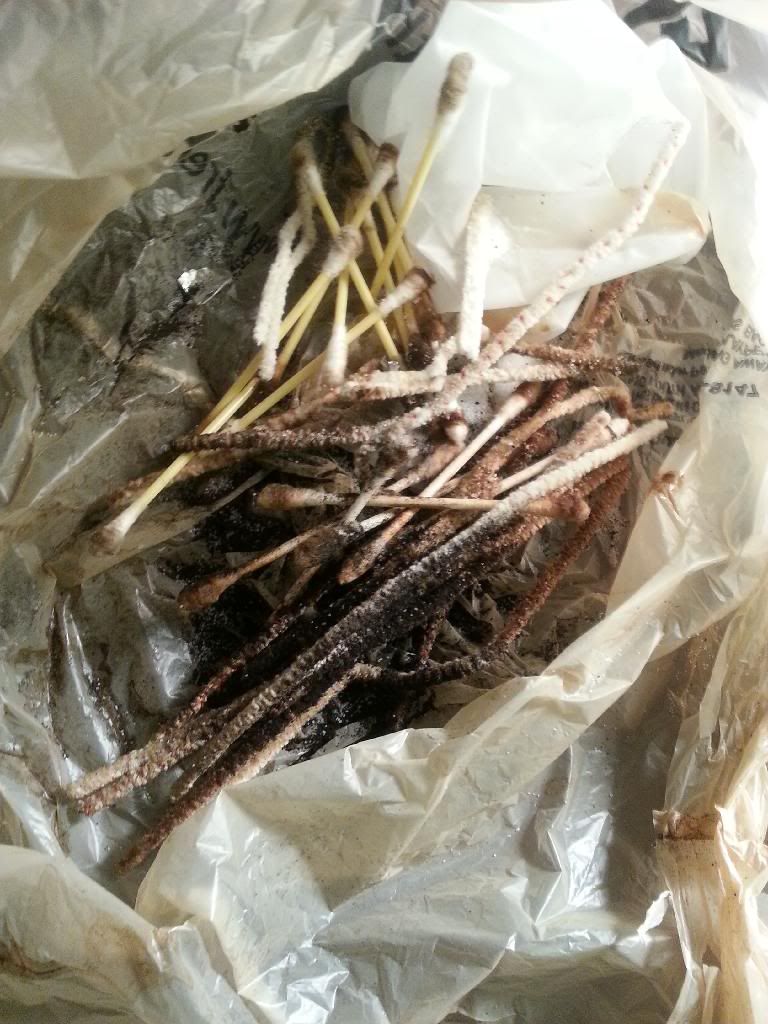
The first thing I do is give them an overall check, look for dings, dents, and overall condition. Give them a whiff to see if they need a S/A treatment all that. Next I separate out all the stems, and start cleaning them out with bristled pipe cleaners and 91% Isoproypl Alcohol. After I scrub around 2 or 3 alcohol soaked bristled pipe cleaners in the stems, I use some extra fluffly pipe cleaners and see how they look when I pull them out. I rinse and repeat this process until when I pull out the pipe cleaner they come out white and as clean as they went in. You will go through a ton of pipe cleaners...These pipes were advertised as "cleaned and ready to smoke" and this is how many cleaning supplies I went through...


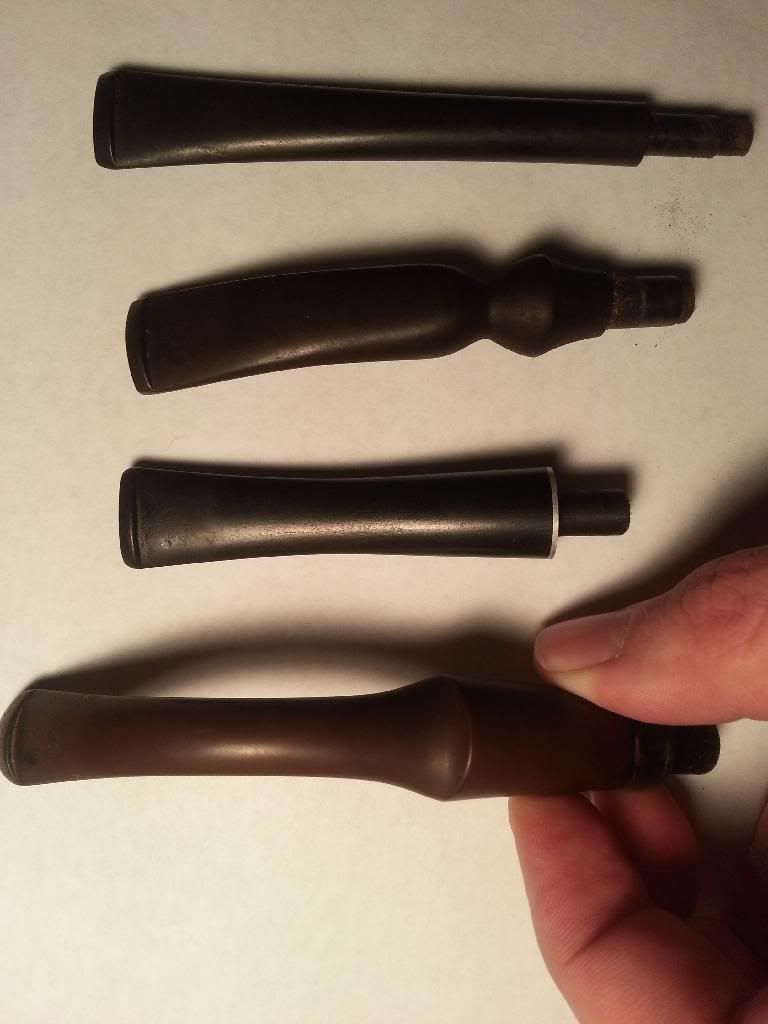
After some cleaning, I pop the stems in a bowl full of warm water and half a scoop of Oxi-Clean powder. Depending on how bad they oxidation is on the stems decides how long I let them soak. This batch was a little over a hour. I could tell that the Peterson stem was pretty bad and so was the Mastersen.
Before Oxi Bath:


After Bath:


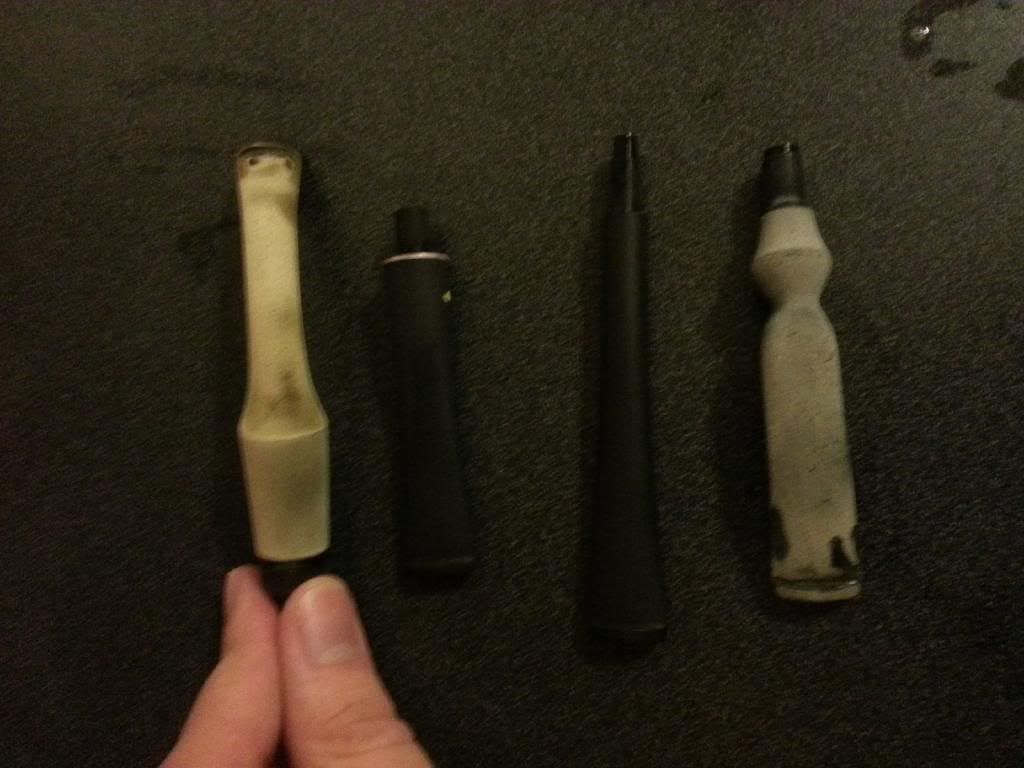
Notice how atrocious the Peterson stem came out:


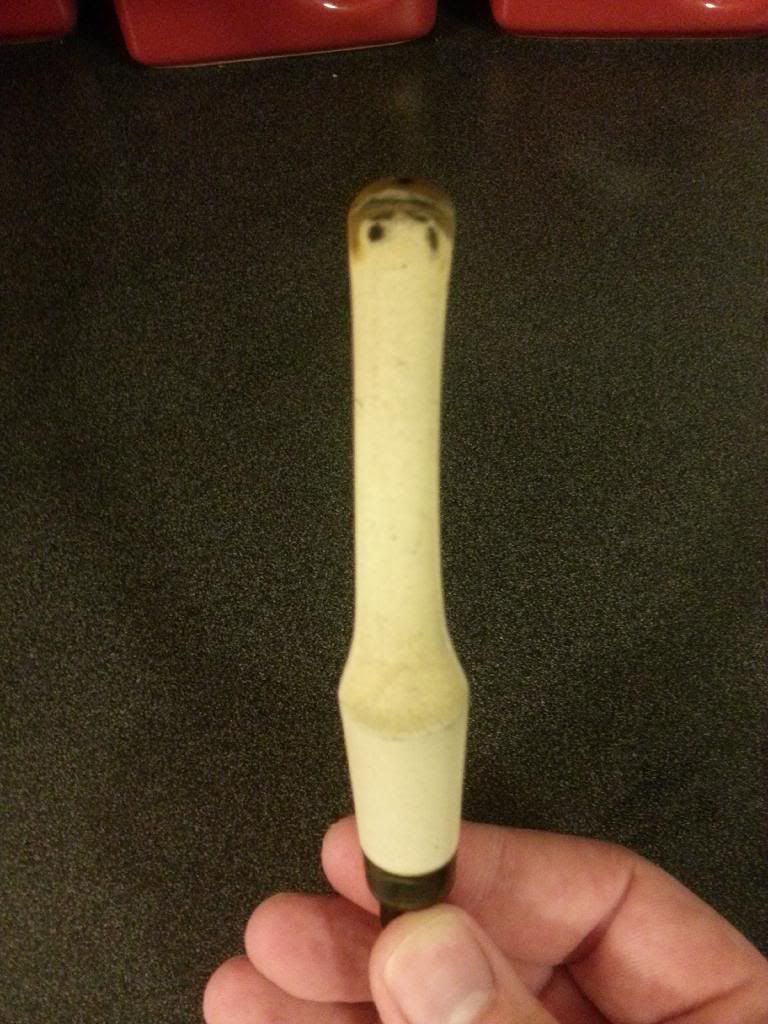
So from here, I take a Mr. Clean magic eraser and start scrubbing! It took about 30 minutes to get all the white oxidation off of all the pipe stems. I'm going to let them rest for the night now, and I'll hit them with some finish sanding tomorrow to make them super shiny black like they were meant to be.
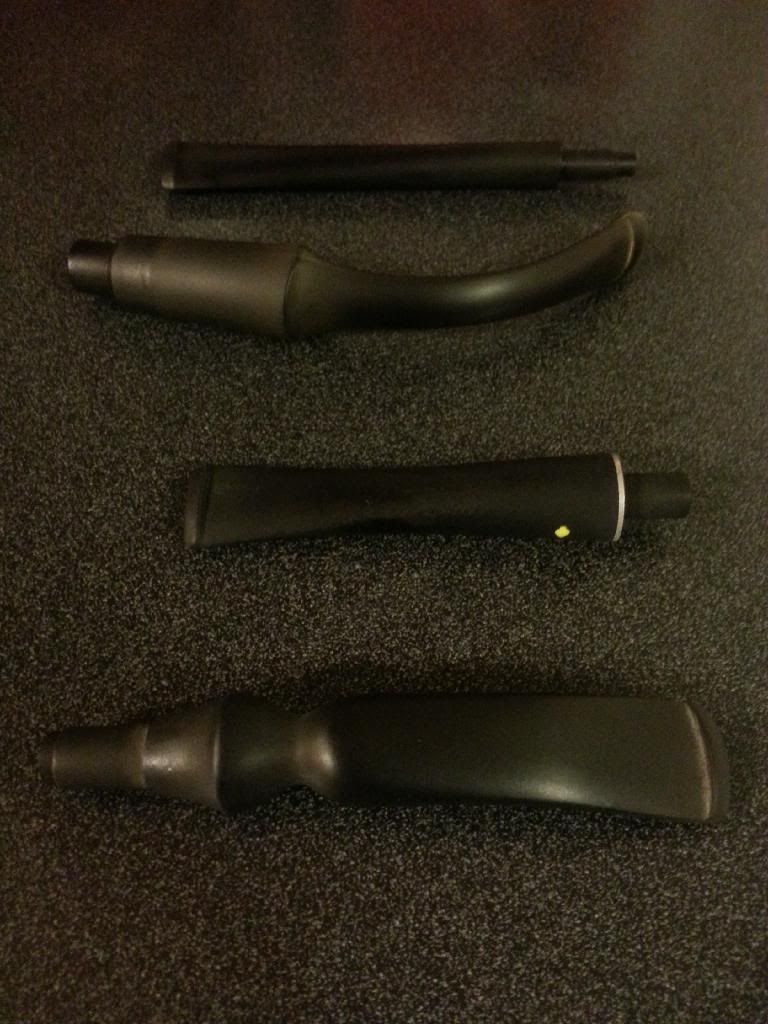
Here the stems are after a bit of Magic Eraser scrubbing:


Next I work on the pipe bowls. I ream the bowl out with an old pocket knife and clean up the tar build up around the bowl rim. The easiest way to clean up that black tar mess on the rim? I use spit and a terry cloth. Yep. I spit on the cloth and buff. And it works great.
Peterson before ream and rim being cleaned with saliva:


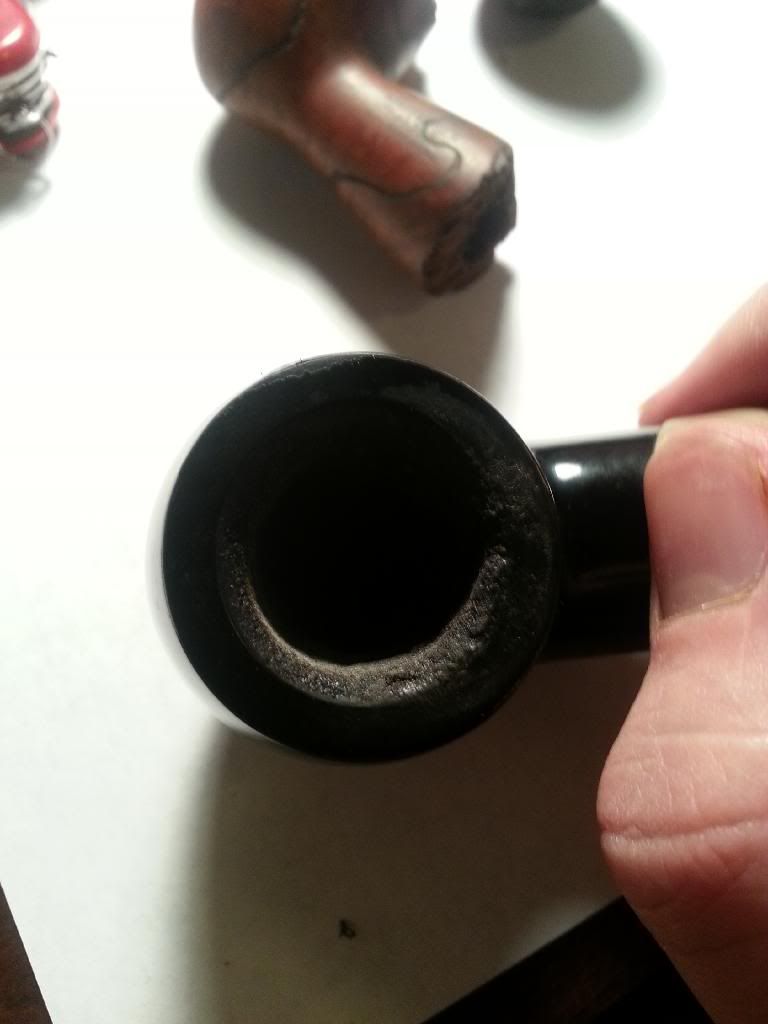
Peterson after ream and spit bath:


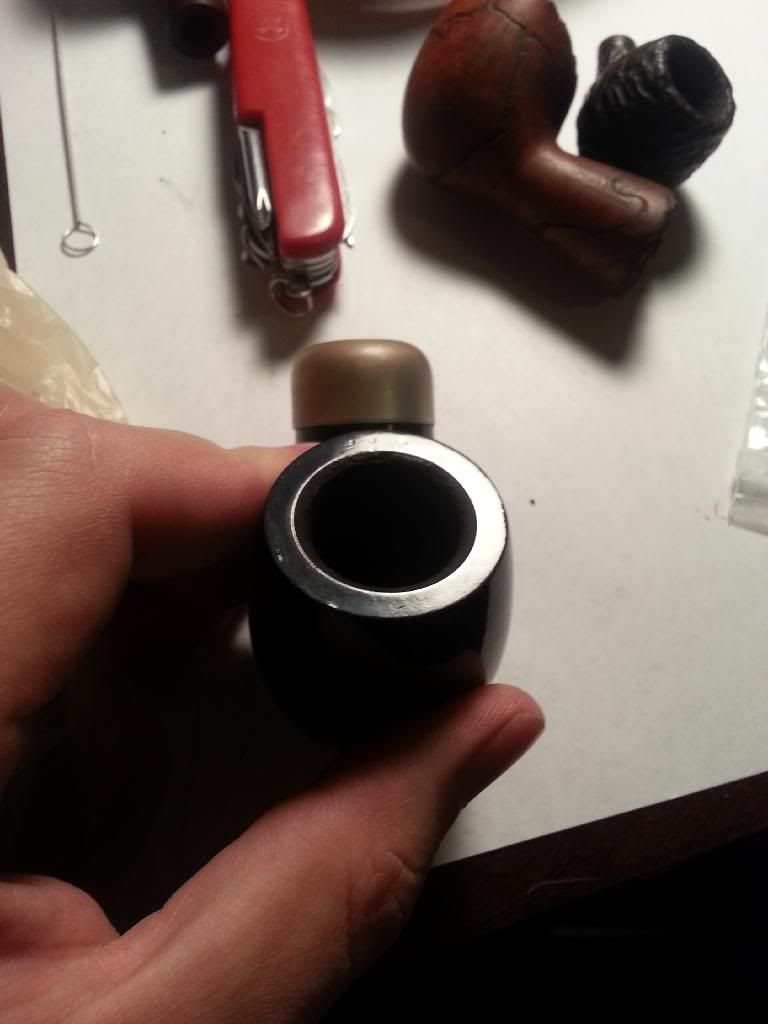
So from here, I basically started to scrub the mortises out of the bowls with q-tips and got the bowls ready for Salt and Alcohol treatments...which I will go over tomorrow because I am all restored out for today! In the mean time, keep puffin!


shaintiques

Lifer
Jul 13, 2011
3,615
228
Georgia
Magic eraser is a good idea but for the same amount of time per stem you could use bar keepers friend and get all of the oxidation off. There is still a good bit of green on those stems.


branzig

Starting to Get Obsessed
Jan 7, 2014
137
0
OK! Here We Go! Day Number 2!
Salt and alcohol treatments...This is what I use. Pickling salt and 91% Iso. Most salt will work and a lot prefer coarse varieties. Just make sure it is cheap and IODINE FREE!!!!


So, what I do is fill the bowl all the way up to the rim with salt. Then I make sure some salt trickles down into the shank...be sure it is just a LITTLE bit in the shank. You want that salt in there to help de-gunk that dreaded mortise; but I have heard horror stories of people using too much salt in the shank and having it expand on them and crack...I honestly think this is more from people making poor alcohol choices that don't evaporate quick enough (70% Iso or cheap 40% vodka etc) but still, I'm not willing to risk it! Once you get the salt falling out the shank, I shake a little out and stuff a double braided candle/lantern wick in there. Alternatively you can use doubled over extra absorbent pipe cleaners.
Next, you carefully add the alcohol drop by drop. I use an eye dropper, a lot of people use ball syringes from a pharmacy. Anything that you can slowly apply drops of alcohol with will work. You want the salt fully saturated but not overflowing...if you get any high octane alcohol on your finish you are in trouble. It will eat it right off! So have a rag handy for quick clean up and be super careful! After about 3 hours you will notice that a lot of the alcohol in the salt has evaporated. At this point, I add a little more alcohol for good measure. You want all those ghosts exorcised!
This is what a system pipe looks like being cleaned up, notice I don't insert anything into the shank on a system pipe:


The view from the shank:


Notice the angle in which the pipe(s) is sitting. You want it basically resting in this position the whole time during the S/A treatment. This insures that alcohol and gunk doesn't drip out the stem, and it keeps the alcohol working the mortise and bowl, where all the crud and ghosts of tobacco's paste lives:


Front view of tilted pipe:


*Quick Note: I don't literally leave the pipes tilted on another pipe's stem like in the picture. That was just a quick shot for display purposes. I keep them in pipe rests or Tupperware leaning up...that way if they do fall over or spill they only ruin their own finishes and not another finished pipe!
OK, so now I let the pipes set for 24-36 hours. Depending how gunked up they seem.
While that is going on, I work on the finish sanding of those stems! I am going to use some Alpha-Abrassive pads on this batch:


I start with the 3200-6000 wet sanding, and then dry off the stem and finish up with the 8000-12000 dry sanding to a shine. Not a lot to explain here. Just a lot of elbow grease and effort. You'll be amazed how much gunk this works out of the stems! If you have a buffer, you can use compounds to speed up this process, but I find it never turns out as well as hand sanding them does. If you want to re-sell or go full-blown restoration, I think this is the way to go. If you're just making a smoker, then maybe check out using a buffing wheel.
Here's the Peterson's stem after wet sanding:


And here's the whole lot after dry sanding them to a shine:


Whew! My hands are sore now! Time for a much deserved smoke! Just about one more days worth of work to go...finishing up the salt and alcohol treatment, reassembly, one last alcohol swab, and buffing up. Check back later and keep on puffin! :puffpipe:


anglesey

Can't Leave
Jan 15, 2014
383
2
I must ask, why must the salt be iodine free? does it react badly with the wood or the alcohol or something?


branzig

Starting to Get Obsessed
Jan 7, 2014
137
0
@anglesey
The iodine will seep out of the salt an get into the briar.


ssjones

Moderator
Staff member
May 11, 2011
18,442
11,345
Maryland
postimg.cc
Good work!
I like the micromesh sheets better than the pads, they seem to last longer and are a little cheaper.
I saw someone soaking pipes with the briar stuck in a small bowl of rice, it holds them at any angle. Seemed like a good idea.


ejames

Lifer
Oct 6, 2009
3,916
22
I start with the 3200-6000 wet sanding, and then dry off the stem and finish up with the 8000-12000 dry sanding to a shine. Not a lot to explain here. Just a lot of elbow grease and effort. You'll be amazed how much gunk this works out of the stems! If you have a buffer, you can use compounds to speed up this process, but I find it never turns out as well as hand sanding them does. If you want to re-sell or go full-blown restoration, I think this is the way to go. If you're just making a smoker, then maybe check out using a buffing wheel.

I've found that Micro Mesh (or wet or dry sandpaper) will last much longer if used wet on stems,through the entire sanding process.Can't see any benefit to finishing up dry sanding. Also,IMO. the trick to buffing a stem is proper preparation with sand paper or Micro Mesh. I believe a buffer should be used to remove only the very lightest oxidation on a stem. Removing heavy oxidation with a buffer seems to produce a wavy,uneven surface, Shiny maybe,but uneven.YMMV.


ssjones

Moderator
Staff member
May 11, 2011
18,442
11,345
Maryland
postimg.cc
I'm with ejames, I only use the buffer as the final step to bring up the shine, after the finest paper has been used (1500-2000 then 8000 and 12000 micromesh for me).


branzig

Starting to Get Obsessed
Jan 7, 2014
137
0
Day 3 The Finale! Get Ready, This One's Going To Be A Long One!
30 hours of S/A treatment:


Check out how much tar a system pipe traps!


Once I am happy with how much tar/gunk the S/A treatment has collected, I empty the salt out. There will be a crust at the top of the bowl, you need to break through it with a reamer or pocket knife, then empty the bowl out 100%. This is kind of time consuming but self explanatory. Just use a bunch of Q-tips and pipe cleaners to make sure every little granule of salt gets out of there. At this point I let the bowls rest for another 24 hours, just to make sure every bit of 91% Iso is evaporated and long gone form the bowl.
At this point, your pipe is smoke ready. So if you are happy with how your pipe looks cosmetically and are ready to light that puppy up, go for it! Everything from here on out is strictly cosmetic.
Next I go through all the trim, bands, and the bowl. Cleaning everything up for and prepping the pipe for it's final wax and finish.
The Nickel band around the Pete was pretty tarnished and ugly, but I have a quick solution!


Make sure your pipes brush their teeth! A lot of people use metal polish or some abrasive cleaner, I use toothpaste. It dissolves all the tarnish and shines up really nice. As a bonus point, it isn't really abrasive enough to mess up the Briar's finish if you get any on there. And that is a HUGE plus if you are as clumsy as I am. I smear toothpaste all over the band and let it sit for a couple minutes. Then I come back and work q-tips in little circular motions all over the band. It takes a little elbow grease, but works wonders.


After working the q-tips, I take a super fine finishing sandpaper (here I am using the 12,000 Alpha-Abrassives pad I used on the stems earlier) and just give it a quick work over on the metal. This removes any stubborn tarnish the toothpaste left, and leaves a nice shine in its place.


Next I take a paper towel and wet it down with warm water to work any of the gunk off the pipe bowls that may be there. If there is a lot of gunk and tar stick on the bowl, you may need to use some saliva on there as well...For any kind of rustication I use a q-tip to get in there and work all the dirt and grime out.


So now it is on to the wonderful world of buffing and carnauba wax. And just so everyone is aware, I use a really ghetto set up. I don't have a fancy bench buffer or anything like that. I have a cheap drill, a 6'' buffing wheel, and a clamp


Notice that I am smoking a corn cob pipe while working in my garage. A man working in a garage needs a working class pipe!


Next I turn the buffer on, put the carnauba wax on it like so, and start buffing! I am a real amateur when it comes to buffing, so I don't really have any great pointers or pro-tips. Just go slow, use a super light touch, and keep a tight grip. I run both the pipe stems and the bowls through a thorough buffing.


Notice the great shine and protective cover the carnauba wax puts on the stems:


Now for the sad part of the day, and a fair warning to all people buying estate pipes. While buffing the Grabow stem, I failed to realize that there was a hairline crack near the tenon...well when that buffing wheel hit that crack: BLAMO!


The tenon shot off at about a million MPH. This is lame, but it comes with the territory. Don't get discouraged and bummed that things don't always go right. Because when you are dealing with antiques and old things, stuff can and WILL go wrong. Luckily there are a lot of great suppliers out there that sell replacement stems. And being a Grabow stem, it shouldn't be too difficult finding a replacement at all.
Moving on, with the wax applied all that's left is a good final buff with a soft cloth. I use old flannel shirts myself. And TA-DA!


That's all she wrote folks. 3 days of fun packed cleaning and scrubbing leads up to a job well done! It's a lot of elbow grease and hard work, but I find in the end that the final product is very much worth it and rewarding! When I first started restoring pipes, I often got so frustrated not understanding exactly what to do and finding poor descriptions or steps on the internet; so I hope that this little "how-to" shines light on some of the processes and makes some of your lives easier in the world of pipe maintenance and Restoration! :pipe:


branzig

Starting to Get Obsessed
Jan 7, 2014
137
0
Thanks for all the kind words guys!
It was a lot of work, but a lot of fun too!
Don't suppose anyone has a spare Dr. Grabow Savoy stem? :lol:


ejames

Lifer
Oct 6, 2009
3,916
22
Thanks for all the kind words guys!
It was a lot of work, but a lot of fun too!
Don't suppose anyone has a spare Dr. Grabow Savoy stem? [:lol:]
Give me some dimensions,diameter and length. I may have something close that you can work down to match the diameter of the shank. The spade may not be the same color but they can be pried out and then glued back in place.
Although Grabow used stock,standard sized stems, each pipe is sanded by hand( on a disk) with the stem in place,which gets sanded also. Some are sanded more than others.
You can also send that pipe to the factory and they will replace the stem for about $10-$12.00.


branzig

Starting to Get Obsessed
Jan 7, 2014
137
0
Give me some dimensions,diameter and length. I may have something close that you can work down to match the diameter of the shank. The spade may not be the same color but they can be pried out and then glued back in place.
Thanks! PM sent!

 
Status
Not open for further replies.