


A Long And Drawn Out Saga.
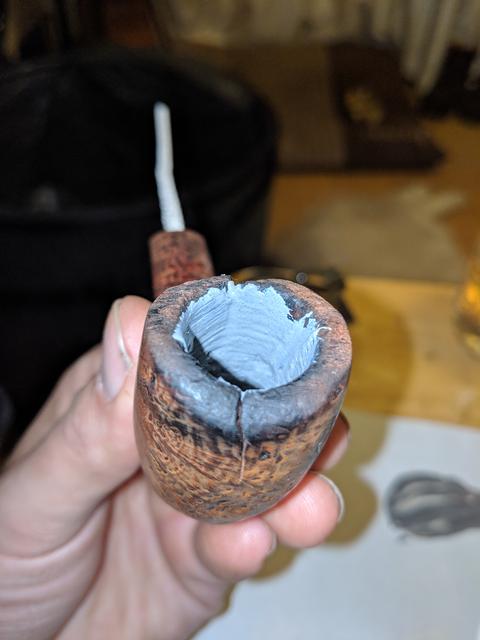
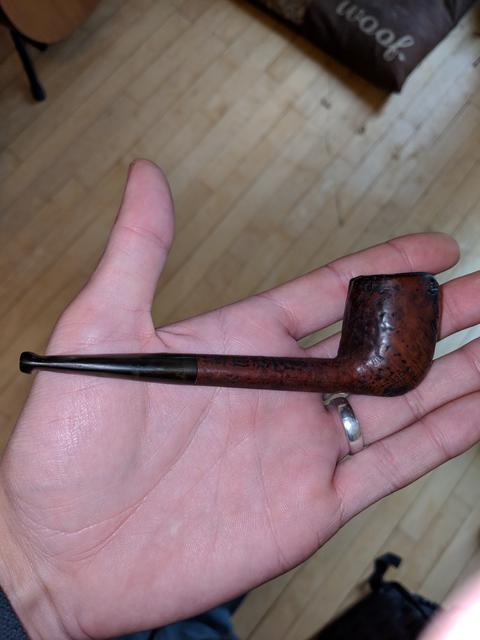
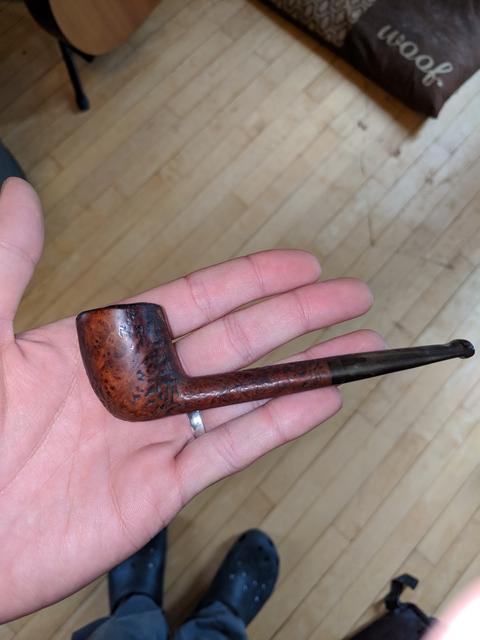
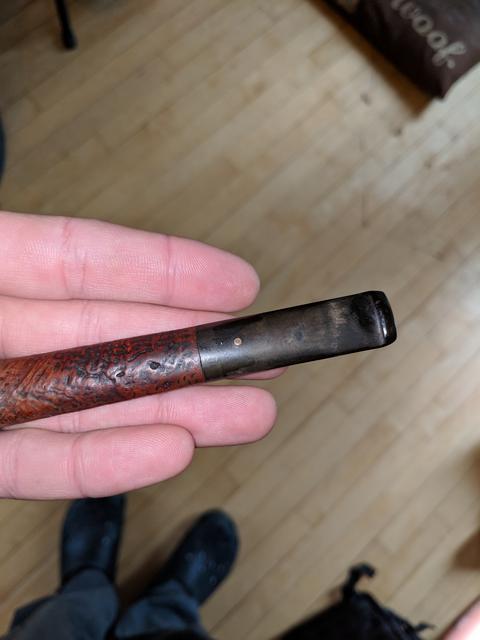
For those who didn't see my original post, I bought this 1967 Dunhill Tanshell at an antique store for $8.00. I knew It was in pretty rough shape, but for the price I couldn't pass it up. And plus I have never owned a Dunhill so I was really excited to find this. As soon as I picked it up, and saw the stores sticker on it, all I saw was "HILL" and Immediately knew what it was, and my heart started beating.
So instead of sending it in somewhere to have it professionally fixed and pay the money, I'm going to "attempt" to restore it myself. If I fail, it was a good learning experience for $8.00.
*** This is not going to be perfect, I just want to be able to smoke it***
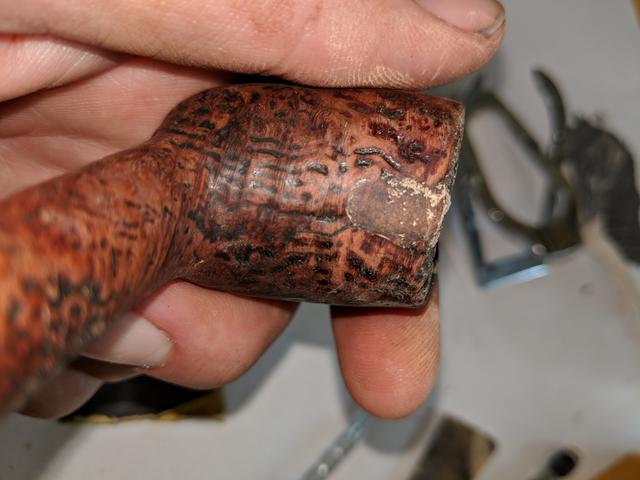
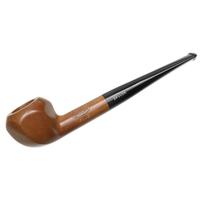
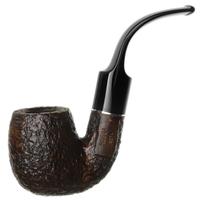
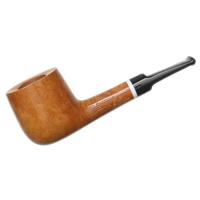
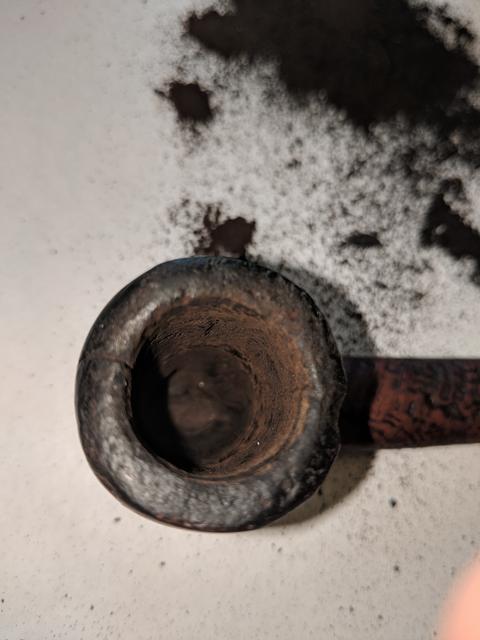
Here's what it looked like right after I brought it home.

Ok, now that that's out of the way.
***PART ONE***
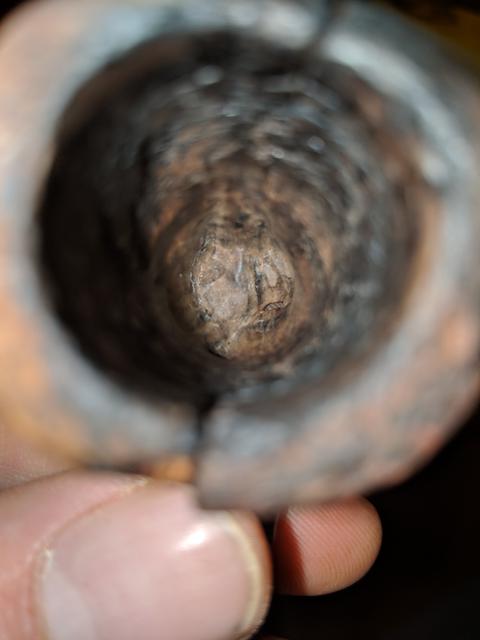
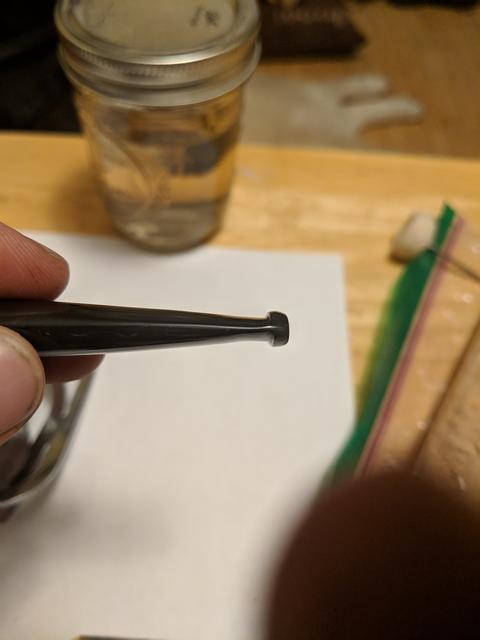
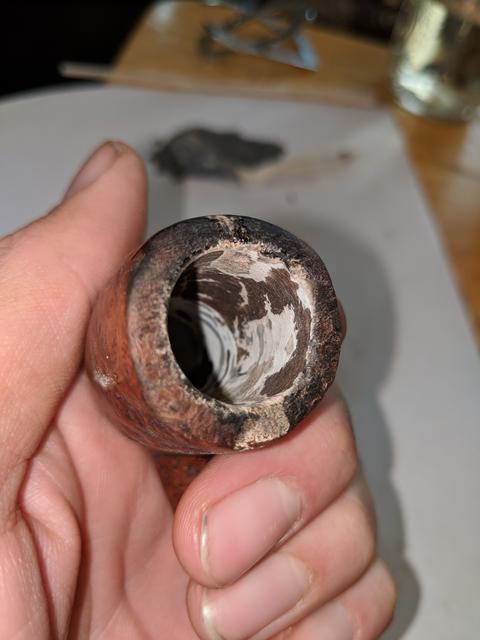
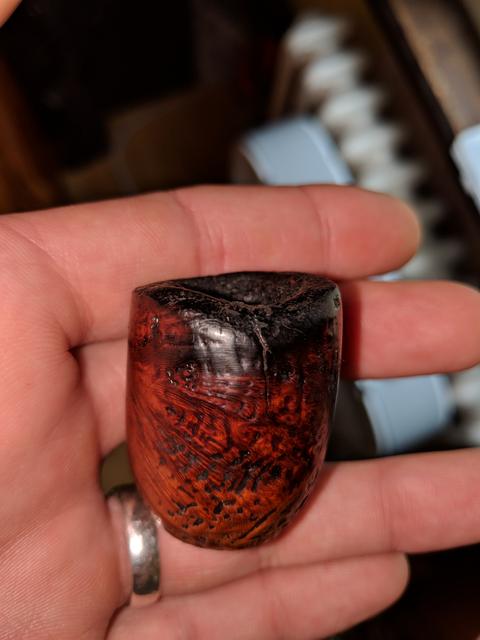
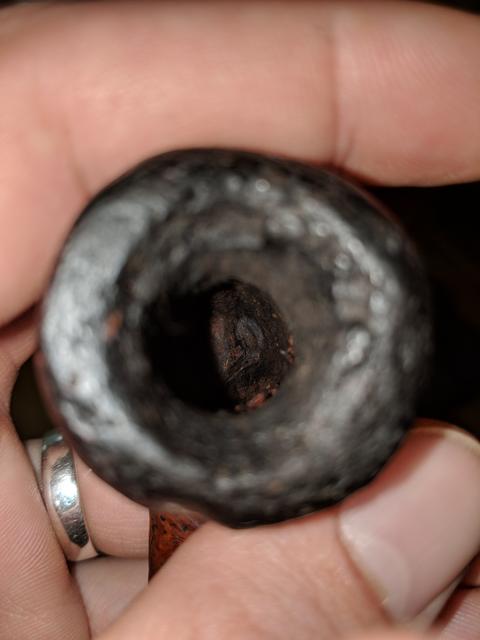
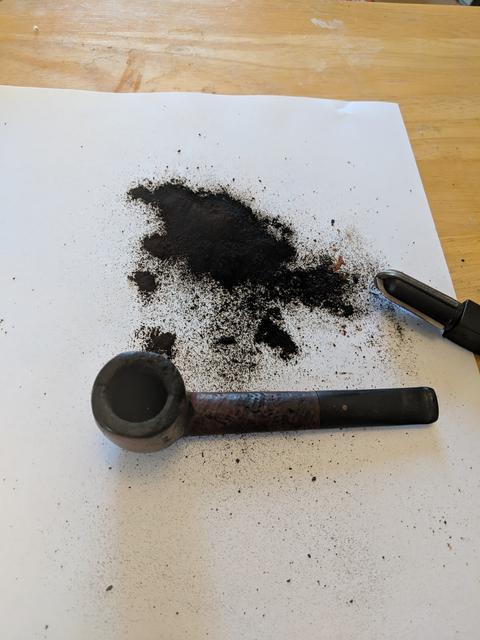
I started with reaming the bowl so I could get a better look at the damage to the bowl walls. Using my Decatur pipe reamer, I started with the smallest cutting edge carefully and moved up two more sizes. Boy this bowl is pretty small.
The cracks went much deeper than I thought. This may be more of a challenge than I was expecting...
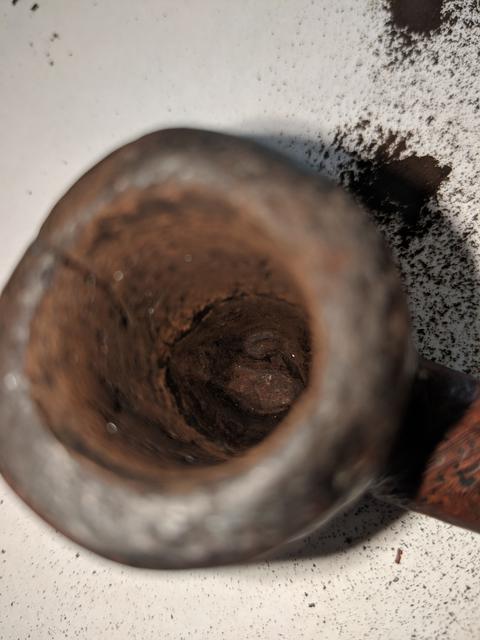
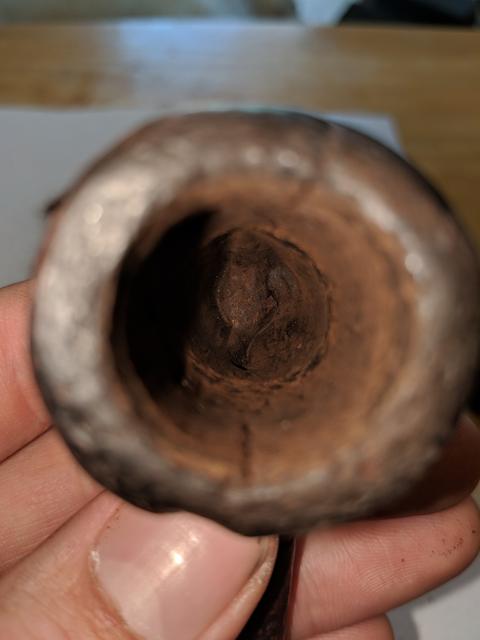
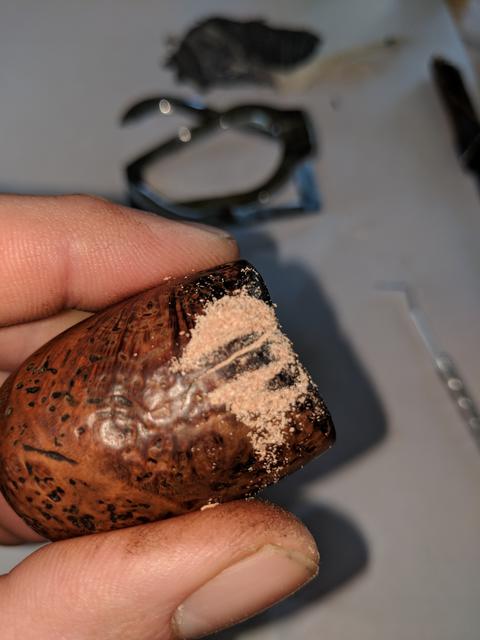
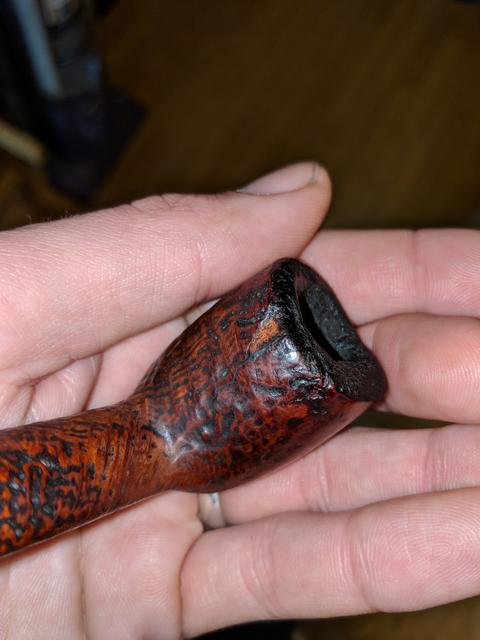
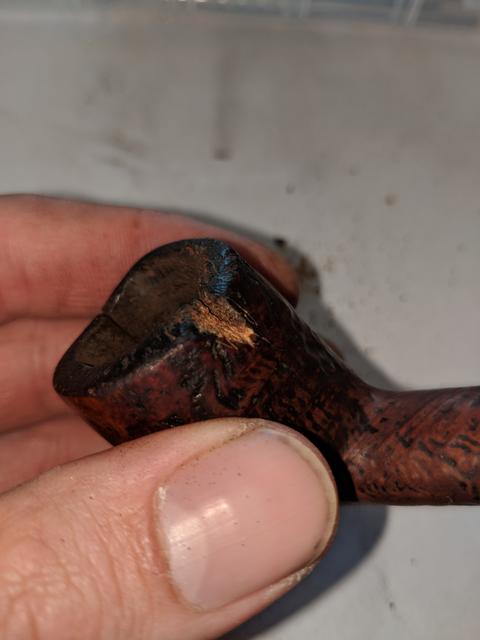
Now with most of the cake out of the way, I took my dental pick and investigated the weird discoloring on the front of the bowl. It immediately started crumbling. Lots and lots of what I believe to be wood putty started to fall out. It's not just a crack in the front of the bowl.
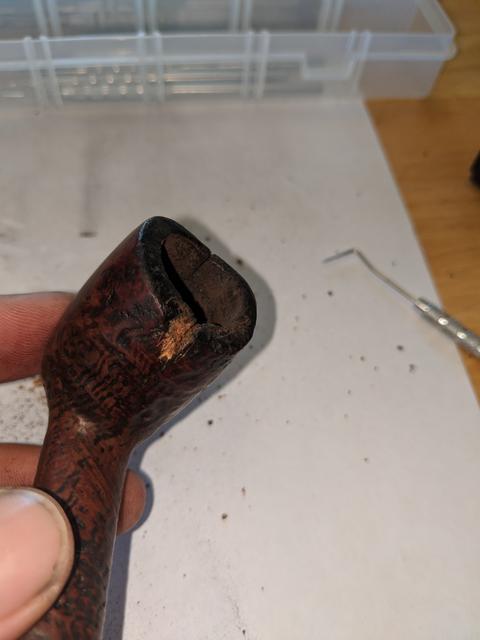
That's when it truly hit me. Somebody loved this pipe so much, that they smoked it till cracking on both sides of the bowl. To the point that a huge chunk of the front came out. They wanted to keep smoking it so bad that they filled it with putty, and kept on going. This pipe must have been an absolutely great smoker, and it deserves to be brought back to life!
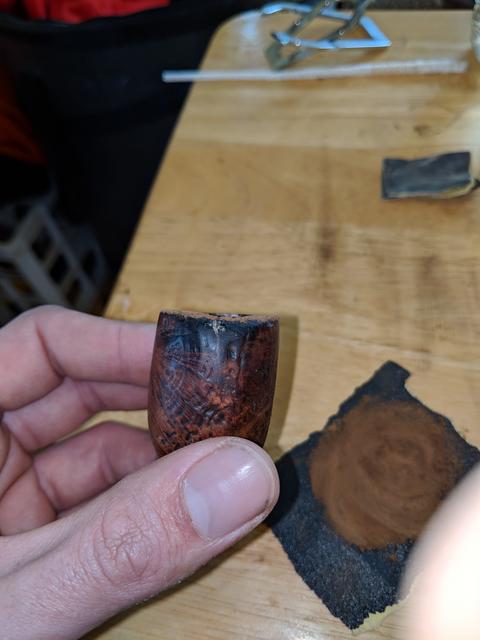
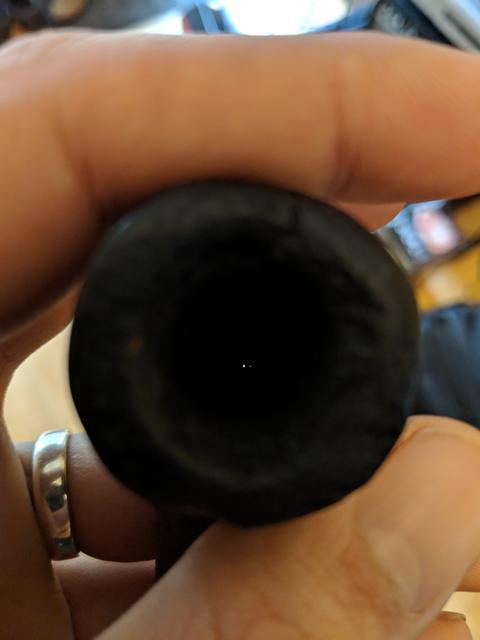
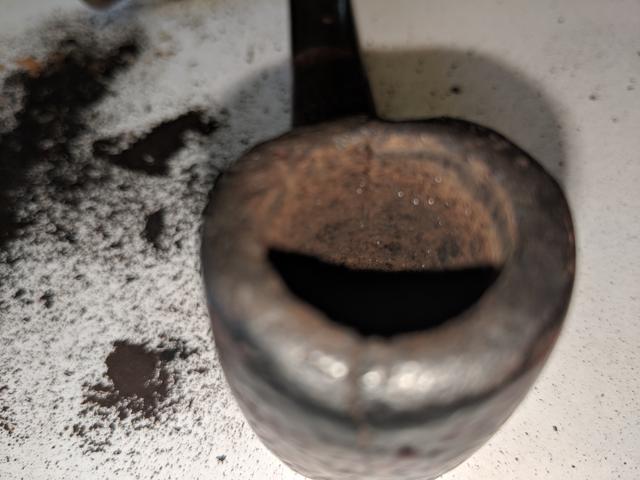
Then I took my attention to the small pinhole in the bottom of the bowl. With my dental pick I probed at it until I couldn't get any more material from breaking free.
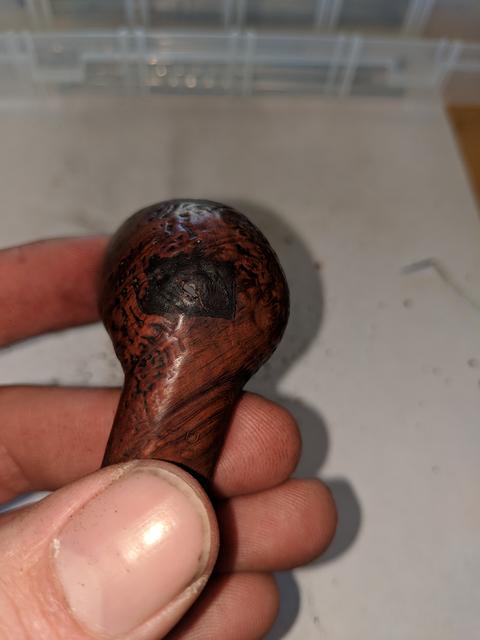
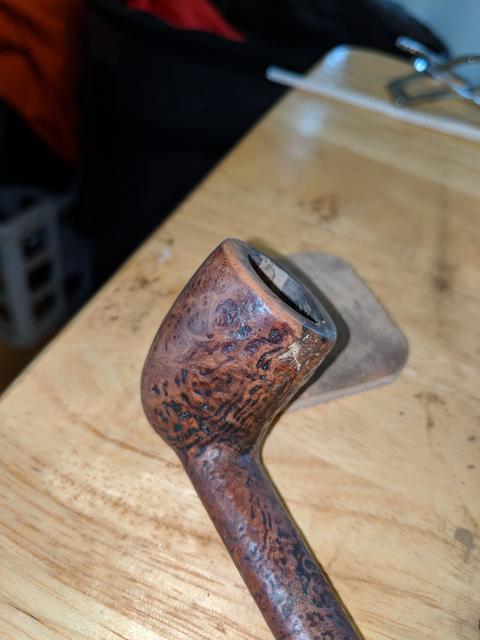
And out of pure exhaustion, I decided to soak a cotton ball with Isopropyl Alcohol and stuff it in the bowl to let it soak to take care of any more oil and tar remaining, and loosen up the cracks a bit more. I may need to repeat a few times.
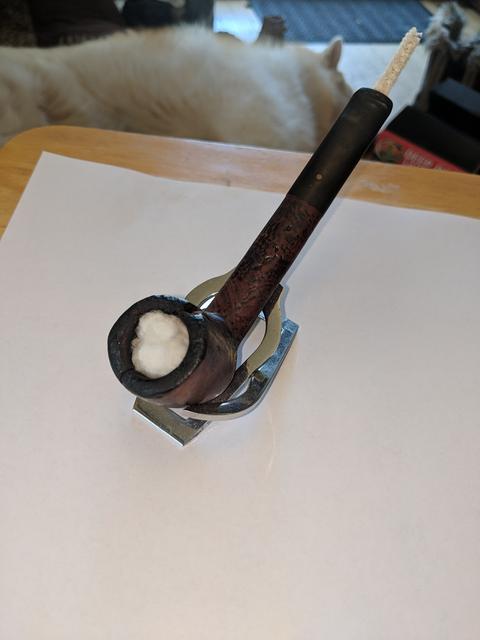
We will see what it looks like tomorrow.
Stay tuned for part two!
For those who didn't see my original post, I bought this 1967 Dunhill Tanshell at an antique store for $8.00. I knew It was in pretty rough shape, but for the price I couldn't pass it up. And plus I have never owned a Dunhill so I was really excited to find this. As soon as I picked it up, and saw the stores sticker on it, all I saw was "HILL" and Immediately knew what it was, and my heart started beating.
So instead of sending it in somewhere to have it professionally fixed and pay the money, I'm going to "attempt" to restore it myself. If I fail, it was a good learning experience for $8.00.
*** This is not going to be perfect, I just want to be able to smoke it***
Here's what it looked like right after I brought it home.
Ok, now that that's out of the way.
***PART ONE***
I started with reaming the bowl so I could get a better look at the damage to the bowl walls. Using my Decatur pipe reamer, I started with the smallest cutting edge carefully and moved up two more sizes. Boy this bowl is pretty small.
The cracks went much deeper than I thought. This may be more of a challenge than I was expecting...
Now with most of the cake out of the way, I took my dental pick and investigated the weird discoloring on the front of the bowl. It immediately started crumbling. Lots and lots of what I believe to be wood putty started to fall out. It's not just a crack in the front of the bowl.
That's when it truly hit me. Somebody loved this pipe so much, that they smoked it till cracking on both sides of the bowl. To the point that a huge chunk of the front came out. They wanted to keep smoking it so bad that they filled it with putty, and kept on going. This pipe must have been an absolutely great smoker, and it deserves to be brought back to life!
Then I took my attention to the small pinhole in the bottom of the bowl. With my dental pick I probed at it until I couldn't get any more material from breaking free.
And out of pure exhaustion, I decided to soak a cotton ball with Isopropyl Alcohol and stuff it in the bowl to let it soak to take care of any more oil and tar remaining, and loosen up the cracks a bit more. I may need to repeat a few times.
We will see what it looks like tomorrow.
Stay tuned for part two!
 :
: