

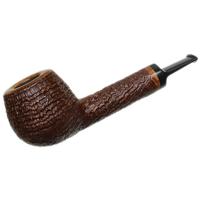

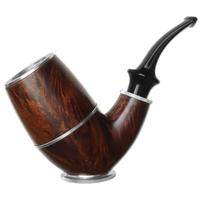

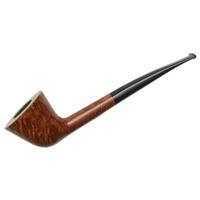


About six or eight years ago I came across a Dunhill Bent Rhodesian on the European estate market. Dunhill Rhodesians are anything but common so for a dedicated Rhodesian/bulldog collector it was a must have. Several years later I came across another, same style, same year but a different finish. It had been pretty badly used but the prospect of having a companion set was too much to resist so I bought it. One of the problems was that the bit had a significant chip taken out of the button end but if the rest could be salvaged I could always have a replacement bit made. For a number of reasons that never happened and that pipe sat in my box since then. Recently Dave has made several posts involving bit repair so I decided to give it a go. After a number of PMs (Dave has the patience of Job) I was ready.
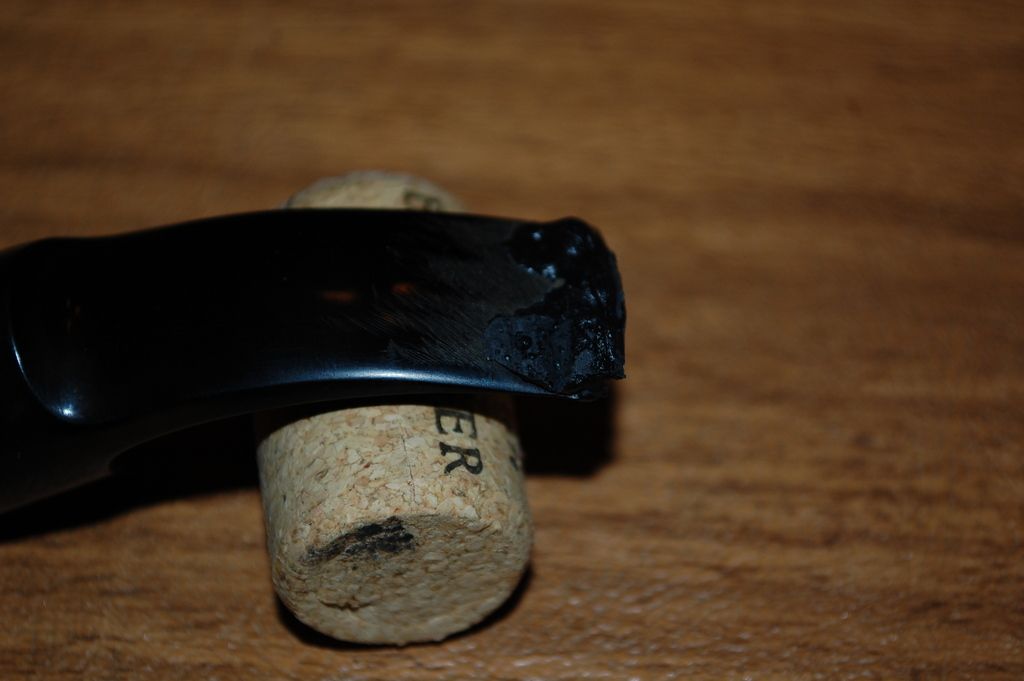
The first step was to clean and sand the broken area. Here I used a bevel to support the underside of the repair. I used 220 grit sandpaper to make sure there was plenty of scratches for the mixture to grab hold of.

I decided since I was new at this I would do it in three stages. First to fill in the gap. Second to rebuild the button and lastly to fill in any small air bubbles that form when mixing. I sanded and filed between each coat.
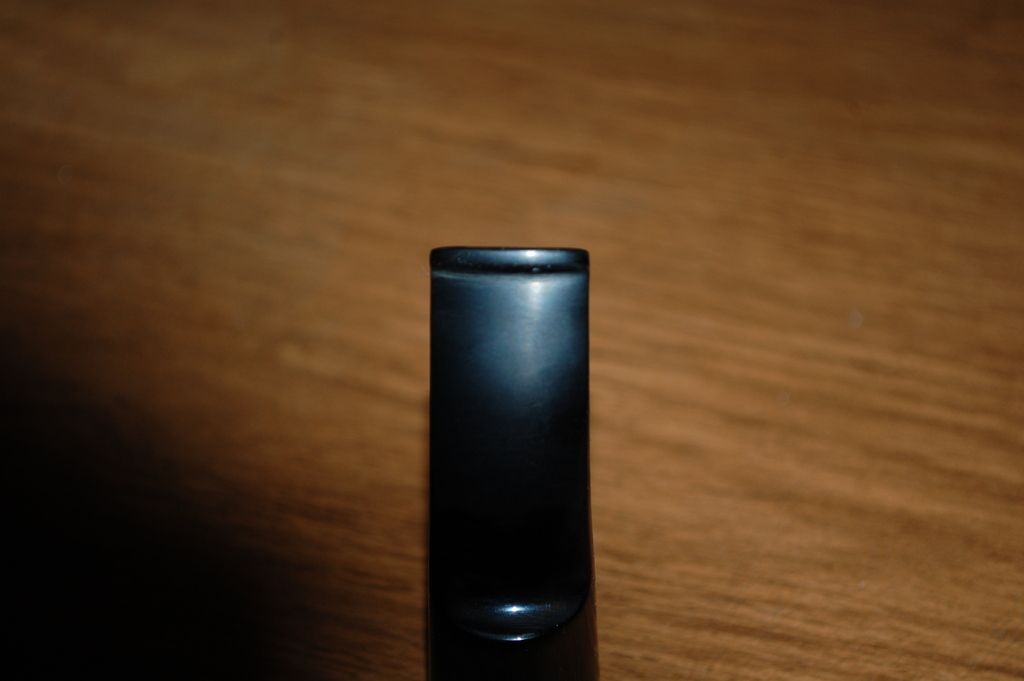
Then came the rough sanding to get the general shape. That was followed by progressively finer sanding to establish the final shape.
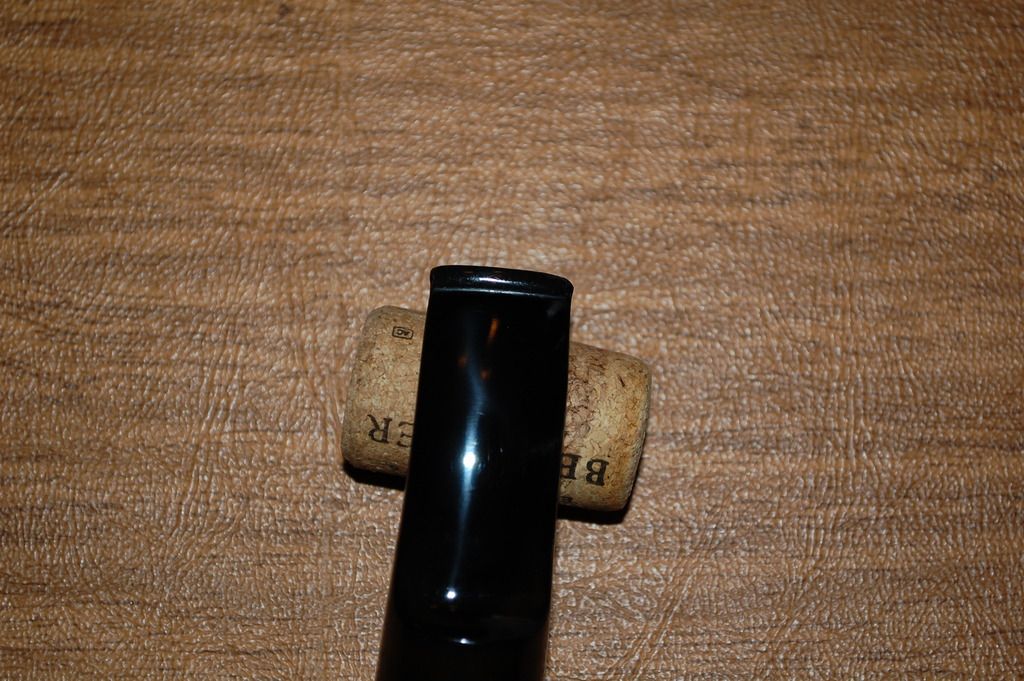
Finally off to the buffer for some white diamond and a final coat of carnauba wax and it was finished.
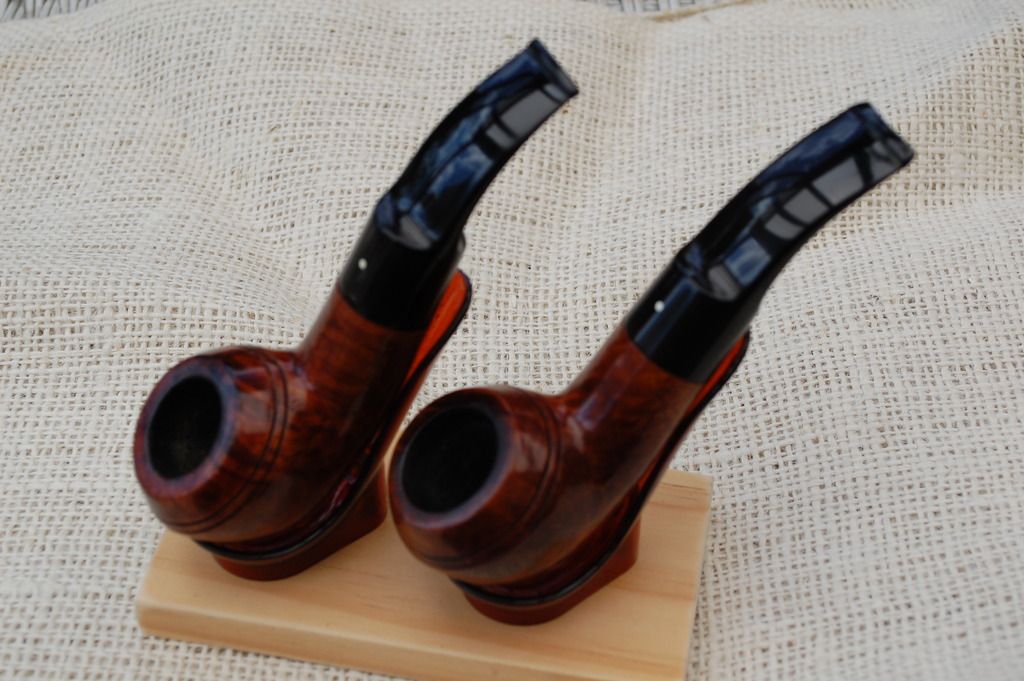
Here is the pair. The bits were not duplicates of each other to start but I attribute that to the hand cut bits Dunhill uses. Not bad for a first try and I can always go back and touch up when my skills improve.

